So you’re craving something super fancy but your energy levels are currently on “sloth mode,” huh? Been there, done that, bought the T-shirt. Good news: we’re making homemade truffles today, and they’re so ridiculously easy, you might just wonder if you accidentally became a pastry chef overnight. Spoiler alert: you probably didn’t, but your taste buds won’t care!
Why This Recipe is Awesome
Why bother with this recipe, you ask? Because it’s literally the culinary equivalent of a warm hug that also high-fives your taste buds. It’s **foolproof**, even for those of us who once set off the smoke detector making toast (don’t ask). Plus, you get to tell people you “made truffles,” which instantly elevates your status from “person who eats takeout” to “culinary genius.” And let’s be real, the cocoa nibs add that fancy-pants crunch that makes these feel super gourmet without, you know, gourmet effort. It’s basically magic.
Ingredients You’ll Need
- Good Quality Dark Chocolate (10 oz / 280g): The better the chocolate, the happier your mouth will be. Don’t skimp here unless you enjoy sadness.
- Heavy Cream (1/2 cup / 120ml): This is where the magic happens, making everything smooth and luscious. Don’t even think about using skim milk. We’re making truffles, not a diet drink.
- Unsalted Butter (2 tbsp): Just a tiny bit for extra silkiness and sheen. Because we’re fancy like that.
- Vanilla Extract (1 tsp): A little splash of happiness. Real vanilla, please! No imitation stuff, unless you want your truffles to taste like a candle.
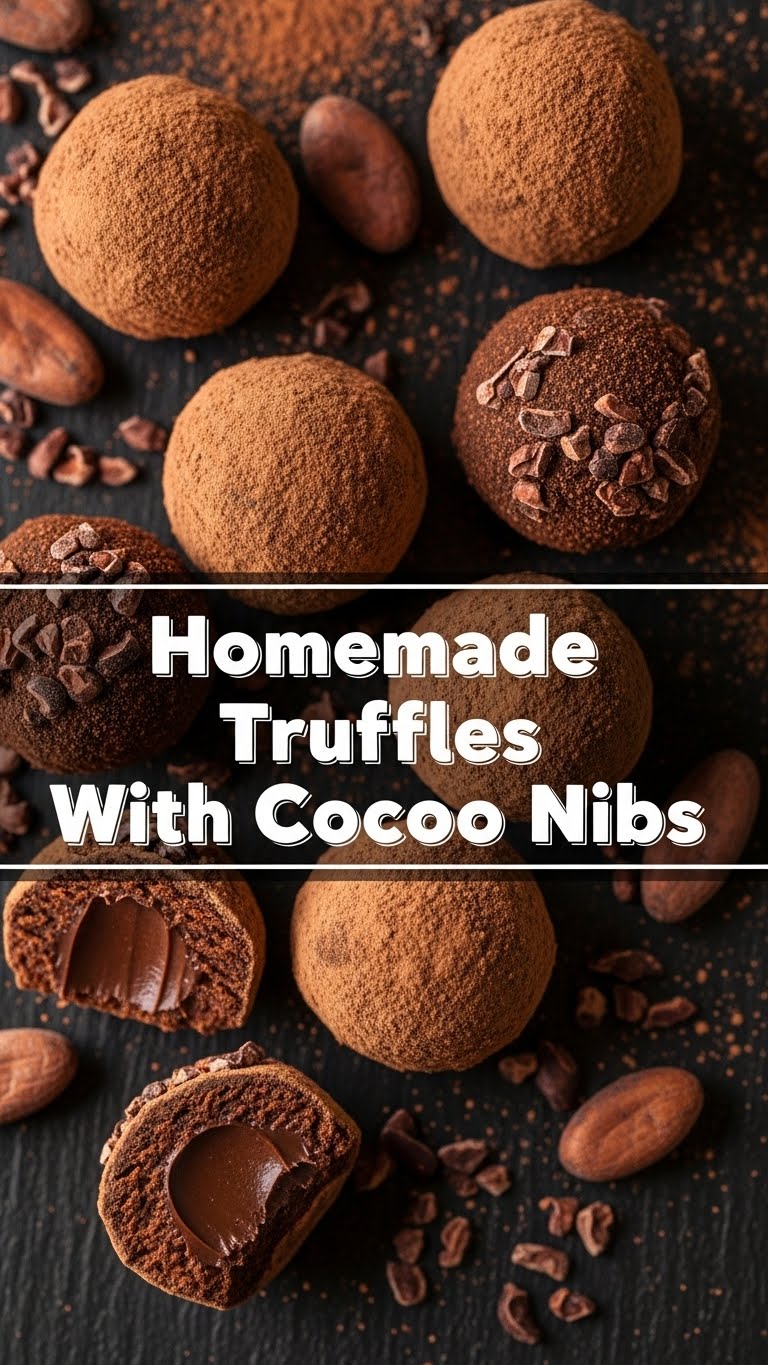
- Cocoa Nibs (1/4 cup, plus more for rolling): These little crunchy powerhouses are the star! They add texture and a lovely, slightly bitter chocolatey punch. Don’t skip ’em!
- Unsweetened Cocoa Powder (for rolling): Because what’s a truffle without its classic dusty coat?
Step-by-Step Instructions
- Chop that Chocolate: Get your dark chocolate and chop it into small, uniform pieces. The smaller, the faster it melts. Patience is a virtue, but speed is also cool.
- Heat the Cream Dream: In a small saucepan, gently heat the heavy cream and butter over medium heat until it just begins to simmer around the edges. Don’t boil it; we’re not making soup here.
- Melt Away: Pour the hot cream mixture over your chopped chocolate in a heatproof bowl. Let it sit for about 5 minutes. This gives the chocolate a chance to think about melting.
- Whisk It Real Good: After its little ponder, gently whisk the mixture until it’s completely smooth and glossy. Stir in the vanilla extract and 1/4 cup of cocoa nibs. This glorious mixture is now your ganache.
- Chill Out: Cover the bowl and pop it in the fridge for at least 2 hours, or until it’s firm enough to scoop. If you’re impatient, check it after an hour, but no guarantees it’ll be perfect! **Don’t rush this step!**
- Roll ‘Em Up: Once firm, scoop out small portions (about 1 teaspoon each) of the ganache. Roll them between your palms into cute little balls. Your hands will get messy; it’s part of the fun!
- Dust and Finish: Place some cocoa powder and extra cocoa nibs in separate shallow dishes. Roll your truffles in the cocoa powder first, then gently press them into the cocoa nibs to coat.
- Serve and Brag: Arrange your homemade truffles on a platter. Now, go forth and impress everyone with your sophisticated snack-making prowess.
Common Mistakes to Avoid
- Overheating the Cream: If your cream boils, it might scorch or separate. We want happy, silky ganache, not a curdled mess. Keep it low and slow, friend.
- Impatience with Chilling: Trying to roll warm ganache is like trying to catch smoke—messy and futile. **Always chill the ganache until it’s firm.** Seriously, don’t skip this.
- Using Subpar Chocolate: Remember when I said don’t skimp? I meant it. Cheap chocolate tastes like… well, cheap chocolate. Your truffles deserve better!
- Forgetting to Coat: Rolling them directly in nibs without cocoa powder first can be tricky and messy. The cocoa powder gives the nibs something to cling to. It’s a team effort!
Alternatives & Substitutions
Feeling adventurous, or just missing an ingredient?
- Different Coatings: Not a fan of cocoa nibs (gasp!) or cocoa powder? Try rolling them in powdered sugar, shredded coconut, finely chopped nuts, or even crushed freeze-dried raspberries for a pop of color and tartness.
- Spiked Truffles: Want to make these adults-only? Add a tablespoon of your favorite liqueur (rum, Kahlua, Cointreau, or even a good whiskey) when you add the vanilla. Trust me, it’s a game-changer.
- Milk or White Chocolate: You *can* use milk or white chocolate, but you might need to adjust the cream slightly as they melt differently. Dark chocolate is my personal faves for truffles, IMO, because it’s less sweet and really lets the chocolate flavor shine.
FAQ (Frequently Asked Questions)
- Can I use milk chocolate instead of dark? Well, technically yes, but why mute the rich, deep chocolate experience? Dark chocolate is king for truffles, but hey, your kitchen, your rules! Just know they might be sweeter.
- How long do these truffles last? If you manage not to eat them all in one sitting (impressive willpower!), they’ll last about 1-2 weeks in an airtight container in the fridge. But honestly, they rarely make it past day three.
- Do I have to use cocoa nibs? Nope, not at all! They add a fantastic crunch and a slightly bitter counterpoint, but if they’re not your jam, just skip ’em or substitute with finely chopped nuts for texture.
- My ganache isn’t firming up in the fridge. Help! Uh oh! Did you use enough chocolate or too much cream? Sometimes it just needs more time. If it’s still soup after 4 hours, it might be a ratio issue. Next time, try adding a little more chocolate to the mix.
- Can I freeze these? You betcha! Pop them in an airtight container, and they’ll be good for a couple of months. Just let them thaw in the fridge for a bit before serving. Instant fancy dessert whenever you want!
- Why are my truffles lumpy after rolling? You probably didn’t get all the lumps out when you whisked the ganache, or maybe your chocolate wasn’t chopped small enough initially. Next time, whisk, whisk, whisk until it’s super smooth before chilling!
Final Thoughts
See? I told you it was easy! You just whipped up some gourmet-level truffles with cocoa nibs like it was no big deal. Now go impress someone—or yourself—with your new culinary skills. You’ve earned it! Seriously, put on some fancy music, pour yourself a beverage, and savor every bite. You’re basically a kitchen wizard now. Don’t forget to send me a pic of your masterpieces!


