So, you’re craving something ridiculously decadent, chocolatey, and impressive, but the thought of spending hours in the kitchen sounds… well, exhausting? My friend, you’ve come to the right place. We’re about to make homemade chocolate truffles that are so easy, you’ll wonder why you ever paid a fortune for them. Get ready to unleash your inner chocolatier without breaking a sweat (or a single expensive piece of equipment!).
Why This Recipe is Awesome
Okay, let’s be real. There are a gazillion dessert recipes out there, but this one? It’s the MVP. Why? Because it’s practically idiot-proof. Seriously, even if your culinary skills usually peak at instant noodles, you can totally nail these. There’s no baking involved (hallelujah!), minimal ingredients, and maximum “wow” factor. Plus, they look super fancy, taste divine, and make you seem like you actually know what you’re doing in the kitchen. It’s basically a confidence booster in chocolate form. You’re welcome.
Ingredients You’ll Need
Gather your troops! Here’s what you’ll need for your truffle triumph:
- 250g (about 1.5 cups) Good Quality Dark Chocolate: This is non-negotiable. Seriously, splurge a little. The better the chocolate, the better your truffles will taste. Think 60-70% cacao for that perfect bittersweet balance. Chips or a chopped bar work great.
- 125ml (about ½ cup) Heavy Cream: The magic liquid that transforms solid chocolate into silky ganache. Don’t skimp on the fat content here; “whipping cream” or “double cream” is what we’re after.
- 2 tablespoons Unsalted Butter: Just a tiny bit for extra richness and that dreamy, melt-in-your-mouth texture. It’s like a secret handshake for your taste buds.
- 1 teaspoon Vanilla Extract: Adds a warm, comforting hug to the chocolate. Use the good stuff, not the imitation kind, unless you want your truffles to taste like a science experiment.
- ½ teaspoon Sea Salt (optional, but highly recommended): A tiny pinch cuts through the sweetness and really makes the chocolate sing. Trust me on this one.
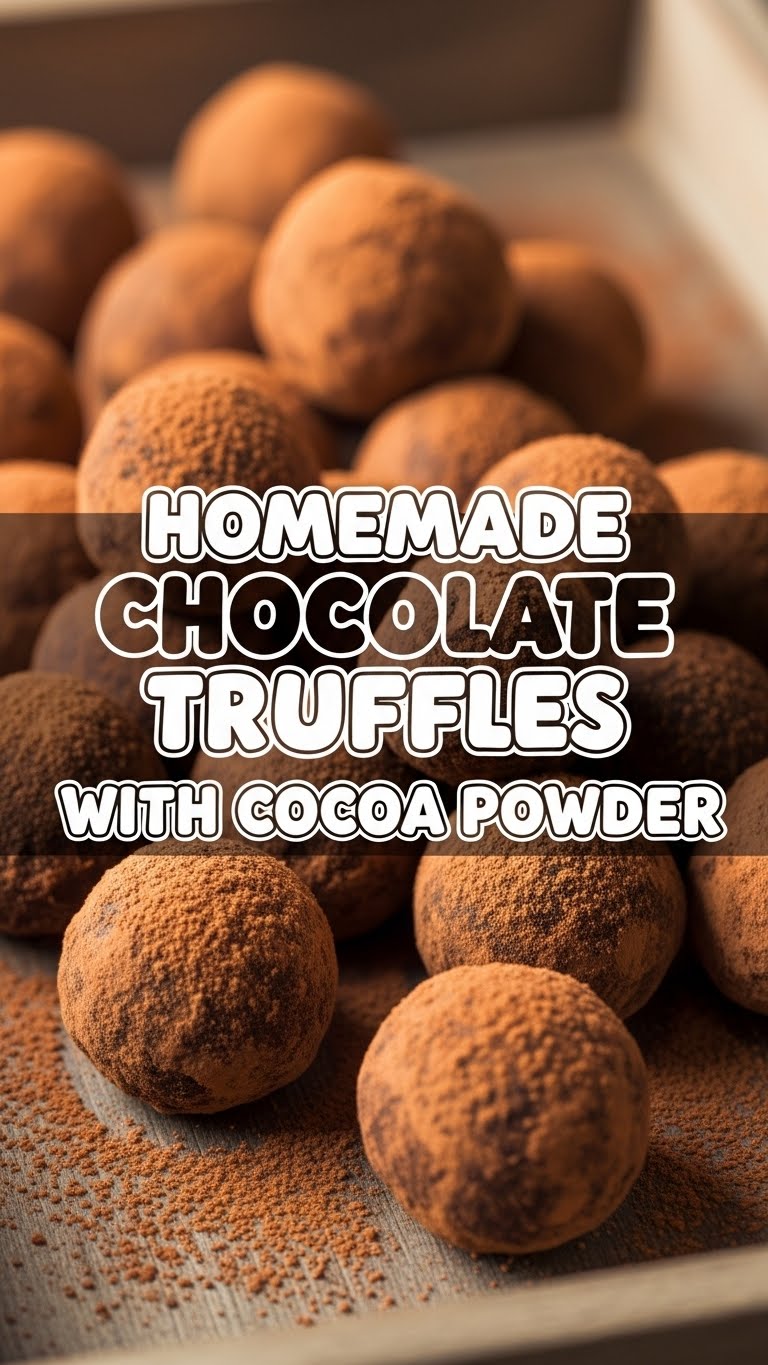
- ½ cup Unsweetened Cocoa Powder: For rolling! This is what gives them that classic, elegant truffle look and a lovely bitter counterpoint to the sweet interior.
Step-by-Step Instructions
Alright, apron on, good vibes only! Let’s get rolling (pun intended).
- Prep Your Chocolate: If you’re using a chocolate bar, chop it into small, uniform pieces. This helps it melt evenly. Toss it into a heatproof bowl.
- Heat the Cream & Butter: Pour the heavy cream into a small saucepan. Add the butter and the optional salt. Heat over medium heat, stirring occasionally, until it just starts to simmer around the edges. Don’t let it boil vigorously! We’re not making soup here.
- Marry the Chocolate & Cream: Immediately pour the hot cream mixture over your chopped chocolate in the bowl. Let it sit undisturbed for about 5 minutes. This gives the chocolate time to soften.
- Stir it Up (Gently): After 5 minutes, grab a whisk or a spatula and gently start stirring from the center outwards. Keep stirring until you have a smooth, glossy, beautiful ganache. Stir in the vanilla extract. If it looks a little clumpy, don’t panic! Pop it over a double boiler (or a bowl over a pot of simmering water) for a minute, stirring constantly, until smooth.
- Chill Out: Cover the bowl with plastic wrap, pressing it directly onto the surface of the ganache to prevent a skin from forming. Pop it in the fridge for at least 2-3 hours, or until it’s firm enough to scoop. This is crucial! Don’t rush it, or you’ll have a sticky mess instead of elegant spheres.
- Roll ‘Em Up: Once firm, get your rolling station ready! Pour the cocoa powder into a shallow dish. Scoop out small amounts of the ganache (a melon baller or a small spoon works perfectly) and quickly roll them between your palms to form rough balls. They don’t have to be perfectly round; rustic charm is totally in.
- Coat ‘Em Good: Drop the rolled truffles into the cocoa powder, one or two at a time. Roll them around until completely coated. Shake off any excess and place them on a parchment-lined plate or tray.
- Final Chill & Enjoy: Pop your finished truffles back into the fridge for about 15-20 minutes to set completely. Then, devour them!
Common Mistakes to Avoid
Nobody’s perfect, but we can try to avoid these rookie errors, right?
- Not Chilling Enough: Oh, you’re impatient, huh? Tried to roll them after 30 minutes? That’s how you get chocolate glue all over your hands. Chill time is your friend!
- Overheating the Chocolate: If you try to melt the chocolate directly over high heat or zap it too long in the microwave, it can seize up and become a grainy, sad mess. Low and slow, or let the hot cream do the work.
- Using Subpar Chocolate: Seriously, don’t do it. Your truffles will taste like cardboard instead of pure bliss. You deserve better.
- Rolling Too Slowly: Your hands are warm! The faster you roll, the less sticky and melty they’ll get. Think quick, decisive movements.
- Skipping the Salt: While optional, if you skip it, your truffles might be a bit one-note sweet. The salt provides a crucial flavor balance. Don’t be a hero, just add the salt.
Alternatives & Substitutions
Feeling adventurous? Here are some ways to jazz up your truffle game:
- Flavor Boost: Instead of (or in addition to!) vanilla, try a dash of peppermint extract for mint truffles, orange extract for a citrusy kick, or a tablespoon of your favorite liquor (rum, Kahlua, Grand Marnier) for an adult-only treat.
- Different Coatings: Not a cocoa powder fan? Roll them in finely chopped nuts (pistachios, almonds, hazelnuts), shredded coconut, sprinkles, powdered sugar, or even a drizzle of melted white chocolate. Be creative!
- Spice it Up: Add a pinch of cayenne pepper to the ganache for a subtle, unexpected spicy kick. It’s surprisingly good, IMO.
- Milk or White Chocolate: You can totally use milk or white chocolate, but you’ll need to adjust the cream-to-chocolate ratio slightly as they have different fat content. For milk chocolate, use about 100ml (just under ½ cup) cream. For white chocolate, closer to 75ml (⅓ cup) cream. And be warned: white chocolate can be a bit trickier to work with!
FAQ (Frequently Asked Questions)
Got questions? I’ve got answers (mostly humorous ones).
- “Can I use margarine instead of butter?” Well, technically yes, but why hurt your soul like that? Butter is key for that rich, creamy texture. Stick to the good stuff.
- “My ganache is too runny! What went wrong?” Either you didn’t chill it long enough, or you might have used too much cream (or not enough chocolate). Pop it back in the fridge for a good long nap.
- “How long do these magical truffles last?” In an airtight container in the fridge, they’ll last for up to 2 weeks. But honestly, will they even make it past day 2? Doubtful.
- “Can I freeze them?” Absolutely! Freeze them on a parchment-lined tray until solid, then transfer to a freezer-safe bag or container for up to 2 months. Thaw in the fridge before serving.
- “Do I need a double boiler to melt the chocolate?” Nope! Pouring hot cream over chopped chocolate is an easier, less fussy way to make ganache. Just make sure the cream is hot enough.
- “My truffles are too sticky to roll! Help!” Your ganache isn’t cold enough, or your hands are too warm. Try chilling the ganache longer, or pop your hands under cold water for a minute to cool them down before rolling. You can also dust your hands lightly with cocoa powder.
Final Thoughts
There you have it! Delicious, impressive, and surprisingly easy homemade chocolate truffles. You just whipped up a fancy dessert with minimal effort and maximum deliciousness. Now go impress someone—or yourself—with your new culinary skills. You’ve earned it! Seriously, pour yourself a coffee (or something stronger), grab a truffle, and bask in your chocolatier glory. You’re basically a kitchen wizard now, FYI.


