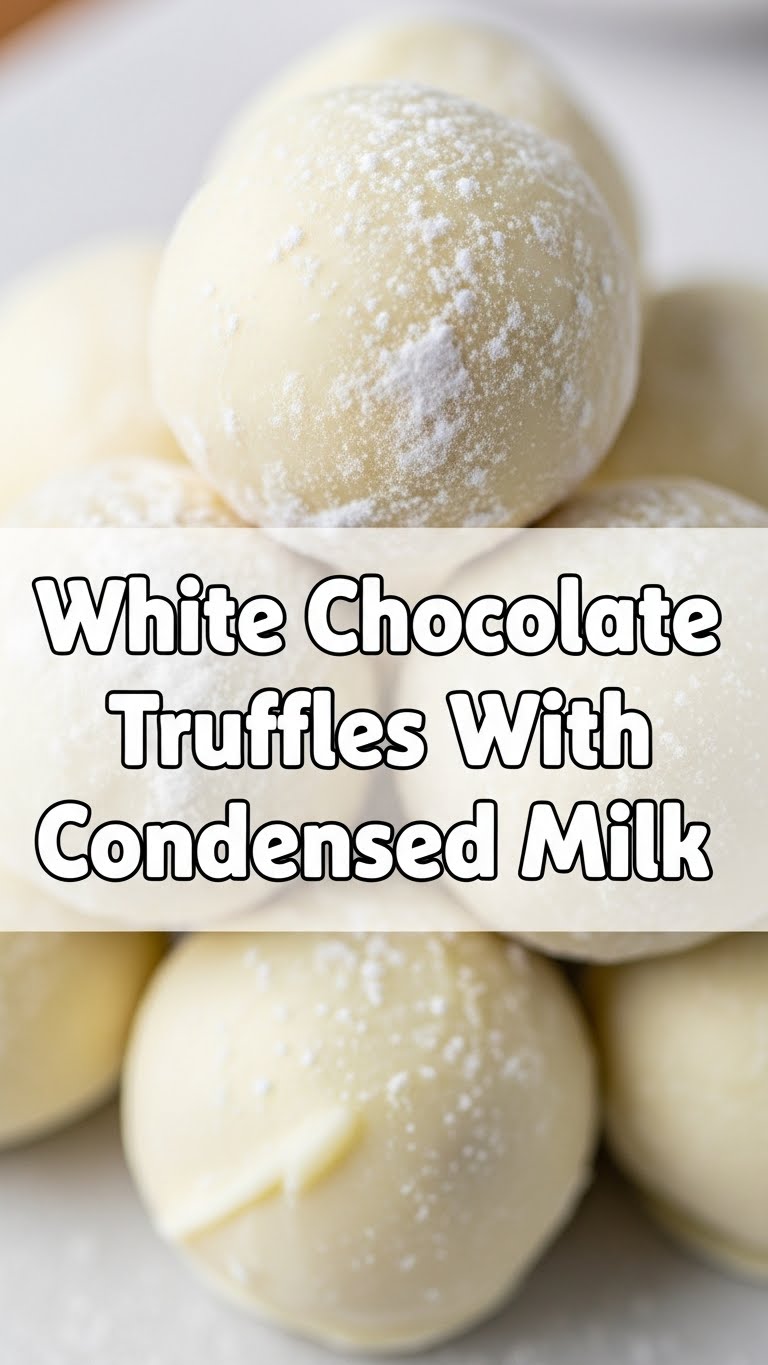
So you’re scrolling through social media, seeing all those fancy desserts, and thinking, “Ugh, I wish I could make something that impressive without actually *trying* hard.” Am I right? Well, friend, today is your lucky day. We’re diving into the ridiculously easy, unbelievably delicious world of White Chocolate Truffles with Condensed Milk. Get ready to feel like a fancy pastry chef with minimal effort!
Why This Recipe is Awesome
Okay, let’s be real. Most recipes require a small loan for ingredients or a degree in culinary arts. Not this one! This recipe is basically **foolproof**. Seriously, even if your previous kitchen exploits involved burning toast, you can conquer these truffles. They’re quick, they’re no-bake (hallelujah!), and they taste like a cloud made of pure joy. Plus, you get to roll things in pretty sprinkles, and who doesn’t love that? It’s the perfect treat for impressing guests, making a gift, or, let’s be honest, devouring all by yourself while binge-watching your favorite show. No judgment here, IMO!
Ingredients You’ll Need
- White Chocolate: Around 10-12 oz (about 280-340g). Good quality makes a difference, unless you’re into that waxy vibe. Chips or bars, chopped small.
- Sweetened Condensed Milk: Half a can (about 7 oz or 200g). Make sure it’s *sweetened* condensed, not evaporated, unless you’re going for a savory truffle experiment (which… don’t).
- Vanilla Extract: 1 teaspoon. The good stuff. Adds a lil’ somethin’ somethin’.
- Salt: A tiny pinch. Seriously, don’t skip this; it brightens everything up. Like tiny flavor fairy dust.
- Toppings! Get creative: cocoa powder, shredded coconut, sprinkles (obvs!), finely chopped nuts, crushed Oreos, freeze-dried fruit powder, whatever your heart desires.
Step-by-Step Instructions
- Melt the chocolate: Grab a heatproof bowl and your white chocolate (chopped into small pieces for faster melting). Place it over a saucepan of simmering water (make sure the bowl doesn’t touch the water!) or microwave in 30-second intervals, stirring in between. **Don’t overheat it!** White chocolate can be a diva and seize up easily.
- Combine the magic: Once your chocolate is smooth and melted, take it off the heat. Stir in the sweetened condensed milk, vanilla extract, and that tiny pinch of salt. Mix until everything is perfectly combined and glossy. It’ll look like a dream, trust me.
- Chill out: Cover the bowl with plastic wrap and pop it in the fridge for at least 2-3 hours. You want it firm enough to roll, but not rock solid. **Patience is a virtue here, my friend.** Don’t rush it, or you’ll have sticky chaos.
- Roll ’em up: Once chilled, grab a small scoop or a teaspoon and scoop out portions of the mixture. Roll them between your palms into cute little balls. If it gets too sticky, lightly dust your hands with cocoa powder.
- Coat ’em pretty: Pour your chosen toppings into separate shallow bowls. Roll each truffle in its desired coating until fully covered.
- Chill again (briefly): Arrange your finished truffles on a parchment-lined plate or tray and chill for another 15-30 minutes to help them set completely.
- Devour! Or share. Whatever. You made them, you make the rules.
Common Mistakes to Avoid
- Overheating the White Chocolate: This is the #1 truffle killer. White chocolate seizes easily and turns into a grainy, unworkable mess. **Low and slow, baby!** You’ve been warned.
- Skipping the Chill Time: Impatience will lead to sticky, shapeless blobs that are more frustrating than fun. Trust the process. The fridge is your friend, not a suggestion.
- Using Evaporated Milk: Please, for the love of all that is sweet, do not do this. It’s not the same, and your truffles will be a sad, watery disaster. FYI, sweetened condensed milk is thick and sugary.
- Ignoring the Pinch of Salt: It might seem tiny, but it balances the sweetness and really makes the flavors pop. Don’t be a rebel here; tiny salt, big impact.
Alternatives & Substitutions
- Chocolate Type: Not a white chocolate fan? You can totally do this with milk or dark chocolate! The texture might be slightly different, but still utterly delish.
- Flavor Boosts: Add a splash of almond extract, peppermint extract, or a tiny bit of orange zest to the mix. A tablespoon of liqueur (like Grand Marnier or Kahlúa) would also be fantastic for an adult version.
- Toppings Galore: Beyond the usual suspects, think matcha powder, finely crushed pistachios, melted chocolate drizzle (then chill!), or even edible glitter if you’re feeling extra fancy.
- Dairy-Free? There are some decent dairy-free condensed milk and white chocolate options out there now! Give them a try, but be aware textures can vary a bit.
FAQ (Frequently Asked Questions)
- My truffle mixture is too soft to roll! What gives? Did you chill it long enough, superstar? Pop it back in the fridge for another hour or two. Sometimes fridges are just, well, fridgier than others.
- Can I make these ahead of time? Absolutely! They store beautifully in an airtight container in the fridge for up to a week. They also freeze well for up to a month. So go wild and get preppin’!
- What if I don’t have vanilla extract? You could try a tiny bit of almond extract, or honestly, just skip it. The truffles will still be good, but vanilla adds that classic warmth.
- Do I have to use a double boiler? Can’t I just microwave? You *can* microwave, but be **super careful**. Stir frequently and use low power. A double boiler offers more gentle, even heat, reducing the risk of seizing.
- My white chocolate seized! Is it ruined? *Sigh*. Probably for rolling truffles, yes. It means it got too hot or had water introduced. You can sometimes salvage it for other uses (like a crumbly topping), but for smooth truffles, it’s often a redo. Sorry, friend!
- Can I add food coloring to make them pretty? You betcha! Add gel food coloring (liquid can affect consistency) to the melted mixture for some vibrant truffles. Pink ones for Valentine’s? Yes, please!
Final Thoughts
See? I told you this was easy peasy lemon squeezy (though, thankfully, no lemon in these truffles!). You just whipped up something truly delicious and impressive without breaking a sweat or even turning on your oven. Now you’re officially a dessert wizard. Go on, take a bow. Share these beauties, keep them all to yourself, or just enjoy the fact that you now have a secret weapon in your culinary arsenal. You’ve earned every single sweet bite!


