So, you’re craving something ridiculously delicious, creamy, and fruity, but the mere thought of turning on an oven in… well, *any* weather, really, makes you want to crawl under a blanket? Yeah, same, friend. You’ve come to the right place. Because today, we’re whipping up a dessert that screams “I tried really hard” but actually whispers “I barely lifted a finger.” Get ready for the glorious, no-fuss, no-bake Strawberry Cheesecake with Cream Cheese!
Why This Recipe is Awesome
Let’s be real: life is too short for complicated recipes, especially when your sweet tooth is doing a tap dance. This no-bake wonder is basically the superhero of desserts. Why? Because:
- It’s **no-bake**, meaning your oven can stay off and you won’t break a sweat. Perfect for summer, or any day you’re feeling a little “meh” about heat.
- It’s ridiculously **easy**. Seriously, it’s idiot-proof. Even I, a person who once set off a smoke alarm making toast, can nail this.
- It tastes like a dream. That creamy, tangy, sweet combo with fresh strawberries? Pure bliss.
- You look like a culinary genius with minimal effort. Prepare for compliments; just smile mysteriously and don’t tell them how easy it was.
- It’s versatile! More on that later, but just know you have options.
Ingredients You’ll Need
Gather your troops, folks! Here’s what you’ll need to create this masterpiece. Think of it as your grocery list, but with commentary.
For the Crust:
- **1 ½ cups (about 10-12 sheets) Graham Cracker Crumbs:** Crush ’em yourself or buy them pre-crushed. Your arm muscles (or lack thereof) will thank you.
- **6 tablespoons Unsalted Butter, melted:** Make sure it’s unsalted, unless you want a vaguely savory cheesecake. And make sure it’s melted, not just “softened because I left it on the counter for 5 minutes.”
For the Filling:
- **2 (8-ounce) packages Cream Cheese, softened:** Leave it out for a bit, or microwave in short bursts until it’s spreadable. **This is crucial**, trust me.
- **1 cup Powdered Sugar (Confectioners’ Sugar):** Sift it if you’re fancy and want to avoid lumps. Or just dump it in and whisk harder. Your call.
- **1 teaspoon Vanilla Extract:** The good stuff, please! Pure vanilla makes a difference.
- **1 cup Heavy Cream (cold):** Keep this chilled until you’re ready to whip. It’s the secret to that fluffy texture.
For the Topping:
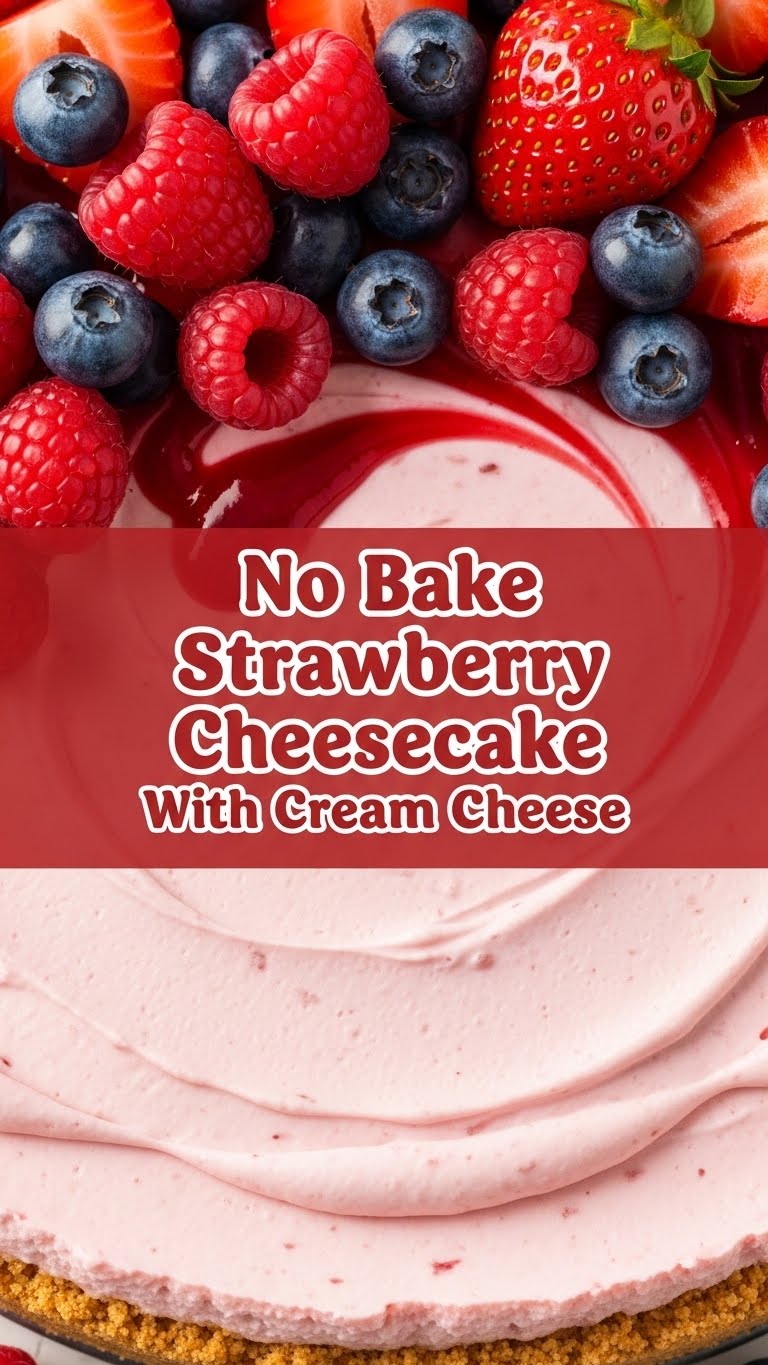
- **1 lb Fresh Strawberries, sliced or halved:** The prettier the better. Save a few for garnish if you’re feeling extra.
- **Optional: Strawberry jam or glaze:** For that extra glossy, “I went to culinary school” look.
Step-by-Step Instructions
Alright, apron on (or not, we don’t judge). Let’s do this!
- **Prep Your Pan:** Lightly grease a 9-inch pie plate or springform pan. Line the bottom with parchment paper if using a springform for easy release.
- **Crush Those Crackers:** In a medium bowl, combine the graham cracker crumbs and melted butter. Mix until it resembles wet sand.
- **Press the Crust:** Firmly press the crumb mixture into the bottom of your prepared pan. Use the back of a spoon or the bottom of a glass for an even, compact layer. **Pop it in the fridge for at least 15 minutes** to chill and firm up while you make the filling.
- **Beat the Cream Cheese:** In a large bowl, using an electric mixer, beat the softened cream cheese on medium speed until smooth and creamy. No lumps allowed!
- **Sweeten It Up:** Gradually add the powdered sugar to the cream cheese, beating until well combined. Stir in the vanilla extract.
- **Whip the Cream:** In a separate, chilled bowl (important for whipping!), beat the cold heavy cream with clean beaters until stiff peaks form. Don’t overmix, or you’ll have butter!
- **Fold It In:** Gently fold the whipped cream into the cream cheese mixture until just combined. Be gentle – we want that airy texture!
- **Assemble Your Masterpiece:** Pour the filling over your chilled crust. Spread evenly with a spatula.
- **Chill Out:** Cover the cheesecake loosely with plastic wrap and **refrigerate for at least 4-6 hours**, or preferably overnight. This is the hardest part: the waiting game. Don’t skip it!
- **Strawberry Time:** Once the cheesecake is fully set, arrange your sliced fresh strawberries on top just before serving. If you’re using glaze, brush it over the berries for a professional finish.
Common Mistakes to Avoid
Look, we all make mistakes. But let’s try to avoid these forehead-slapping blunders, shall we?
- **Not softening the cream cheese:** This is the big one. If your cream cheese is cold, you’ll end up with a lumpy, unappealing filling. Think tiny cream cheese pebbles. Ugh.
- **Not chilling long enough:** You’re impatient, I get it. But pulling it out too soon will result in a sad, slumpy mess. Give it time to firm up; it’s worth the wait.
- **Overmixing the whipped cream:** You’re going for stiff peaks, not butter. Keep an eye on it!
- **Using a warm bowl for whipped cream:** Heavy cream whips best when it’s super cold. A chilled bowl and beaters are your friends here.
- **Thinking you need to preheat the oven:** Oh wait, this is no-bake! So, don’t even think about it. 😉
Alternatives & Substitutions
Feeling adventurous? Or just don’t have exactly what the recipe calls for? No worries, we’re flexible!
- **Different Fruits:** Not a strawberry person? Swap them out! Raspberries, blueberries, sliced peaches, or even a mix of berries would be divine. Just make sure they’re fresh!
- **Crust Creativity:** Instead of graham crackers, try crushed shortbread cookies, Oreos (for a chocolatey twist!), or even digestive biscuits. Adjust butter as needed; generally, it’s about 1 ½ cups crumbs to 6 tablespoons melted butter.
- **Sweetener Swap:** If you’re cutting down on sugar, you *could* experiment with a sugar substitute for the filling, but honestly, IMO, nothing beats powdered sugar for that smooth texture.
- **Flavor Boosts:** Add a pinch of lemon zest to the filling for an extra zing, or a splash of almond extract if you’re feeling nutty.
FAQ (Frequently Asked Questions)
Got questions? I’ve got (casual) answers!
- **Can I use margarine instead of butter for the crust?** Well, technically yes, but why hurt your soul like that? Butter just tastes better and holds the crust together more effectively. Stick to butter, my friend.
- **My cheesecake isn’t setting! What did I do wrong?** Most likely, it didn’t chill long enough, or your cream cheese wasn’t beaten enough, or your heavy cream wasn’t whipped to stiff peaks. Re-check those steps next time! For now, stick it back in the fridge and pray to the dessert gods.
- **How long does this cheesecake last?** Covered tightly in the fridge, it’s good for about 3-4 days. But honestly, it rarely lasts that long!
- **Can I make this ahead of time?** Absolutely! This cheesecake is even better the next day, once all those flavors have had a chance to mingle. Just add the fresh strawberries right before serving for peak freshness.
- **Can I freeze no-bake cheesecake?** You can! Without the strawberries on top, wrap it tightly in plastic wrap and then foil. It’ll keep for about a month. Thaw in the fridge overnight. The texture might change slightly, but it’ll still be tasty!
- **Do I really need to use full-fat cream cheese?** Yes, please! Low-fat cream cheese won’t give you that rich, creamy texture and might make your cheesecake too watery. Go big or go home!
Final Thoughts
And there you have it! Your very own, incredibly easy, ridiculously delicious No-Bake Strawberry Cheesecake. You’ve officially conquered dessert without breaking a sweat or turning on a single heat source. Now go impress someone—or yourself—with your new culinary skills. You’ve earned it! Grab a fork (or just eat it straight from the pan, I won’t tell) and enjoy your sweet, sweet victory. Happy eating!


