So you’re craving something tasty but too lazy to spend forever in the kitchen, huh? Same. What if I told you there’s a way to conjure up ridiculously delicious truffles with, like, minimal effort and maximum reward? No, seriously. Put down that takeout menu, because we’re about to make magic. Get ready for truffles so easy, they practically make themselves.
Why This Recipe is Awesome
Let’s be real, life’s too short for complicated recipes. This one? It’s the culinary equivalent of a warm hug and a high-five. Here’s why you’re about to fall head over heels for it:
- It’s **idiot-proof**. Seriously, if you can stir, you can make these. Even I didn’t mess it up, and that’s saying something.
- Minimal ingredients. No obscure stuff you need to order from the dark web. Just pantry staples, baby!
- Quick gratification. We’re talking from zero to delicious in under an hour (plus chilling time, which doesn’t count as effort, right?). Instant happiness, basically.
- Major impress factor. These look fancy. Your friends will think you slaved away for hours. Shhh, it’s our little secret.
Ingredients You’ll Need
Gather your troops! Here’s what you’ll need for your truffle adventure:
- 1 can (14 oz) Sweetened Condensed Milk: This is the magical goo, the MVP, the hero of our story. Make sure it’s *sweetened*, unless you’re into bitter surprises.
- 1/2 cup Unsweetened Cocoa Powder: Good quality, please! Don’t skimp here unless you want sad, dusty truffles. Dutch-processed is my fave for that deep, dark chocolatey goodness.
- 2 tablespoons Unsalted Butter: Just a knob, for smoothness and richness. Unsalted is best, but hey, we’re not running a Michelin star here, so a pinch of salted is fine if that’s all you have.
- 1 teaspoon Vanilla Extract: A splash for that “oomph” factor. Don’t skip it; it makes a difference!
- Pinch of Salt: Because salt makes sweet things sing! Trust me on this one.
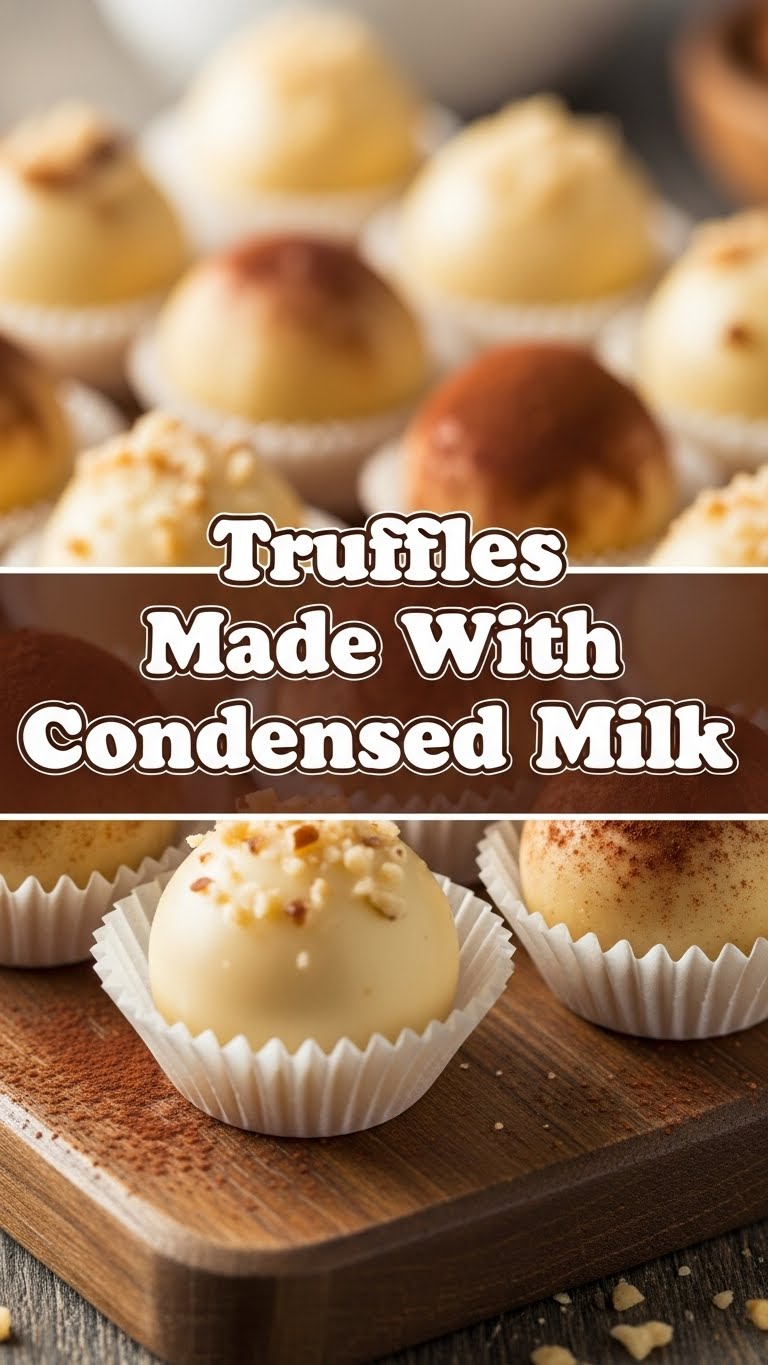
- Toppings (optional, but highly recommended): Whatever your heart desires! Think sprinkles, shredded coconut, more cocoa powder, crushed nuts, crushed cookies, or even a fancy drizzle of melted chocolate. Get creative!
Step-by-Step Instructions
Okay, pay attention, because this is going to be incredibly easy. No tricky techniques, just pure bliss.
- Melt & Mingle: Grab a medium saucepan. Add the sweetened condensed milk, cocoa powder, butter, vanilla extract, and that tiny pinch of salt. Place it over medium-low heat.
- Stir Until Thick: Stir, stir, stir! Keep stirring constantly with a spatula or wooden spoon. The mixture will start to thicken and pull away from the sides of the pan. This usually takes about 5-7 minutes. You want it thick enough that if you drag your spatula through, it leaves a trail for a second or two. Don’t overcook it!
- Chill Out: Pour the gloriously fudgy mixture into a shallow bowl or plate. Let it cool down a bit at room temp, then cover it and pop it into the fridge for at least 30-60 minutes. It needs to be firm enough to roll. This step is crucial!
- Roll ‘Em Up: Once chilled, take small spoonfuls of the mixture (about 1-inch in diameter) and roll them into perfect little balls between your palms. If they’re too sticky, chill the mixture for longer or lightly grease your hands.
- Get Your Coat On: Roll each truffle in your chosen toppings. Whether it’s a fluffy coat of cocoa powder, festive sprinkles, or tropical coconut flakes, make them look pretty!
- Final Chill & Devour: Place the finished truffles on a plate lined with parchment paper. Pop them back into the fridge for another 15-20 minutes to set completely. Then, it’s go-time! Devour with abandon.
Common Mistakes to Avoid
Nobody’s perfect, but we can avoid some common pitfalls, right? Here are a few things to watch out for:
- Impatience with Chilling: Trying to roll warm, sticky goo is a recipe for a messy disaster and a sticky counter. You *must* chill the mixture until it’s firm. **Seriously, don’t skip this.**
- Using Unsweetened Condensed Milk: This is a rookie mistake! Your truffles will be bitter, sad, and very confused. Always use *sweetened* condensed milk.
- Overcooking the Mixture: If you cook it for too long, your truffles will turn out hard and crumbly instead of soft and fudgy. We’re aiming for fudge, not jawbreakers.
- Skipping the Salt/Vanilla: These tiny additions make a HUGE difference in balancing the sweetness and deepening the flavor. Don’t be a hero; add them in!
Alternatives & Substitutions
Feeling adventurous? These truffles are super versatile! Here are some fun ways to mix things up:
- Flavor Boosters: Swap vanilla extract for peppermint, almond, or orange extract. Or add some finely grated orange zest for a bright kick!
- Spice It Up: A tiny pinch of cayenne pepper or chili powder adds a surprising, delightful heat. Or try a dash of cinnamon!
- Boozy Bliss: Add a tablespoon of rum, Kahlua, Grand Marnier, or your favorite liqueur to the mixture after you take it off the heat for an adult-only treat. Cheers!
- Fancy Coatings: Melt some good quality chocolate (dark, milk, or white!) and dip your truffles for a harder shell. Or roll them in crushed pistachios, finely ground coffee, or even matcha powder.
- Dairy-Free Dream: Yes, you can totally make these vegan! Use a plant-based sweetened condensed milk and vegan butter. They work just as well, FYI.
FAQ (Frequently Asked Questions)
Got questions? I’ve got answers. Mostly.
- Can I use regular milk instead of condensed milk? Nope, that’s a hard pass. Condensed milk is the MVP here because of its thickness and sweetness. Regular milk won’t give you the same fudgy consistency.
- My mixture is too sticky to roll! Help! Ah, impatience. You probably didn’t chill it long enough, or your kitchen is currently a sauna. Pop it back in the fridge for another 30 minutes. If your hands are getting sticky, try chilling the mixture a bit more or lightly dusting your hands with cocoa powder.
- How long do these last? In my house? About 5 minutes. But seriously, they’ll last about a week in the fridge in an airtight container.
- Can I freeze them? You bet! They’ll last even longer (up to a month), and they’re pretty darn good straight from the freezer too. Just thaw for a few minutes before eating, or enjoy them like a fudgy popsicle.
- What’s the best cocoa powder to use? Whatever makes you happy, but a good quality Dutch-processed cocoa powder gives a deeper, richer chocolate flavor and a darker color. It’s totally worth it, IMO.
- Can I skip the butter? You can, but they might be a bit less smooth and rich. The butter adds a lovely velvety texture, so why deny yourself that little bit of extra deliciousness?
Final Thoughts
See? I told you it was easy! Now you’ve got a batch of impressive, delicious truffles that took practically zero effort. Go on, pat yourself on the back. Share them, or don’t – I won’t judge. You’ve earned this win, champ. Now go impress someone – or yourself – with your new culinary skills. You’ve earned it!


