So you’re craving something tasty but too lazy to spend forever in the kitchen, huh? Same. And your inner chocoholic is doing a happy dance just thinking about something rich and decadent? Double same. Good news, my friend, because today we’re making chocolate truffles that are so easy, they practically make themselves. Seriously, put on your comfy pants, because this is about to get dangerously delicious.
Why This Recipe is Awesome
Okay, first off, **no baking required**. Let that sink in. We’re talking minimal effort, maximum payoff. Secondly, it’s pretty much **idiot-proof** – even I, a notorious kitchen disaster artist, managed not to burn down the house. Plus, you only need like, three main ingredients. Three! Your wallet and your sanity will thank you. And the best part? These little chocolate bombs taste like you slaved away for hours, when in reality, you probably just binged another episode of that show you totally shouldn’t be watching at 3 AM. It’s a win-win, I tell ya!
Ingredients You’ll Need
- Sweetened Condensed Milk: One can (about 14 oz / 397g). **Don’t accidentally grab evaporated milk**, unless you’re into watery sadness and profound disappointment. Read the label, friend!
- Good Quality Cocoa Powder: About 1/2 cup, plus extra for rolling. The better the cocoa, the more adult these truffles will taste. Don’t cheap out here; your taste buds will revolt.
- Unsalted Butter: 2 tablespoons, softened. Just a little richness to make everything silky smooth and prevent a tragic dry situation.
- Optional fun stuff for rolling/dusting: Sprinkles (because why be boring?), finely chopped nuts (pistachios, pecans, walnuts – get fancy!), shredded coconut, more cocoa powder, or powdered sugar. Get creative!
Step-by-Step Instructions
- Melt it Up: In a medium saucepan, melt the butter over low heat. Once melted, add the sweetened condensed milk and stir well until combined.
- Whisk in the Magic: Gradually whisk in the cocoa powder until the mixture is beautifully smooth and lump-free. Keep stirring constantly over low heat to prevent sticking.
- Thicken it Real Good: Continue cooking and stirring for about 5-7 minutes, or until the mixture thickens significantly and starts to pull away from the sides of the pan. It should be thick enough that if you draw a line with your spoon, it stays separated for a second. **Seriously, don’t walk away from the stove here!** It can burn quickly, and nobody wants scorched chocolate.
- Cool Down Time: Pour the luscious chocolate mixture into a shallow dish or a bowl. Cover it with plastic wrap, pressing the wrap directly onto the surface to prevent a skin from forming. Pop it in the fridge for at least 2-3 hours, or until it’s firm enough to handle. **Overnight is even better, IMO, for maximum chill.**
- Roll with It: Once perfectly chilled, grab a small spoon or a mini ice cream scoop. Scoop out about a tablespoon of the mixture and quickly roll it into a ball between your palms. Work fast, as your body heat will soften the mixture.
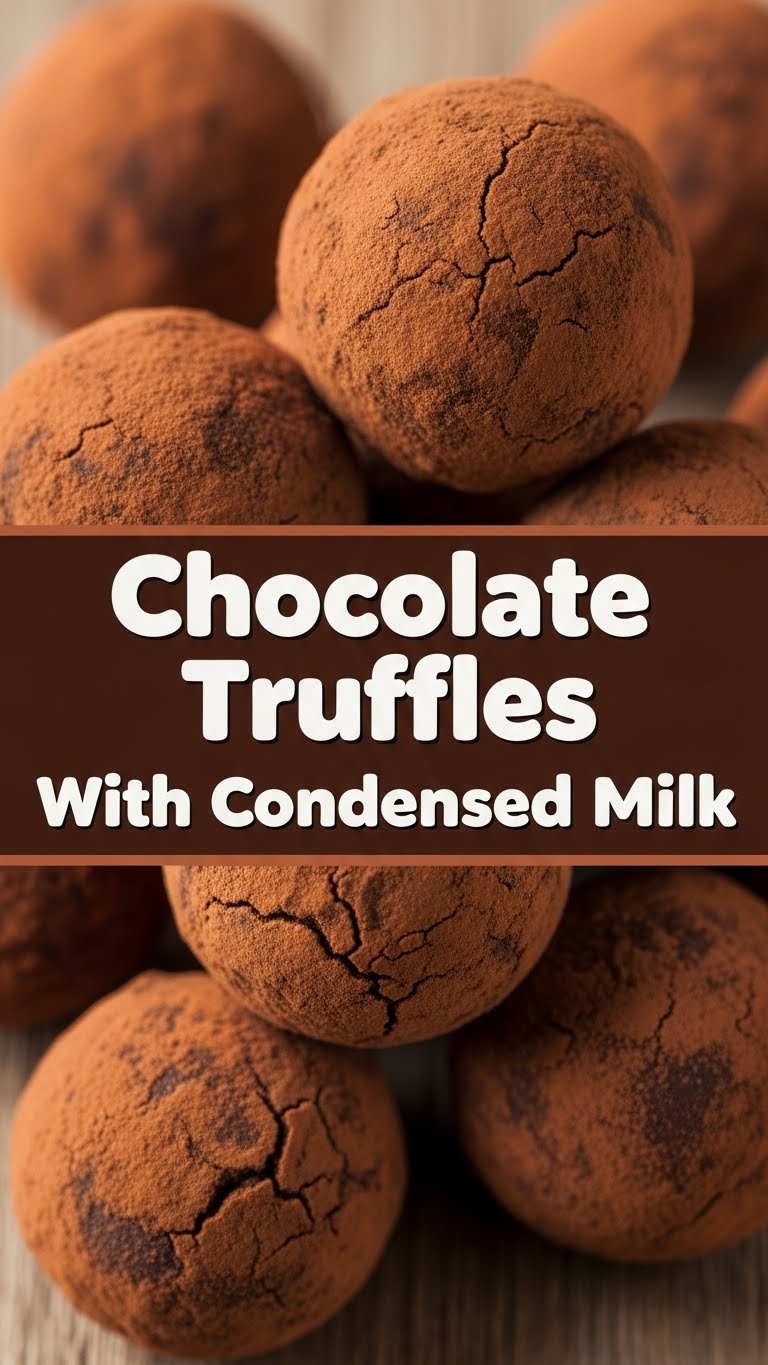
- Dress ‘Em Up: Roll your freshly formed truffles in your chosen coatings – cocoa powder, sprinkles, nuts, whatever your heart desires. Place them on a plate lined with parchment paper.
- Chill Out (Again!): Store your beautiful truffles in an airtight container in the fridge until you’re ready to devour them. They taste even better after another chill. Who knew chocolate could be so high-maintenance?
Common Mistakes to Avoid
- **Using Evaporated Milk Instead of Condensed:** This is like bringing a spoon to a knife fight. It just won’t work, and you’ll end up with a watery, sad chocolate mess. **Read the label, folks!**
- **Not Stirring Enough:** Leaving the mixture unattended is a recipe for scorched bottom and sadness. **Stir constantly**, especially in the thickening stage. Your arm will get a workout, but it’s worth it!
- **Not Chilling Long Enough:** Impatience is a virtue sometimes, but not here. Trying to roll gooey chocolate is a messy, frustrating endeavor that often ends in chocolate-covered hands and tears. **Seriously, chill out.**
- **Overcooking:** If you cook it too long, your truffles might turn out crumbly or hard as a rock. You’re looking for thick, not cement. Pull it off the heat when it’s just starting to get really firm.
- **Forgetting to Taste-Test:** The biggest mistake of all! You *have* to make sure it’s good, right? A tiny spoonful for quality control is practically a requirement. 😉
Alternatives & Substitutions
- **Flavor Boosts:** For an extra layer of deliciousness, add a splash of vanilla extract (1 tsp) or a tiny bit of instant espresso powder (1/2 tsp) along with the cocoa powder. This magically enhances the chocolate flavor without tasting like coffee. A tiny dash of rum or Kahlua (about 1 tablespoon) could also make these very “adult” and sophisticated.
- **Coatings Galore:** Beyond the basics, try crushed freeze-dried raspberries for a tangy burst, finely grated orange zest for a citrusy lift, or even a light dusting of sea salt for a sophisticated sweet-and-salty vibe. Crushed peppermint candy during the holidays? Oh yes!
- **Vegan Version:** I haven’t personally tried it, but you *can* find sweetened condensed coconut milk in most stores these days. That, combined with a good quality vegan cocoa powder and vegan butter (or even just skipping the butter if you’re feeling adventurous), should theoretically work! **Let me know if you try it!**
FAQ (Frequently Asked Questions)
- **My mixture is too soft to roll, what gives?** Uh oh! You probably didn’t chill it long enough, or maybe you didn’t cook it quite long enough to thicken properly. Pop it back in the fridge for another hour or two. Next time, try cooking it for an extra minute or two to ensure it’s thick enough before chilling.
- **How long do these last?** In the fridge, in an airtight container, they’re typically good for about 1-2 weeks. If they last that long, that is. Mine usually disappear by day two, so good luck!
- **Can I freeze them?** Absolutely! Freeze them on a parchment-lined tray until solid, then transfer to a freezer-safe bag or container. They’ll keep for a couple of months. Just thaw in the fridge before serving. Perfect for an emergency chocolate craving!
- **Do I have to use butter?** It adds a lovely richness and smoothness to the truffles. You *could* omit it, but the texture might be slightly less decadent and a bit firmer. Why deny yourself the joy of a little butter, though?
- **I don’t have cocoa powder, can I use melted chocolate?** This recipe is specifically designed for cocoa powder. If you use melted chocolate, you’d be making a different kind of truffle (a ganache-based one), which is a whole other delicious adventure. Stick to the script for this super easy version!
- **Can I skip the rolling in toppings?** Sure, you do you! They’ll still taste amazing, just won’t look as fancy or have that extra textural element. But trust me, the extra cocoa powder or sprinkles adds a nice touch.
Final Thoughts
See? Told you it was ridiculously easy. Now you’ve got a batch of homemade chocolate truffles that are ready to impress your friends, bribe your boss, or just silently disappear into your own mouth while you watch Netflix. **You’re practically a pastry chef now, congrats!** Go on, make a batch. You’ve earned this chocolatey goodness. And hey, if you mess up, it’s just an excuse to eat your mistakes. Win-win, right? Now go impress someone—or yourself—with your new culinary skills. You’ve earned it!


