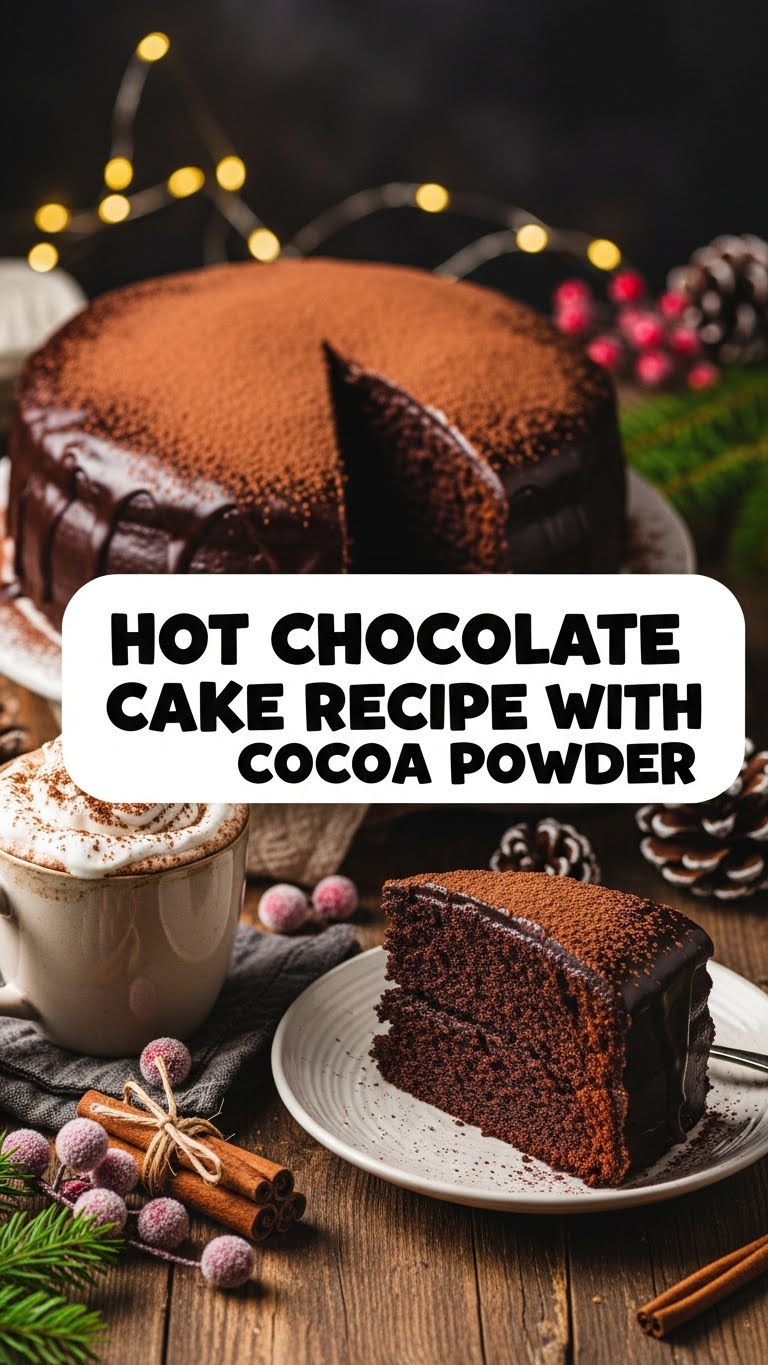
So you’re craving something warm, chocolatey, and comforting, but also kinda fancy, yet deceptively simple to make? And you really don’t want to spend all day on it? My friend, you’ve come to the right place. We’re about to dive into the magical world of Hot Chocolate Cake, made with cocoa powder, because who has time for melting chocolate bars, right? This isn’t just a cake; it’s a hug in a pan, a perfect excuse to ignore your responsibilities, and honestly, probably better than your ex. Let’s bake!
Why This Recipe is Awesome
Okay, first off, it’s a Hot Chocolate Cake. Need I say more? It tastes exactly like your favorite warm mug of cocoa, but in cake form, which is basically an upgrade. Secondly, it’s idiot-proof. Seriously, if I can make this without setting off the smoke alarm (which is a pretty low bar for me, FYI), you absolutely can too. It uses simple pantry staples, no weird exotic ingredients you’ll use once and then forget about in the back of your cupboard. And the best part? It’s quick. Minimal fuss, maximum deliciousness. Your taste buds will thank you, and your sanity will remain intact.
Ingredients You’ll Need
- All-purpose flour: The backbone of all good cakes. Don’t skip it, unless you’re making a gluten-free version (then, fair enough).
- Granulated sugar: Because life is sweet, and so should your cake be.
- Unsweetened cocoa powder: This is where the “hot chocolate” magic truly begins. Go for good quality here; it makes a difference!
- Baking powder & Baking soda: Our dynamic duo for lift and fluffiness. Don’t confuse them!
- Salt: Just a pinch to wake up all those flavors. It’s like a secret weapon.
- Milk: Any kind works, but whole milk makes it extra luscious.
- Vegetable oil: Or any neutral oil. Keeps the cake super moist, like a delicious sponge.
- Eggs: The binders of the baking world. Large, please!
- Vanilla extract: A splash of warmth and fragrance. Never, ever skip the vanilla.
- Boiling water: This is the secret sauce for making the cocoa bloom and giving the cake a super tender crumb. Don’t be scared!
Step-by-Step Instructions
- Get things ready: Preheat your oven to 350°F (175°C). Grease and flour a 9×13 inch baking pan (or line with parchment paper if you’re feeling fancy). Set it aside.
- Whisk the dry stuff: In a large bowl, whisk together the flour, sugar, cocoa powder, baking powder, baking soda, and salt. Make sure there are no lumpy bits of cocoa; we want smooth sailing!
- Mix the wet stuff (part 1): In a separate medium bowl, whisk together the milk, oil, and eggs until well combined. Add the vanilla extract and give it another whisk.
- Combine & Conquer: Pour the wet ingredients into the dry ingredients. Mix on low speed with an electric mixer (or by hand with a whisk) until just combined. Don’t overmix, or you’ll end up with a tough cake, and nobody wants that.
- The Boiling Water Secret: Carefully, pour the boiling water into the batter. Whisk until the batter is smooth and runny. Yes, it will look super thin; this is normal! This step is key for a super moist cake.
- Bake it ’til you make it: Pour the thin batter into your prepared pan. Bake for 30-35 minutes, or until a wooden skewer inserted into the center comes out clean.
- Cool down, buttercup: Let the cake cool completely in the pan on a wire rack before frosting or devouring. Patience is a virtue, especially when cake is involved.
Common Mistakes to Avoid
- Ignoring the preheat: Thinking you can just shove it in the oven cold? Rookie mistake. Preheating is essential for an even bake and proper rise.
- Overmixing the batter: Seriously, stop. Once the flour is just combined, put the whisk down. Overmixing develops gluten, leading to a dry, tough cake. You want tender, not chewy!
- Skipping the boiling water: “It looks too thin!” you might think. Nope, that’s the magic. Without it, your cake won’t be as moist or intensely chocolatey. Trust the process!
- Cutting it while hot: I know, the temptation is real. But a hot cake is a fragile cake. Wait for it to cool, or you’ll have a crumbly mess, not a beautiful slice.
Alternatives & Substitutions
- Milk: Any milk works here! Dairy, almond, oat, soy – whatever’s in your fridge. Whole milk gives the richest flavor, but use what you have.
- Oil: Vegetable oil is great, but canola oil or even melted coconut oil (if you don’t mind a hint of coconut) can totally step in. Olive oil? Maybe not for cake, IMO.
- Coffee: Want to deepen that chocolate flavor even more? You can substitute the boiling water with hot brewed coffee. It doesn’t make the cake taste like coffee, just amplifies the chocolate. Total game-changer!
- Frosting: No time for homemade? A store-bought chocolate frosting will do the trick. Or, dust with powdered sugar for a minimalist, yet elegant look. Or just eat it plain, who’s judging? (Hint: no one.)
FAQ (Frequently Asked Questions)
- “Can I use natural cocoa powder instead of Dutch-processed?” Absolutely! This recipe is pretty forgiving. Just make sure it’s *unsweetened*. The baking soda in the recipe reacts with natural cocoa, but it’ll still work well. Dutch-processed gives a darker color and milder flavor, but either is fine.
- “My batter looks really thin after adding the boiling water. Is it ruined?” Nope, you’re doing it right! That thin batter is the secret to a super moist, tender crumb. Don’t panic, just pour and bake!
- “Can I make this as cupcakes?” You betcha! Fill cupcake liners about two-thirds full. Bake for roughly 18-22 minutes. Keep an eye on them; times vary!
- “How long does this cake last?” If it even makes it past day one, it’s usually good for 3-4 days at room temperature, covered. In the fridge, maybe a day or two longer. But let’s be real, it rarely lasts that long.
- “Do I really need to use boiling water?” Yes, my friend, yes. It “blooms” the cocoa, intensifying the chocolate flavor, and contributes significantly to the cake’s amazing moistness. It’s a non-negotiable step for cake perfection.
- “Can I add chocolate chips to the batter?” Why not?! Go wild! Stir in about a cup of your favorite chocolate chips (semi-sweet, milk, dark – pick your poison) right before pouring into the pan. Extra chocolate is never a bad idea.
Final Thoughts
Alright, my friend, you’ve officially conquered the Hot Chocolate Cake. You’re now a culinary wizard, a baking legend, a purveyor of pure happiness. This cake is your trophy, your reward, your reason to celebrate… well, anything! Now go impress someone – or just yourself, because let’s be honest, you’re the one who deserves this deliciousness the most. You’ve earned every single glorious bite. Go on, get that frosting ready, and treat yo’ self! Happy baking!


