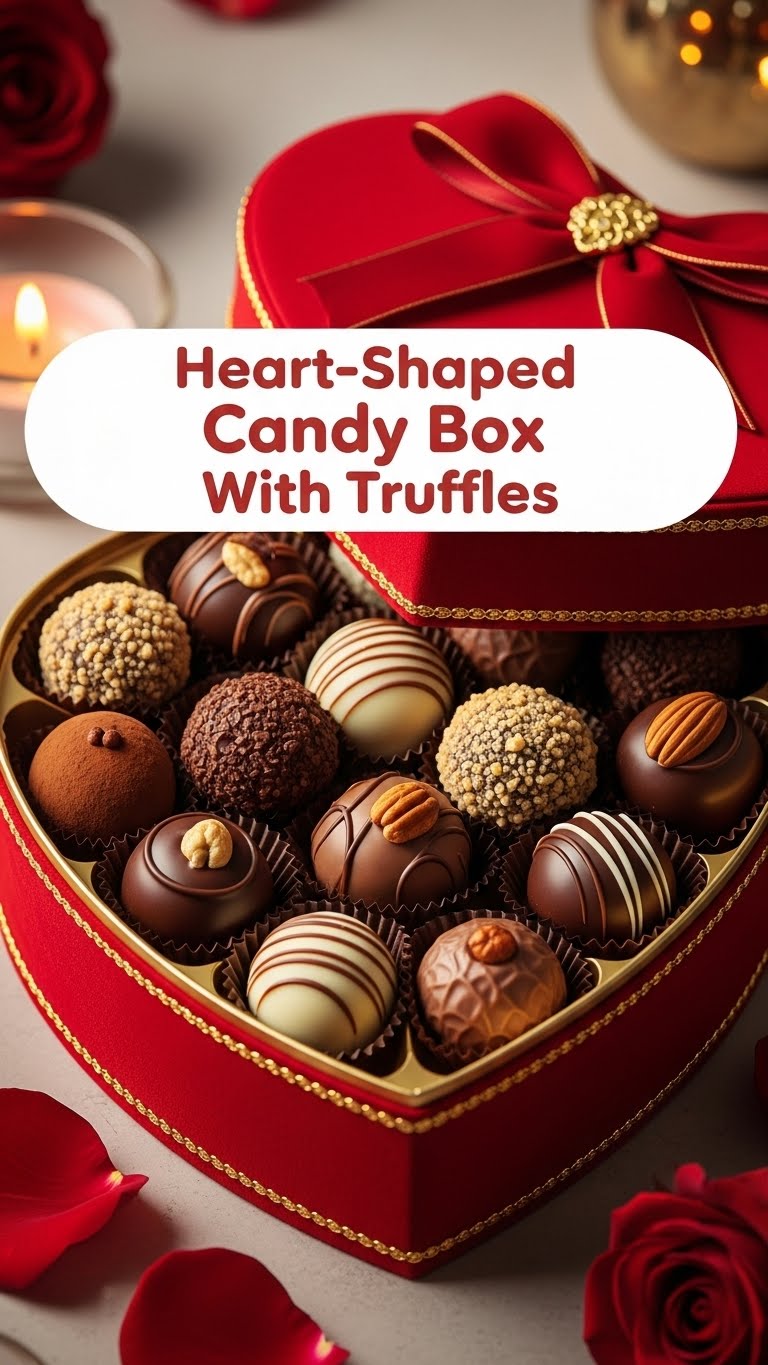
Okay, real talk. Ever scrolled through Pinterest and thought, ‘Yeah, I could totally make that… if I had 3 extra hands and a professional pastry chef living in my closet’? Same. But what if I told you we’re about to make something ridiculously impressive, super cute, and actually *doable* without a culinary degree? We’re talking a heart-shaped chocolate box, filled with dreamy truffles. Yep, you heard that right. Let’s get fancy, friends!
Why This Recipe is Awesome
First off, it screams ‘I love you’ way louder than a store-bought card, IMO. Secondly, it’s basically two desserts in one: a chocolate box *and* the truffles inside. Genius, right? Plus, it looks like you spent hours slaving away, when in reality, it’s mostly chill time. It’s also super customizable, so you can make it your own. And let’s be honest, who doesn’t want to smash a chocolate box after eating the goodies inside? It’s a win-win-win. **Seriously, it’s impressive AF and easier than parallel parking.**
Ingredients You’ll Need
Alright, pantry raid time! Here’s what you’ll need to transform into a chocolate wizard:
- **For the Heart-Shaped Box:**
- **Good Quality Chocolate:** About 10-12 oz (280-340g) of your favorite. Dark, milk, white – whatever makes your heart sing. **Don’t skimp here; cheap chocolate means a sad box.**
- **Heart-Shaped Silicone Mold:** This is non-negotiable, unless you’re a sculptor and want to freehand it. (Spoiler: you don’t.) Get one that’s a decent size, not too tiny.
- **For the Truffles (our basic go-to recipe):**
- **Heavy Cream:** 1/2 cup (120ml). The good stuff, full-fat. This is where the magic happens.
- **Chocolate Chips/Chopped Chocolate:** 8 oz (225g), again, good quality. Dark or semi-sweet works best for truffles, but you do you.
- **Unsalted Butter:** 2 tablespoons. Adds a lovely richness and makes them super smooth.
- **Vanilla Extract:** 1 teaspoon. A splash of sophistication.
- **Optional Coatings:** Cocoa powder, powdered sugar, chopped nuts, sprinkles, shredded coconut – get creative!
Step-by-Step Instructions
Time to get your hands delightfully messy! Follow these steps for sweet success:
- **Melt That Chocolate (for the box):** Grab your 10-12 oz of chocolate for the box. Gently melt it using a double boiler or microwave in short bursts, stirring frequently. **Make sure it’s smooth and lump-free.**
- **Prep Your Mold:** Give your silicone heart mold a quick wipe to ensure it’s spotless. You want a shiny finish on your box, right?
- **First Layer Fun:** Pour a thin layer of melted chocolate into the bottom of your heart mold. Swirl it around so it coats the bottom and sides evenly. You can use a small brush or the back of a spoon to help. Pop it in the fridge or freezer for about 10-15 minutes until set.
- **Second Layer for Strength:** Repeat step 3 with another layer of chocolate. This makes your box sturdy enough to hold all those glorious truffles without collapsing. Chill again until completely firm.
- **Unmold with Care:** Once fully set, gently peel the silicone mold away from your heart-shaped chocolate box. **Take your time; this is the delicate part.** Place it on a plate or cutting board. Ta-da! Half your masterpiece is done.
- **Whip Up the Truffle Ganache:** Heat the heavy cream in a small saucepan over medium heat until it just begins to simmer. Don’t boil it! Remove from heat.
- **Combine and Conquer:** Add your 8 oz of chocolate chips/chopped chocolate, butter, and vanilla extract to the hot cream. Let it sit for 5 minutes without stirring. Then, stir gently from the center outwards until completely smooth and glossy. This is your ganache.
- **Chill Out, Ganache:** Cover the ganache and refrigerate for at least 2-3 hours, or until firm enough to scoop. **Don’t rush this, or you’ll have a chocolate soup situation.**
- **Roll ‘Em Up:** Once firm, use a small scoop or two spoons to form small balls. Roll them between your palms to make them round.
- **Dress Them Up:** Roll your truffles in your chosen coatings – cocoa powder, nuts, sprinkles. Get creative!
- **Fill ‘Er Up:** Carefully place your beautiful truffles into your handmade chocolate heart box. Arrange them nicely. You’re basically a professional chocolatier now.
Common Mistakes to Avoid
Look, we all make mistakes. Let’s try to avoid these rookie errors, shall we?
- **Overheating Chocolate:** Burnt chocolate is a sad, gritty mess. Melt it slowly and gently. **Low and slow is the way to go.**
- **Water in Your Chocolate:** Even a tiny drop of water can seize up your melted chocolate, turning it into a grainy, unusable disaster. Keep everything bone dry!
- **Not Chilling Long Enough:** Patience, grasshopper! Trying to unmold your chocolate box or roll truffles before they’re properly chilled will lead to sticky, sad results.
- **Being Too Aggressive with the Mold:** You worked hard on that box! Don’t rip it trying to get it out. Gently peel, don’t yank.
- **Using Crappy Chocolate:** Seriously, I said it before. Quality matters. You wouldn’t make a fancy steak with cheap meat, would you? (Okay, maybe you would, but not for this recipe!)
Alternatives & Substitutions
Feeling adventurous or just missing an ingredient? No worries, we got options!
- **Chocolate Box Variations:** Instead of plain chocolate, you could marble two different types (e.g., white and dark). Or add a few drops of food-grade essential oil (peppermint, orange) to the melted chocolate for a flavored box.
- **Truffle Flavor Boosts:**
- **Boozy Bits:** Add a tablespoon of liqueur (rum, Kahlua, Grand Marnier) to your ganache with the vanilla. **Adults only, obviously!**
- **Citrus Zing:** Grate in some orange or lemon zest with the hot cream.
- **Spicy Kick:** A tiny pinch of cayenne pepper in the ganache can be surprisingly delicious!
- **Nut Butter Swirl:** Swirl a tablespoon of peanut butter or almond butter into the ganache after it’s cooled slightly for a nutty twist.
- **Coatings Galore:** Beyond the basics, try crushed freeze-dried raspberries, finely chopped pretzels for a sweet and salty vibe, or even edible glitter for extra sparkle.
FAQ (Frequently Asked Questions)
Got questions? I probably do too, but here are some common ones that might save your dessert day:
- Can I use chocolate melts instead of good quality chocolate?
- Well, you *can*. But do you *want* to? Chocolate melts are designed for easy melting and setting, but they often lack the rich flavor of real chocolate. For something this special, **treat yourself to proper chocolate.** Your taste buds will thank you.
- My chocolate seized! What did I do wrong?
- Oops! This usually happens if water gets into the chocolate or if it’s overheated. Unfortunately, once chocolate seizes, it’s pretty hard to fix. Best to start over and remember: **dry bowls, gentle heat.**
- How long do the truffles last?
- In your fridge, they’ll happily hang out for about 1-2 weeks. But honestly, good luck making them last that long. They usually vanish mysteriously within days. Mine do, anyway.
- Can I make this dairy-free?
- You totally can! Use good quality dairy-free chocolate for both the box and truffles, and swap the heavy cream for full-fat canned coconut milk (the thick cream part only, from a chilled can). **Just make sure your dairy-free chocolate melts smoothly.**
- What if I don’t have a heart-shaped mold?
- You’re out of luck… just kidding! You could use any sturdy silicone mold you have. Or, if you’re really daring, try lining a small, actual heart-shaped box (like a gift box) with parchment paper and building the chocolate layers inside. But seriously, **a silicone mold makes life SO much easier.**
Final Thoughts
So there you have it, folks! You’ve just created a show-stopping, edible masterpiece. Whether you’re making this for a special someone, a party, or just because you deserve something ridiculously delicious (and you do!), you’re officially a chocolate hero. **Go forth and share your sweet creation (or hoard it all, no judgment here!).** You’ve earned those bragging rights. Now, who’s ready for dessert?


