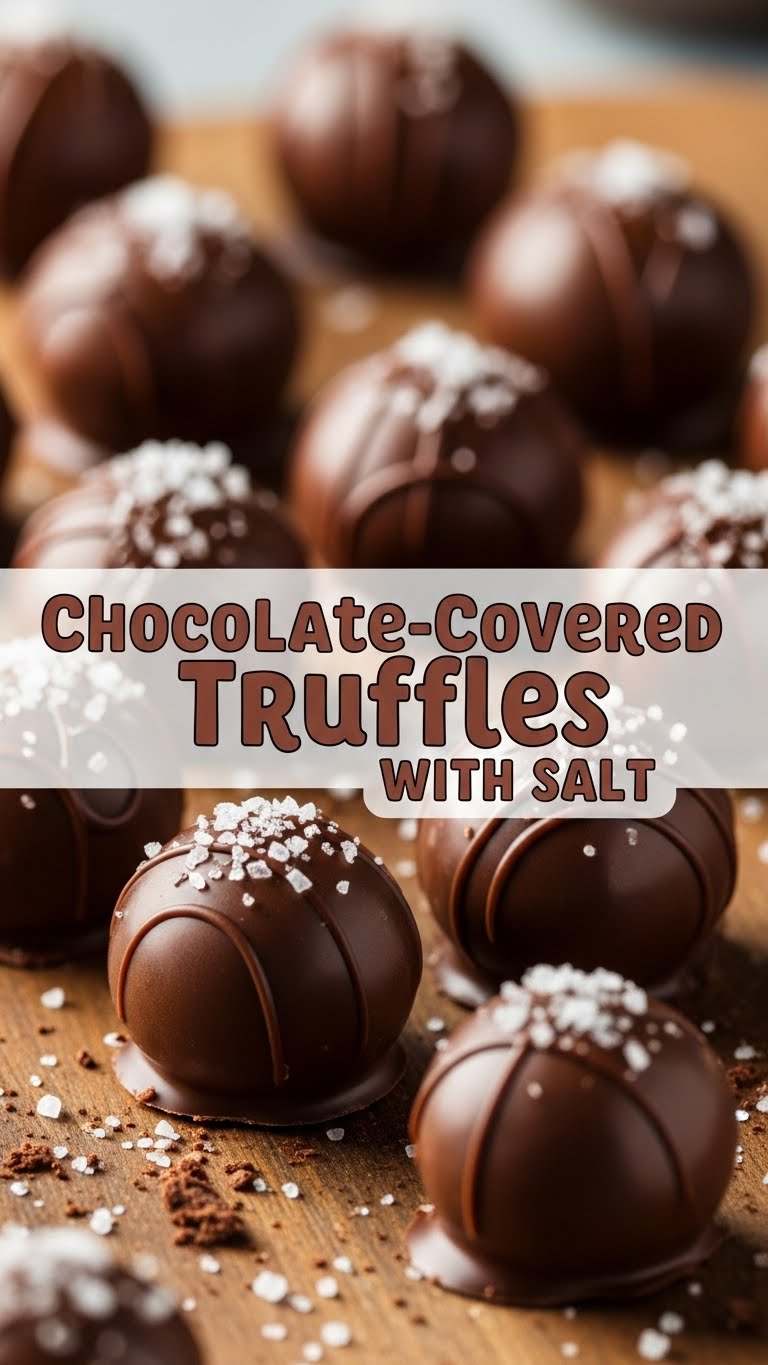
So, you’re craving something ridiculously rich, decadently chocolatey, and just a *little* bit fancy, but your energy levels are currently screaming “Netflix and sweatpants”? I hear you. Loud and clear. We’re about to make some magic that tastes like you spent hours slaving away, but actually, it’s so easy you might just giggle. Get ready for **Chocolate-Covered Truffles With Salt**!
Why This Recipe is Awesome
Let’s be real, most fancy desserts require a culinary degree or at least a willingness to spend an entire afternoon in the kitchen. Not these bad boys! This recipe is basically a superhero in disguise:
- It’s practically **idiot-proof**. Seriously, if I can make these without burning down the kitchen, so can you.
- It looks like you put in *way* more effort than you actually did. Prepare for compliments, you culinary genius!
- The flavor combo of rich chocolate and a tiny hit of salt? It’s a game-changer. Elevates humble truffles to “gourmet” status without the gourmet price tag.
- Perfect for gifting (if you can bear to part with them) or, let’s be honest, for hoarding all to yourself. Zero judgment here.
Ingredients You’ll Need
Gather ’round, my fellow chocolate fiends! Here’s what we’ll need to conjure up some deliciousness:
- **1 cup (240ml) Heavy Cream:** The unsung hero that makes everything silky and rich. Don’t skimp, this isn’t the time for “light” anything.
- **12 oz (340g) Good Quality Chocolate Chips or Chopped Chocolate:** Dark chocolate is my jam for this, around 60-70% cacao. If you go too sweet, the salt won’t sing as much. **This is where quality counts!**
- **2 tablespoons Unsalted Butter:** For extra richness and a smooth texture. Because butter makes everything better, right?
- **1 teaspoon Vanilla Extract:** A little splash of liquid gold to deepen the flavor.
- **1/4 teaspoon Fine Sea Salt:** We’re mixing this *into* the truffles. Trust me on this.
- **Flaky Sea Salt (e.g., Maldon) for Topping:** This is the *chef’s kiss*. That little crunch and burst of salt is everything.
- **Unsweetened Cocoa Powder (for rolling):** Or whatever other coating you fancy. We’ll get to that later!
Step-by-Step Instructions
Alright, apron on (or not, we’re friends here), let’s make some magic! Keep paragraphs short, your attention span is appreciated.
- **Heat the Cream:** Pour your heavy cream into a small saucepan. Heat it over medium heat until it just begins to simmer and small bubbles form around the edges. **Don’t boil it, we’re not making soup.**
- **Melt the Chocolate Magic:** Remove the saucepan from the heat immediately. Add your chocolate chips (or chopped chocolate), butter, vanilla extract, and the 1/4 teaspoon of fine sea salt to the hot cream. Let it sit undisturbed for about 5 minutes. This gives the chocolate a chance to really melt.
- **Whisk it Real Good:** After 5 minutes, grab a whisk and gently stir the mixture until it’s completely smooth, glossy, and beautifully combined. This glorious mixture is called ganache, and it’s the foundation of all your chocolate dreams.
- **Chill Out, Truffles:** Pour the ganache into a shallow dish or a bowl. Cover it with plastic wrap, pressing the wrap directly onto the surface of the ganache to prevent a skin from forming. Pop it in the fridge for at least 2-4 hours, or until it’s firm enough to scoop. Overnight is even better if you can wait that long!
- **Scoop and Roll:** Once firm, line a baking sheet with parchment paper. Grab a small spoon or a mini ice cream scoop (about 1-inch diameter) and scoop out portions of the ganache. Quickly roll them between your palms to form neat little balls. Your hands will get messy, it’s part of the fun!
- **Coat ‘Em Up:** Pour some cocoa powder into a shallow dish. Roll each truffle in the cocoa powder until evenly coated. Place them back on the parchment-lined baking sheet.
- **The Salty Finish:** Now for the *pièce de résistance*! Sprinkle a little flaky sea salt over the top of each cocoa-dusted truffle. Just a pinch, a gentle kiss of salt.
- **Final Chill (Optional, but Recommended):** Pop the finished truffles back into the fridge for another 15-30 minutes to firm them up completely. This makes them less prone to melting in your eager hands.
- **Devour with Gusto:** And just like that, you’re done! Enjoy your fancy, delicious, and surprisingly easy homemade truffles. You deserve it.
Common Mistakes to Avoid
We all make mistakes, darling, but some are just so easily avoidable when it comes to truffles. Learn from my past blunders!
- **Overheating the Cream:** If your cream boils vigorously, it can scorch, and nobody wants burnt-tasting chocolate. Plus, it can make your ganache greasy. Just a gentle simmer, okay?
- **Not Chilling Enough:** Seriously, this isn’t a suggestion; it’s a command! Trying to roll warm ganache is a one-way ticket to a sticky, gooey, frustrating mess. **Patience is a virtue here.**
- **Using Cheap Chocolate:** Look, I get it, sometimes the budget calls for it. But with only a few ingredients, the quality of your chocolate *really* shines (or fails to shine). Invest in something decent; your taste buds will thank you.
- **Skipping the Salt:** I know, some people are hesitant. But the salt, especially the flaky finishing salt, cuts through the richness and enhances the chocolate flavor in a magical way. Don’t be a skeptic, be a believer!
- **Overworking the Ganache:** When you’re whisking, do it until it’s smooth, then stop. Excessive whisking can incorporate too much air, which can lead to a grainy texture later.
Alternatives & Substitutions
Feeling creative? Want to mix things up? I’m all for it! Here are a few ideas to get your wheels turning:
- **Different Chocolate Flavors:** Instead of dark chocolate, try milk chocolate for a sweeter truffle, or even white chocolate (though you might want to adjust the salt level a bit, IMO).
- **Boozy Bits:** Add a tablespoon or two of your favorite liqueur to the ganache mixture with the vanilla extract. Think Kahlua, Grand Marnier, rum, or even a good whiskey!
- **Roll in Different Coatings:** Instead of (or in addition to) cocoa powder, try finely chopped nuts (pistachios, pecans!), shredded coconut, powdered sugar, mini chocolate sprinkles, or even crushed freeze-dried raspberries for a pop of color and tartness.
- **Vegan Vibes:** You can totally make these vegan! Just swap out the heavy cream for full-fat canned coconut cream (the thick part only, from a chilled can) and use a good quality dairy-free chocolate. Easy peasy!
FAQ (Frequently Asked Questions)
Got questions? I’ve got answers! Let’s tackle some common curiosities, shall we?
- **”Do I *have* to use good quality chocolate? Like, really?”** Yes, my friend, for your soul and your taste buds, yes. This is a chocolate-forward recipe, so the better the chocolate, the better the truffle. Think of it as self-care.
- **”Can I skip the chilling part if I’m super impatient?”** Well, technically you *can*, but it’ll be a messy, sticky, frustrating experience. You won’t be able to roll them into neat balls, and you’ll end up with chocolate goo on everything. Trust the chill!
- **”How long do these truffles last, assuming I don’t eat them all immediately?”** Ha! Good question. Stored in an airtight container in the fridge, they’ll last about 1-2 weeks. But let’s be honest, they probably won’t make it that long.
- **”My ganache looks greasy or separated! What happened?”** Oh no! This usually means it’s either too hot or too cold, or the fat has separated. Try adding a tablespoon of *warm* cream and whisking gently from the center outwards. Often, it can be salvaged!
- **”Can I freeze these truffles?”** Absolutely! Place the finished truffles on a baking sheet and freeze until solid. Then transfer them to an airtight container or freezer bag. They’ll last for a couple of months. Just thaw them in the fridge before serving.
- **”Salt on chocolate? Is that really a thing?”** Oh, it’s *the* thing! The salt provides a delightful contrast to the sweetness and bitterness of the chocolate, enhancing all the flavors and making it incredibly addictive. If you’ve never tried it, prepare to have your world rocked.
Final Thoughts
There you have it! A ridiculously easy, incredibly impressive, and utterly delicious recipe for chocolate truffles with a perfect salty kick. You’ve now unlocked a secret weapon in your dessert arsenal. Go forth and make these, share them (if you’re feeling generous), and definitely brag a little. You’ve earned it! Now, if you’ll excuse me, I think I hear a truffle calling my name…


