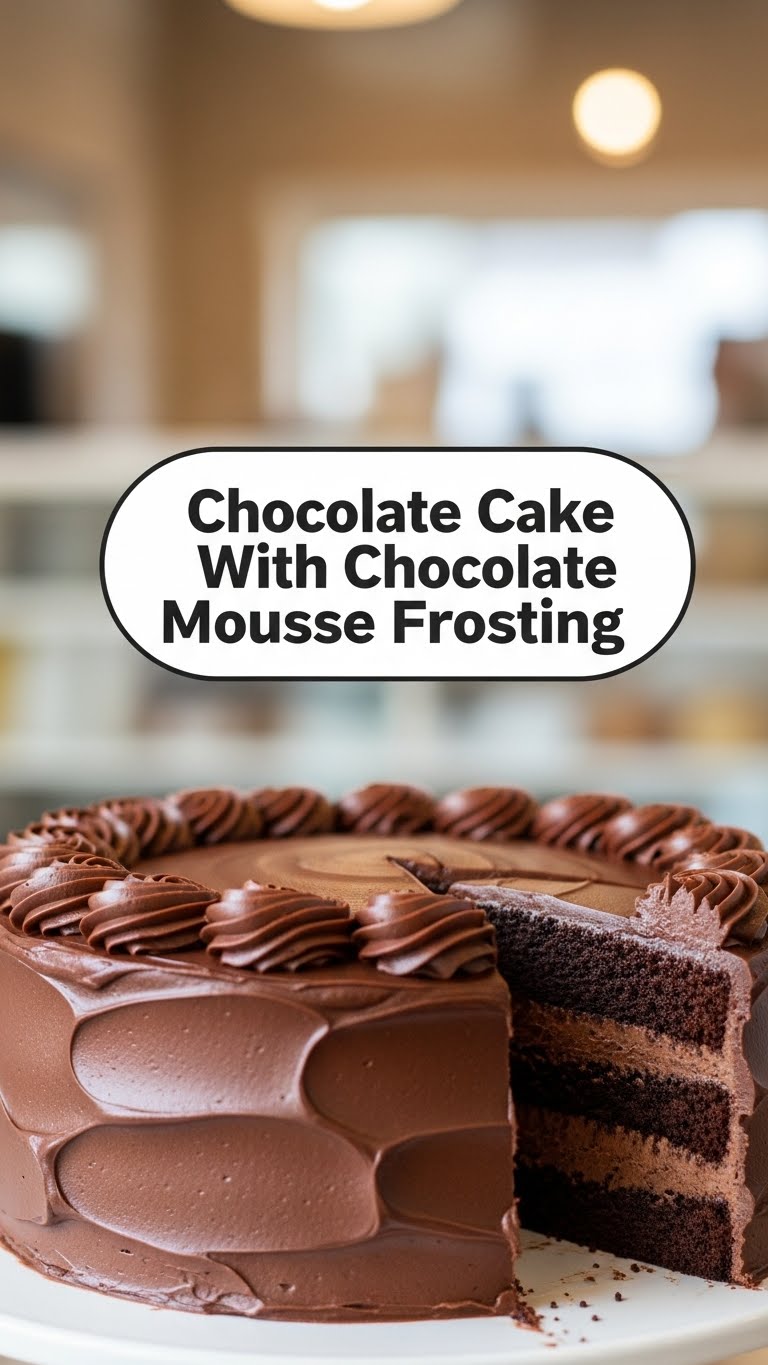
Feeling a bit fancy, but also a bit “I don’t wanna do dishes all day”? My friend, you’ve come to the right place. Today, we’re making chocolate magic without the melodrama. Get ready for a Chocolate Cake with Chocolate Mousse Frosting that’s so good, you’ll want to marry it. No judgment here.
Why This Recipe is Awesome
Look, if I can bake this without setting off the smoke alarm, anyone can. Seriously. This isn’t just a cake; it’s a *statement*. A statement that says, “Yes, I am sophisticated, and yes, I have my life together… at least in the kitchen.” Plus, it’s ridiculously moist, thanks to a secret ingredient (shhh!). And the mousse? Oh, the mousse is a cloud of chocolate dreams. It’s light, it’s airy, it’s basically what heaven tastes like. You’ll be high-fiving yourself, I promise.
Ingredients You’ll Need
Time to gather your delicious arsenal! Here’s what you’ll need for your chocolate masterpiece:
For the Seriously Moist Chocolate Cake:
- 1 ½ cups (180g) All-Purpose Flour: The good old reliable. No fancy stuff required.
- 1 ½ cups (300g) Granulated Sugar: Your sweet escape. Don’t skimp unless you’re into sadness.
- ¾ cup (75g) Unsweetened Cocoa Powder: The darker, the dreamier. Dutch-processed is my fave for richness.
- 1 ½ tsp Baking Soda: For that perfect rise.
- 1 tsp Baking Powder: Its trusty sidekick.
- 1 tsp Salt: Balances all that sweetness. Don’t skip it!
- 2 Large Eggs: Binder extraordinaire. Room temp is ideal, FYI.
- ¾ cup (180ml) Whole Milk: For maximum indulgence, but whatever’s in your fridge works.
- ½ cup (120ml) Vegetable Oil: Or canola oil. Keeps it super moist!
- 1 ½ tsp Vanilla Extract: A splash of pure joy.
- ¾ cup (180ml) Boiling Water or Hot Brewed Coffee: The secret sauce for ultimate moisture and a deeper chocolate flavor. Trust me on the coffee.
For the Dreamy Chocolate Mousse Frosting:
- 12 oz (340g) Good Quality Semi-Sweet Chocolate: Chopped. Life’s too short for bad chocolate!
- 2 cups (480ml) Heavy Cream: The heavier, the better for that fluffy mousse. Cold, please!
- ¼ cup (50g) Powdered Sugar: For a hint of sweetness in your cloud-like frosting.
- 1 tsp Vanilla Extract: More joy, always.
Step-by-Step Instructions
Alright, apron on, game face ready! Let’s get baking.
For the Cake:
- Prep Your Oven & Pans: Preheat your oven to 350°F (175°C). Grease and flour two 8-inch round cake pans. Or line with parchment paper for extra insurance.
- Whisk Dry Ingredients: In a large bowl, whisk together the flour, sugar, cocoa powder, baking soda, baking powder, and salt. Make sure there are no lumps.
- Add Wet Ingredients (Except Hot Liquid): Dump in the eggs, milk, oil, and vanilla extract. Beat with an electric mixer on medium speed for about 2 minutes until just combined and smooth. Don’t overmix!
- Stir in the Hot Liquid: Carefully pour the boiling water (or hot coffee!) into the batter. Mix on low speed until just incorporated. The batter will be thin—don’t panic, that’s normal and good!
- Bake It Up: Divide the batter evenly between your prepared cake pans. Bake for 30-35 minutes, or until a wooden skewer inserted into the center comes out clean.
- Cool Down: Let the cakes cool in their pans on a wire rack for about 10-15 minutes. Then, gently invert them onto the wire rack to cool completely. They must be completely cool before frosting, seriously.
For the Chocolate Mousse Frosting:
- Melt the Chocolate: Place your chopped chocolate in a microwave-safe bowl. Microwave in 30-second intervals, stirring after each, until smooth and melted. Alternatively, use a double boiler. Let it cool slightly, but keep it liquid.
- Whip the Cream: In a separate large, chilled bowl, combine the cold heavy cream, powdered sugar, and vanilla extract. Beat with an electric mixer on medium-high speed until you get soft to medium peaks. We’re aiming for fluffy clouds, not stiff mountain ranges.
- Fold It In: Gently, gently, gently fold the slightly cooled melted chocolate into the whipped cream. Do this in two additions, taking care not to deflate the whipped cream. Stop folding as soon as it’s combined. Overmixing will make it grainy.
- Chill Out: Pop the mousse in the fridge for at least 30 minutes to firm up a bit. This makes it way easier to spread.
Assemble Your Masterpiece:
- Level Up (Optional but Recommended): If your cake layers have domes, use a serrated knife to level them so they sit flat. This makes for a prettier cake.
- Frost the First Layer: Place one cooled cake layer on your serving plate. Spread a generous layer of chocolate mousse frosting on top.
- Stack and Frost: Carefully place the second cake layer on top. Frost the top and sides of the entire cake with the remaining mousse. Get creative with swirls or keep it smooth!
- Chill Before Serving: For the cleanest slices and best flavor, chill the frosted cake for at least an hour before serving.
Common Mistakes to Avoid
Because nobody’s perfect, and we all make oopsies:
- Overmixing the Cake Batter: You’re making cake, not bread! Overmixing develops gluten, which leads to a tough, dry cake. Mix until just combined.
- Frosting a Warm Cake: This is like trying to ice skate uphill. Your mousse will melt and slide off, creating a sad, chocolatey mess. Be patient and let those cakes cool completely.
- Over-whipping the Cream for Mousse: From fluffy clouds to grainy sadness in seconds. Watch it closely; stop when it holds its shape.
- Using Bad Chocolate: Your cake is only as good as its ingredients. Skimping on chocolate quality for the mousse will hurt your soul (and your taste buds).
- Impatience with Cooling the Mousse: Trying to frost with runny mousse is a recipe for disaster. Let it firm up in the fridge for a bit.
Alternatives & Substitutions
Life’s about options, even in cake form!
- Coffee in the Cake: Don’t like coffee? Use hot water instead. But honestly, the coffee enhances the chocolate flavor without making it taste like coffee. Just sayin’.
- Type of Chocolate: I suggested semi-sweet for the mousse, but if you’re a dark chocolate fanatic, go for it! For a sweeter, milder mousse, milk chocolate could work, though it might be harder to get it to set firmly.
- Oil vs. Butter: While butter adds flavor, oil is the king of moisture in this type of cake. If you must use butter, use melted unsalted butter.
- Add-ins to Mousse: Feeling wild? A little peppermint extract (1/2 tsp) or a splash of orange zest (1 tsp) in the mousse could be divine. Or a tablespoon of Kahlua or Grand Marnier for a boozy kick!
- Gluten-Free: Swap out the all-purpose flour for a good quality 1:1 gluten-free baking blend (one that includes xanthan gum) for a GF version.
FAQ (Frequently Asked Questions)
Got questions? I’ve got (casual) answers!
- “Can I make the cake ahead of time?” Absolutely! Baked and cooled cake layers can be **wrapped tightly in plastic wrap** and stored at room temperature for a day or two, or frozen for up to a month. Just thaw before frosting.
- “My mousse isn’t setting, what gives?” Hmm, either your chocolate was too hot when you folded it in, or you overmixed the cream. **Chill it longer** in the fridge, or try adding a tiny bit of cream cheese to help stabilize if it’s really dire (but that changes the texture a bit).
- “Can I make this into cupcakes?” You bet! Fill cupcake liners about two-thirds full and bake for roughly 20-25 minutes. Mousse makes an epic cupcake frosting.
- “How do I store leftovers?” Keep any remaining cake in an airtight container in the refrigerator for 3-4 days. Let it come closer to room temp before eating for the best flavor.
- “Is this recipe *actually* easy?” Easier than adulting, **IMO**. It involves basic steps and no super-fussy techniques. You got this!
- “Can I use margarine instead of butter?” Well, technically yes, but why hurt your soul like that? Stick to the recommended ingredients for the best results, sweetie.
Final Thoughts
There you have it, folks! Your new go-to chocolate obsession. This cake is pure comfort, pure indulgence, and surprisingly not a giant headache to make. Now go forth and conquer those cravings. Share it, hoard it, do whatever your chocolate-loving heart desires. Just remember who hooked you up. 😉 Now go impress someone—or yourself—with your new culinary skills. You’ve earned it! Happy baking!


