Short, Catchy Intro
So, you’re staring into the abyss of your fridge, craving something ridiculously decadent and chocolatey, but the thought of spending hours in the kitchen makes your soul shrivel? Been there, done that, bought the T-shirt. Good news, my friend! We’re about to whip up a chocolate dream that tastes like you slaved over it for days, but actually, it’ll be our little, deliciously easy secret.
Why This Recipe is Awesome
First off, it’s basically **idiot-proof**. Seriously, if I can make it without setting off the smoke detector or accidentally gluing myself to the counter, so can you. Second, it combines two of life’s greatest pleasures: rich, dreamy chocolate mousse and silky, comforting chocolate pudding. It’s like a dessert superhero origin story – two heroes combining their powers to fight sad dessert cravings. Plus, it’s quick enough that you can decide you want it *now* and be eating it *soon*. No fancy equipment needed, just your lovely self and a whisk. This isn’t just a recipe; it’s a mood enhancer.
Ingredients You’ll Need
Alright, let’s gather our chocolatey arsenal. Don’t worry, nothing too exotic here – probably stuff you already have, or can grab during a quick, non-stressful grocery run.
- **For the Chocolate Pudding Layer:**
- **1/2 cup granulated sugar:** For that sweet, sweet goodness.
- **1/4 cup unsweetened cocoa powder:** The deeper the chocolate, the happier the soul.
- **3 tablespoons cornstarch:** Our thickening superstar. No lumpy pudding, please!
- **2 cups whole milk:** Or any milk you prefer, but whole milk gives that extra creamy hug.
- **1 teaspoon vanilla extract:** A flavor MVP. Don’t skip it!
- **2 tablespoons unsalted butter:** Because butter makes everything better, duh.
- **For the Chocolate Mousse Layer:**
- **1 cup heavy whipping cream:** Get ready for some glorious peaks!
- **1/4 cup powdered sugar:** Fine and dandy for a smooth mousse.
- **2 tablespoons unsweetened cocoa powder:** More chocolate? Yes, always.
- **1/2 teaspoon vanilla extract:** Again, the MVP shows up.
- **Optional: Chocolate shavings or sprinkles:** For when you want to feel fancy, or just because.
Step-by-Step Instructions
Time to get cooking, you magnificent chef, you!
- **First, the Pudding Party:** In a medium saucepan, whisk together the granulated sugar, cocoa powder, and cornstarch. Get rid of those lumps early!
- **Add Liquids:** Gradually whisk in the milk until smooth. Turn the heat to medium.
- **Stir & Thicken:** Cook, stirring constantly (and I mean constantly, unless you like scorched pudding!), until the mixture thickens and comes to a gentle boil. This usually takes about 5-7 minutes.
- **Finishing Touches:** Remove from heat. Stir in the vanilla extract and butter until the butter is completely melted and incorporated.
- **Chill Out:** Pour the pudding into individual serving glasses or a medium bowl. Cover with plastic wrap, pressing it directly onto the surface to prevent a “skin” from forming (ew, right?). Let it chill in the fridge for **at least 1 hour**, or until fully set. Patience, grasshopper!
- **Mousse Time!:** Once your pudding is chilling like a villain, get a large, clean bowl (preferably chilled, if you’re feeling extra) and add the heavy whipping cream, powdered sugar, and cocoa powder.
- **Whip It Good:** Using an electric mixer (or a strong arm and a whisk, if you’re looking for a workout), beat on medium-high speed until **stiff peaks** form. This means when you lift the whisk, the peaks hold their shape and don’t flop over like a sad puppy.
- **Vanilla Kiss:** Gently fold in the vanilla extract. Don’t overmix, or it’ll become grainy!
- **Layer Up!:** Once the pudding is nice and firm, spoon or pipe the chocolate mousse on top. Go wild, make it look pretty!
- **The Grand Finale:** Garnish with chocolate shavings or sprinkles, if you’re feeling extra fancy. Serve immediately or keep chilled until ready to demolish.
Common Mistakes to Avoid
Look, we all make mistakes. It’s how we learn! But here are a few you can gracefully sidestep:
- **Not stirring the pudding constantly:** Seriously, this is how you get a lumpy, burnt bottom disaster. **Stir, stir, stir!**
- **Forgetting the plastic wrap on the pudding:** That skin? Not a good look, not a good texture. **Cover it directly!**
- **Over-whipping your heavy cream:** Suddenly you’ve got butter instead of fluffy mousse. Keep an eye on it; stop when those peaks are stiff, not grainy.
- **Using warm milk for the pudding without whisking dry ingredients first:** Hello, lumps! Always mix dry first, then slowly add liquid.
- **Impatience:** Trying to layer mousse on warm, unset pudding is like building a house on quicksand. **Chill that pudding properly!**
Alternatives & Substitutions
Feeling adventurous, or just missing an ingredient? No worries, we’ve got options!
- **Milk:** While whole milk makes it super creamy, 2% or even non-dairy milks (like almond or oat) can work for the pudding layer. Just know the texture might be slightly less rich.
- **Cocoa Powder:** If you only have Dutch-processed cocoa, it’ll give a darker, less bitter flavor, which is totally fine!
- **Sweeteners:** You could try honey or maple syrup in the pudding for a different flavor profile, but you might need to adjust the liquid slightly. For the mousse, powdered sugar is best for texture, but a *tiny* bit of granulated sugar can work in a pinch (just make sure it dissolves fully).
- **Flavor Twists:** Want to spice things up? Add a pinch of cinnamon or a tiny dash of cayenne to the cocoa powder for a Mexican hot chocolate vibe. Or a shot of espresso powder for an intense mocha kick!
- **Toppings:** Instead of chocolate shavings, try fresh berries, a dollop of extra whipped cream, or a sprinkle of toasted nuts. Get creative!
FAQ
Got questions? I’ve got (casual) answers!
- **Can I make this ahead of time?** Absolutely! The pudding can hang out in the fridge for a day or two. The mousse is best made the day you plan to serve, but a few hours ahead is totally fine. Just keep it chilled.
- **My pudding is lumpy! What did I do wrong?** You probably didn’t whisk enough at the beginning, or didn’t stir constantly while cooking. **Lesson learned:** whisk like your life depends on it!
- **Why does my mousse look sad and runny?** You didn’t whip it enough, my friend! Keep going until those **stiff peaks** appear. Or, perhaps your cream wasn’t cold enough. Cold cream whips better.
- **Can I use instant pudding mix?** Well, you *could*. But why settle for a quick fix when the real deal is almost as easy and tastes infinitely better? **Your taste buds deserve better.**
- **Is there a way to make this less rich?** (Whispers: *Why would you want to?*) But if you must, use 2% milk and go a little lighter on the butter in the pudding. The mousse will always be rich, that’s its job!
- **How long does it last in the fridge?** If it lasts more than 24 hours without being devoured, I’d be impressed! Realistically, 2-3 days, covered.
Final Thoughts
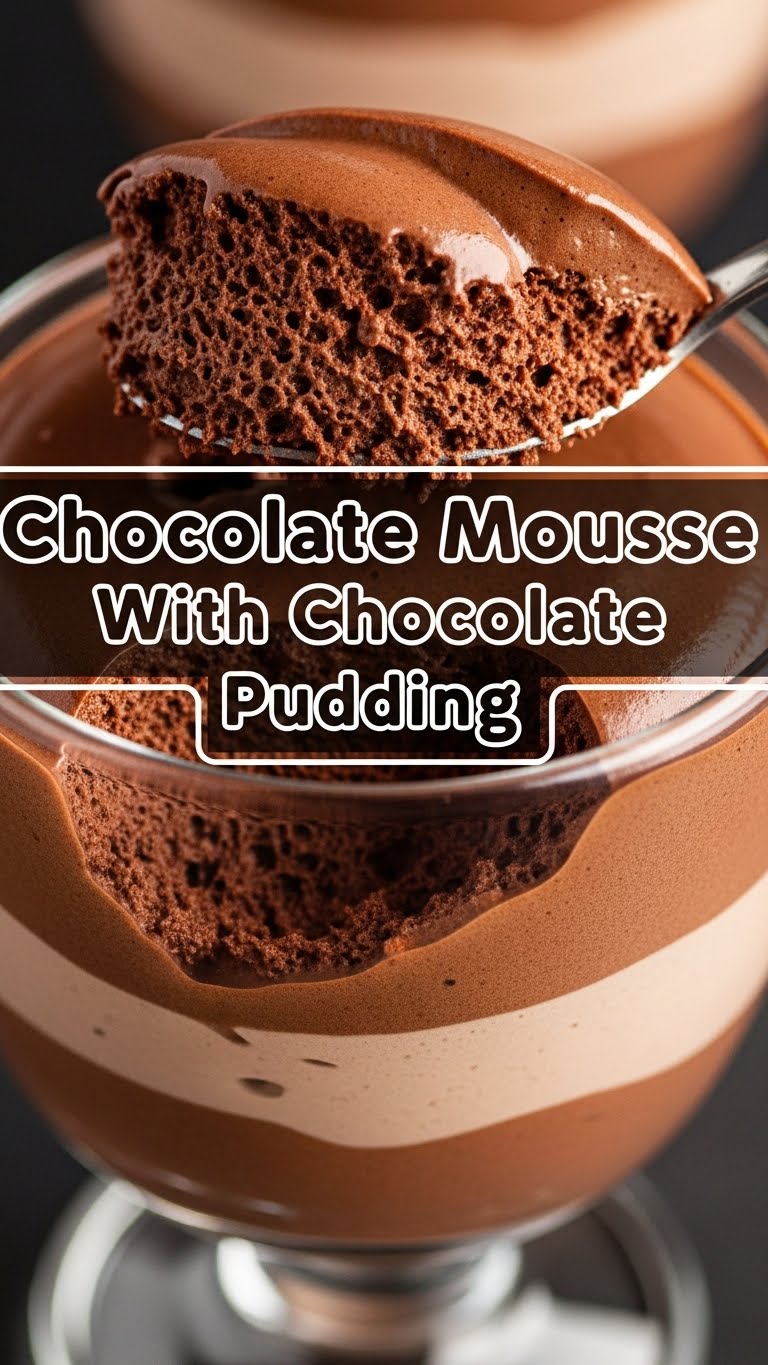
And there you have it, folks! A decadent, rich, and utterly delicious Chocolate Mousse with Chocolate Pudding that looks impressive but secretly required minimal effort. You’ve just created a masterpiece, and your taste buds (and anyone you share it with, if you’re feeling generous) will thank you. Now go impress someone—or yourself—with your new culinary skills. You’ve earned it! Seriously, go enjoy that chocolatey goodness. You deserve it after all that intense stirring (kidding, mostly).


