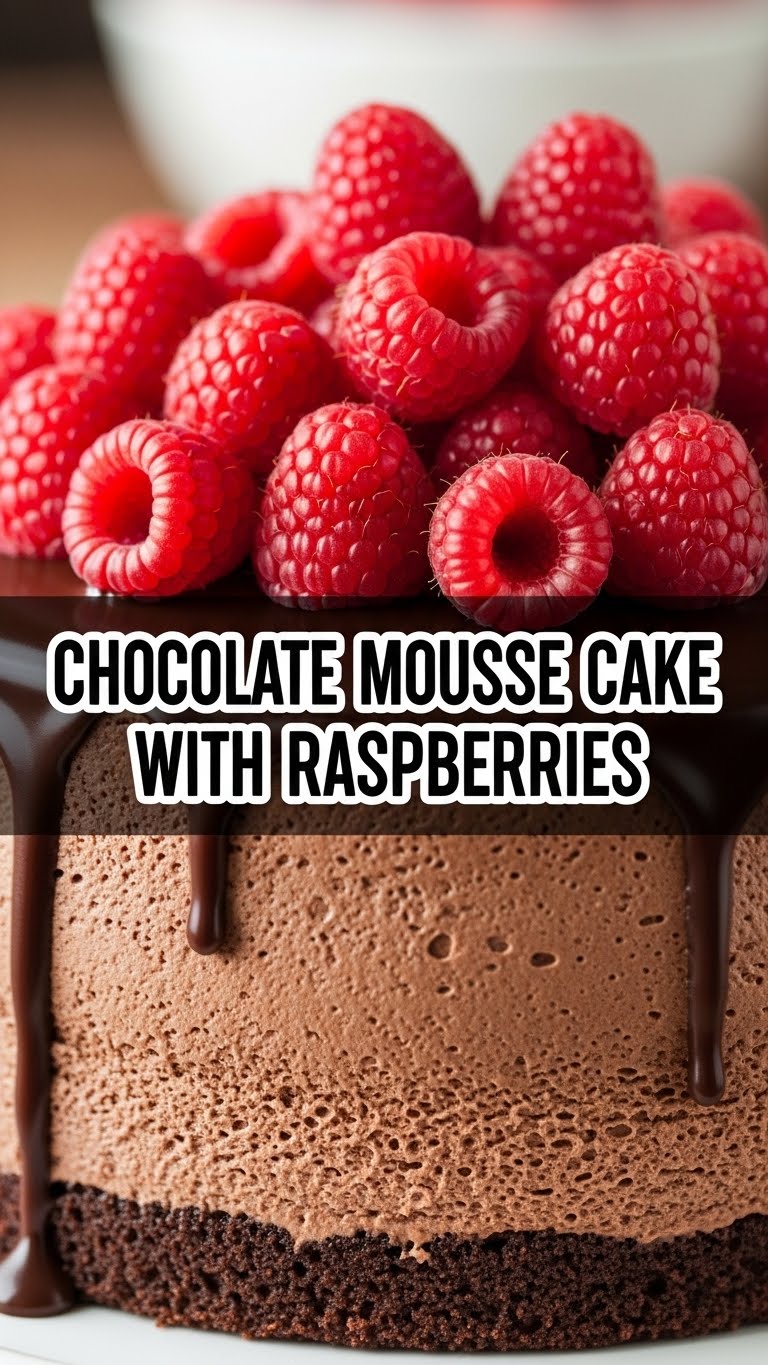
So, you’re sitting there, scrolling through endless feeds, and suddenly it hits you: an undeniable, primal craving for something rich, chocolatey, and utterly decadent. But also, like, *effortlessly* decadent. Because who has time for culinary marathons when there’s Netflix to watch and existential crises to ponder? My friend, I hear you. And I’m here to tell you that your chocolate dreams are about to come true with zero stress and maximum deliciousness. We’re talking Chocolate Mousse Cake with Raspberries – the kind of dessert that looks like you hired a pastry chef but actually involved minimal fuss. You’re welcome.
Why This Recipe is Awesome
Okay, let’s be real. This isn’t just a recipe; it’s a life hack. First off, it’s mostly no-bake (if you cheat a little, and we absolutely encourage cheating here). Second, it tastes like a cloud made of chocolate dreams had a baby with a very fancy chocolate bar. And third, it’s pretty much **idiot-proof**. Seriously, if I can pull this off without setting off the smoke alarm or accidentally creating a new kitchen-sink-hole, you can too. It’s impressive enough to fool your in-laws, easy enough for a Tuesday night, and delicious enough that you’ll probably “forget” to share. Win-win-win!
Ingredients You’ll Need
Gather ’round, pantry warriors! Here’s your hit list for culinary glory. Don’t sweat it; these are all pretty standard stuff, no unicorn tears required.
- For the Crust (aka the “foundation of awesome”):
- 24 chocolate sandwich cookies (like Oreos, creme removed or not – your call, rebel). Crushed to oblivion.
- 6 tablespoons unsalted butter, melted. Because butter makes everything better, duh.
- For the Mousse (the “star of the show”):
- 1 ½ cups heavy cream (also called whipping cream). Cold, please!
- 10 ounces good quality dark or semi-sweet chocolate, chopped. Go for the good stuff here; your taste buds will thank you.
- ¼ cup powdered sugar. Just a touch for sweetness and stability.
- 1 teaspoon vanilla extract. The OG flavor booster.
- Pinch of salt. Elevates all the chocolatey goodness.
- For Garnish (the “pretty little things”):
- 1 cup fresh raspberries. Bright, juicy, and cuts through the richness like a boss.
- Optional: A few extra chocolate shavings or a dusting of cocoa powder for that “I tried hard” look.
Step-by-Step Instructions
Alright, apron on (or not, we don’t judge), let’s get this party started! Follow these steps, and you’ll be swimming in chocolatey bliss in no time.
- Crust Time! Grab those crushed chocolate cookies and dump them into a bowl. Pour in the melted butter and mix it all up until it looks like wet sand. Line the bottom of a 9-inch springform pan with parchment paper (trust me, this makes life easier later). Press the cookie mixture firmly into the bottom of the pan. **Pop it in the fridge** while you tackle the mousse.
- Melt the Chocolate. Get a heatproof bowl and put your chopped chocolate in it. Set it over a saucepan of simmering water (make sure the bowl isn’t touching the water!). Stir occasionally until it’s smooth and completely melted. Alternatively, microwave it in 30-second bursts, stirring in between. Let it cool for a few minutes while you move on; we don’t want to cook our cream!
- Whip the Cream. In a large, very cold bowl (metal is best, and if you’re fancy, chill your whisk too!), pour in the heavy cream, powdered sugar, vanilla, and that tiny pinch of salt. Beat it with an electric mixer on medium-high speed until it forms **soft, billowy peaks**. Don’t go crazy and make butter; we’re aiming for cloud-like perfection.
- Combine the Magic. Once your melted chocolate has cooled a bit but is still pourable, gently fold about a third of your whipped cream into the chocolate. This lightens the chocolate and makes it easier to incorporate without deflating your precious cream. Then, gently fold the chocolate mixture into the remaining whipped cream until just combined. **Don’t overmix!** You want that airy mousse texture.
- Assemble and Chill. Pour your glorious chocolate mousse over the chilled cookie crust in the springform pan. Smooth the top with a spatula. Now comes the hardest part: waiting. Cover the pan loosely with plastic wrap and **chill in the fridge for at least 4-6 hours, or even better, overnight**. This is crucial for it to set properly.
- Garnish and Devour. Once the mousse cake is firm, carefully remove the sides of the springform pan. Arrange your fresh raspberries artfully on top. If you’re feeling extra, sprinkle some chocolate shavings or cocoa powder. Slice it up, serve, and bask in the glory of your creation. You did it!
Common Mistakes to Avoid
Even though this recipe is pretty chill, there are a few banana peels to watch out for. Learn from my past (chocolate-stained) mistakes!
- Not chilling the springform pan: Rookie mistake! A cold pan helps the crust set faster and keeps it from melting when the mousse goes in.
- Adding hot chocolate to cold cream: Recipe for disaster. Your whipped cream will deflate faster than my enthusiasm on a Monday morning. **Always let the melted chocolate cool down** a bit first.
- Overmixing the mousse: Once the chocolate is folded into the cream, resist the urge to keep stirring. Overmixing will knock out all that lovely air, giving you dense mousse instead of fluffy goodness.
- Not chilling long enough: Impatience is a virtue sometimes, but not here. If you cut it too soon, it’ll be a sad, slumpy mess. **Patience, grasshopper!**
Alternatives & Substitutions
Feeling creative? Or just missing an ingredient and refusing to run to the store? I got you. Here are some swap ideas:
- Crust: No Oreos? Graham cracker crust works great! Or, if you’re really in a pinch, you can even buy a pre-made chocolate pie crust and press it into your springform. No one will know, IMO.
- Berries: Blackberries, strawberries, or even cherries would be fantastic instead of raspberries. Mixed berries? Even better!
- Chocolate: You can play with the type of chocolate. Milk chocolate will give you a sweeter, milder mousse, while extra dark chocolate will be more intense. Just make sure it’s good quality chocolate for melting.
- Flavor Boosts: A splash of coffee liqueur (like Kahlua) or a hint of orange zest (Cointreau for the win!) can add a sophisticated twist to the mousse.
FAQ (Frequently Asked Questions)
Got questions? I’ve got (casual) answers!
- Can I make this dairy-free? You bet! Use dairy-free chocolate cookies for the crust, a plant-based butter alternative, and swap the heavy cream for a full-fat canned coconut cream (chilled overnight, use only the thick cream part).
- How long does it last? This cake is best enjoyed within 3-4 days in the fridge. But honestly, it rarely lasts that long in my house.
- Can I freeze it? Technically, yes! Wrap it well (without raspberries) and it can last for up to a month. Thaw in the fridge overnight. However, the texture might change slightly. **FYI, fresh is always best!**
- Do I really need a springform pan? For easy removal and a pretty presentation, yes. If you don’t have one, you can use a regular pie dish, but serving will be a bit messier. Line it with parchment paper with an overhang to lift it out.
- My mousse is runny! What happened? Likely, your chocolate was too hot when added, or you didn’t whip the cream enough. Re-chill everything if you can, but sometimes it’s just a learning curve!
Final Thoughts
See? That wasn’t so scary, was it? You’ve just created a masterpiece, a monument to chocolate, a symphony of sweetness! Now go impress someone—or yourself—with your new culinary skills. Take a picture, brag a little, and then dive in. You’ve earned every single bite. Happy indulging, my friend!


