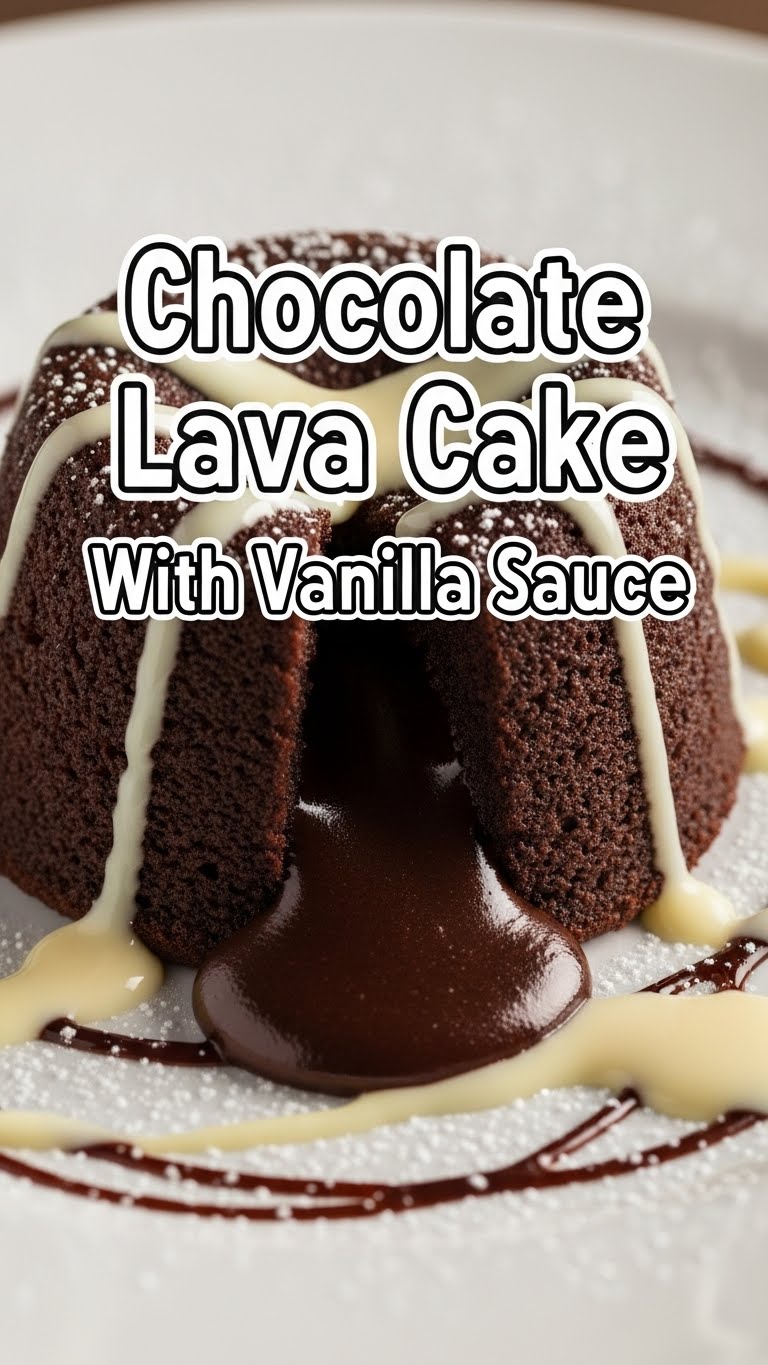
So, you’re standing in front of your pantry, a chocolate craving gnawing at your soul, but the thought of a complex baking project makes you want to just curl up with a bag of chips instead, right? Same, friend, *same*. But what if I told you there’s a dessert so ridiculously decadent, so incredibly impressive, yet so shockingly simple to make that it feels like cheating? Enter the **Chocolate Lava Cake with Vanilla Sauce**. It’s pure magic, and you’re about to become a dessert wizard.
Why This Recipe is Awesome
Let me count the ways! First off, this isn’t some all-day affair. We’re talking **under 30 minutes from start to molten finish**. Seriously. You can decide you want lava cake, make it, and be eating it before you’ve even picked out a good movie. Secondly, it looks like something you’d pay an exorbitant amount for at a fancy restaurant. Your friends (or, let’s be real, just *you*) will think you spent hours slaving away. And finally, the molten center! It’s not just a cake; it’s an experience. Plus, it’s pretty **idiot-proof**. I’ve made this on a Tuesday night after a long day, and not even I messed it up. That’s saying something!
Ingredients You’ll Need
No obscure stuff here, just good old-fashioned deliciousness. For maximum laziness, get these ready before you start – it’s called mise en place, FYI, and it makes you look super pro.
For the Chocolate Lava Cake:
- Good Quality Dark Chocolate (4 ounces / 113g): The better the chocolate, the better the lava. No Hershey’s bars here, please. Go for something 60-70% cacao.
- Unsalted Butter (1/2 cup / 113g): The real deal. Don’t even think about margarine unless you want to break my heart.
- Large Eggs (2 whole, plus 2 egg yolks): Extra yolks mean extra richness and that dreamy lava consistency.
- Granulated Sugar (1/4 cup / 50g): Just enough sweetness to balance the dark chocolate.
- All-Purpose Flour (2 tablespoons / 16g): Just a touch, to give it some structure.
- A Pinch of Salt: Enhances all the chocolatey goodness. Don’t skip it!
- Cocoa Powder or Melted Butter & Flour for ramekins: To prevent sticking and a lava cake tragedy.
For the Vanilla Sauce:
- Heavy Cream (1/2 cup / 120ml): This isn’t the time for skim milk, my friend.
- Granulated Sugar (2 tablespoons): To sweeten things up.
- Pure Vanilla Extract (1 teaspoon): Crucial! Get the good stuff. It makes all the difference.
Step-by-Step Instructions
Alright, apron on (or not, we’re friends here), let’s get cooking!
- Preheat & Prep: First things first, preheat your oven to a scorching 425°F (220°C). Then, butter and lightly flour (or dust with cocoa powder for a deeper chocolate flavor) four 6-ounce ramekins. This step is super important unless you like playing “pry the cake out of the dish.”
- Melt the Magic: Grab a microwave-safe bowl (or a double boiler if you’re feeling fancy). Break up your good quality dark chocolate and add the unsalted butter. Microwave in 30-second intervals, stirring after each, until it’s gloriously melted and smooth. Alternatively, melt it over a double boiler. Let it cool slightly while you move on.
- Whisk it Good: In a separate medium bowl, whisk together the whole eggs, egg yolks, and granulated sugar until the mixture is light, pale, and slightly frothy. This usually takes about 2-3 minutes of vigorous whisking. You’re building air, which is essential!
- Combine Forces: Gently fold the slightly cooled chocolate mixture into the egg mixture until just combined. Don’t overmix, or you’ll lose all that lovely air you just created. Then, gently fold in the flour and pinch of salt until no streaks remain. Again, no overmixing!
- Fill ‘Em Up: Divide the batter evenly among your prepared ramekins. Don’t fill them to the very brim; leave a little room for expansion.
- Bake to Perfection: Place the ramekins on a baking sheet (makes them easier to transfer) and bake for 12-14 minutes. You want the edges to be set, but the center should still be jiggly when you gently shake them. This jiggly center is your lava, so don’t be scared!
- Whip Up the Sauce: While your cakes are baking, whisk together the heavy cream, granulated sugar, and vanilla extract in a small bowl until the sugar dissolves. No need for stiff peaks, just a nice pourable sauce.
- Serve It Hot: Carefully remove the cakes from the oven. Let them cool in their ramekins for just 1-2 minutes. Run a thin knife around the edge of each cake, then invert each one onto a dessert plate. Drizzle generously with your dreamy vanilla sauce. Serve immediately because, well, it’s lava!
Common Mistakes to Avoid
Even “idiot-proof” recipes have their quirks. Here’s how to steer clear of disaster and ensure maximum lava flow.
- Overbaking: This is the cardinal sin of lava cakes. Bake too long, and you’ve just got a regular chocolate cake. Delicious, yes, but where’s the drama? **Keep an eye on the clock and the jiggle!**
- Not Greasing Ramekins Properly: Ever tried to unmold a cake only for half of it to stay stuck in the dish? Yeah, it’s not pretty. **Be generous with the butter and flour/cocoa.**
- Forgetting to Preheat: Patience is a virtue, especially with ovens. A cold oven means an uneven bake and potentially no lava. **Always preheat!**
- Overmixing the Batter: Once the flour is in, mix just until combined. Overmixing develops gluten, which can make your cake tough and dense, not light and airy.
- Serving Cold: This isn’t a fridge cake, folks. The magic happens when it’s hot and the chocolate center is truly molten. **Eat it ASAP!**
Alternatives & Substitutions
Feeling adventurous? Want to customize? Here are a few ideas to shake things up, because why not?
- Chocolate Varieties: You can experiment with different types of chocolate. A milk chocolate lava cake would be sweeter and milder, while a very dark (75%+) would be more intense. Just be mindful that melting properties might slightly change.
- Spice it Up: Add a pinch of cayenne pepper or chili powder to the chocolate mixture for a subtle kick. Or a teaspoon of instant espresso powder to deepen the chocolate flavor without making it taste like coffee. **Chef’s kiss!**
- Sauce Swaps: Not a vanilla fan? Try a raspberry coulis, a dollop of salted caramel sauce, or even a scoop of good quality vanilla bean ice cream instead of the sauce.
- Boozy Bliss: A tablespoon of your favorite liqueur (like Kahlua, Grand Marnier, or even a good bourbon) added to the chocolate mixture can add a sophisticated twist. Or a splash in the vanilla sauce, for an adult twist.
- Gluten-Free Option: You can easily substitute the all-purpose flour with a good quality gluten-free all-purpose flour blend. Your lava cake will still flow!
FAQ (Frequently Asked Questions)
Got questions? I’ve got (casual) answers!
-
Can I make these ahead of time?
Well, technically, you can prep the batter and keep it covered in the fridge for up to 24 hours. Just give it a good stir before pouring into ramekins and bake as usual (maybe add a minute or two to the baking time since the batter will be colder). But honestly, these are best served fresh, like, 5 minutes out of the oven fresh. -
What if I don’t have ramekins?
No ramekins, no problem (mostly)! You can use oven-safe custard cups, coffee mugs (check they’re truly oven-safe!), or even muffin tins. If using muffin tins, line them with paper liners and fill about two-thirds full; baking time might be slightly less (around 10-12 minutes). Just remember to butter them well! -
Why isn’t my cake “lava-y” in the middle?
Uh oh, sounds like you overbaked it, my friend. Next time, pull it out when the edges are set but the center is still clearly jiggly. **A little underdone is better than overdone for lava cakes!** -
Is dark chocolate a must? Can I use semi-sweet?
You can definitely use semi-sweet! It will result in a slightly sweeter, less intense chocolate flavor, which some people prefer. Just make sure it’s good quality chocolate for optimal melt and flavor. -
My cake stuck to the ramekin! What happened?
Sounds like a butter-and-flour fail. You really need to coat those ramekins thoroughly, making sure every inch is covered. Next time, be extra diligent, or try freezing them for a few minutes after greasing – sometimes that helps. -
Can I double the recipe?
Absolutely! Just make sure you have enough ramekins (or an equivalent) and oven space. The baking time should remain the same.
Final Thoughts
See? That wasn’t so scary, was it? You just whipped up a dessert that makes people swoon, and you barely broke a sweat. This Chocolate Lava Cake with Vanilla Sauce is your new secret weapon for impressing guests, indulging a serious craving, or just celebrating the fact that it’s, well, any day ending in “y.” So go forth, my culinary friend, and unleash your inner chocolate sorcerer. You’ve earned every molten bite!


