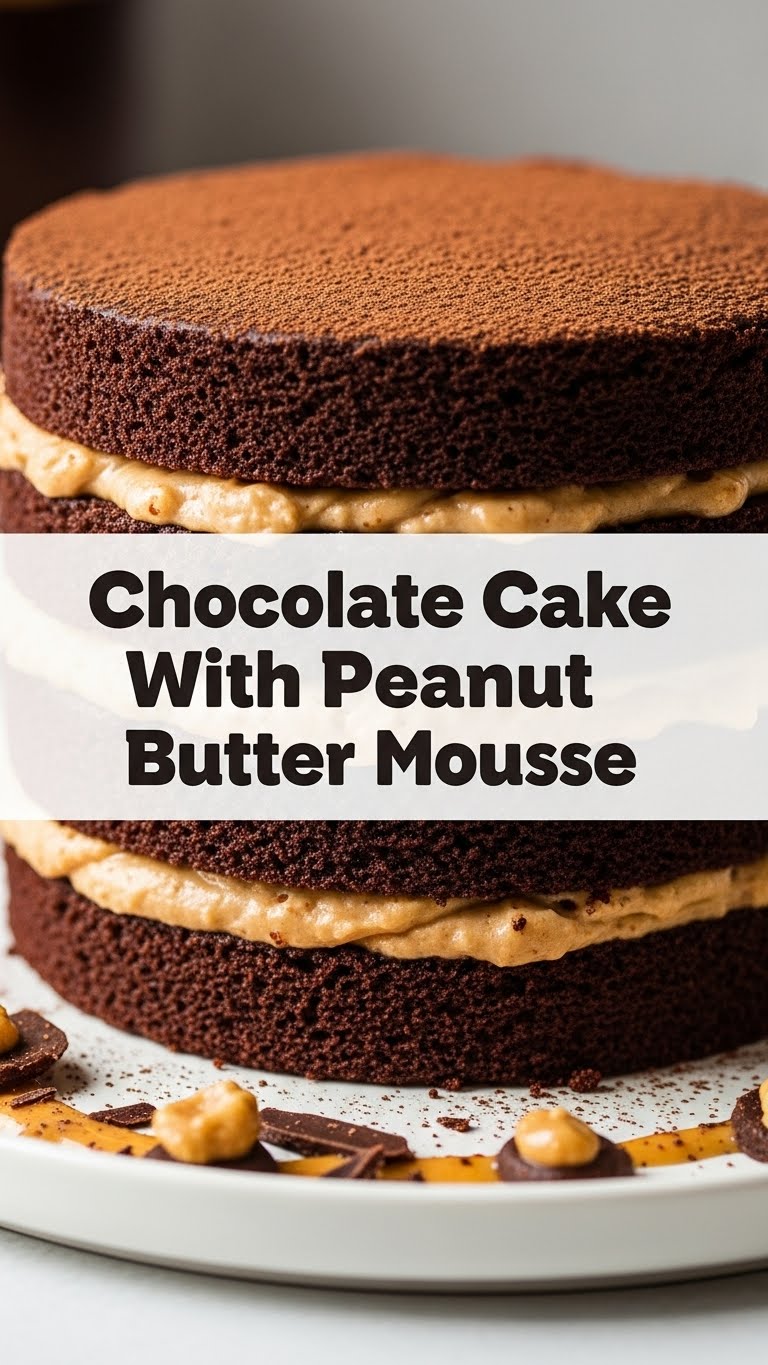
Ever had one of those days where a single cookie just isn’t gonna cut it? Like, your soul is screaming for something decadently chocolatey, but also kinda salty and nutty? Yeah, me too. And that’s precisely why we’re here today, friends, to unleash the ultimate indulgence: a Chocolate Cake with Peanut Butter Mousse that’s so good, you might just marry it.
Why This Recipe is Awesome
Let’s be real, some recipes are a serious commitment. This one? Not so much. It’s **dangerously easy** – seriously, even if your culinary skills peak at instant noodles, you got this. This cake is basically the Beyoncé of desserts: flawless, powerful, and everyone wants a piece. It brings together chocolate and peanut butter, which is basically the universe’s best flavor combo, IMO. Plus, it looks super impressive without actually being all that hard. Get ready for compliments, because they’re coming. You’re welcome!
Ingredients You’ll Need
Gather ’round, my sweet-toothed companions! Here’s your shopping list. Don’t worry, it’s nothing too wild, just good old comfort food staples.
For the Seriously Moist Chocolate Cake:
- 1 ½ cups All-Purpose Flour: The backbone of any good cake.
- 1 ½ cups Granulated Sugar: For sweetness, duh.
- ¾ cup Unsweetened Cocoa Powder: The good stuff. Go dark if you dare!
- 1 ½ teaspoons Baking Soda: Our main leavening agent.
- ½ teaspoon Baking Powder: Its trusty sidekick.
- 1 teaspoon Salt: Don’t skip this! It makes everything taste more chocolatey.
- 2 Large Eggs: Room temp, if possible. They just mix better.
- ¾ cup Milk: Whole milk for richness, or whatever you have on hand.
- ½ cup Vegetable Oil: Keeps it wonderfully moist.
- 1 teaspoon Vanilla Extract: A splash of liquid gold.
- ¾ cup Hot Water or Brewed Coffee: This is the secret to a super intense chocolate flavor. Coffee amplifies chocolate, trust me.
For the Dreamy Peanut Butter Mousse:
- 8 oz Cream Cheese: Softened! Seriously, let it sit out. Cold cream cheese is the enemy.
- 1 cup Powdered Sugar: Sifted, if you want extra smooth mousse.
- 1 cup Creamy Peanut Butter: Jif, Skippy, Peter Pan, whatever floats your nutty boat. No crunchy here, unless you want a lumpy mousse.
- 1 teaspoon Vanilla Extract: Again, can’t have enough vanilla.
- 1 ½ cups Heavy Cream: Chilled, for whipping into fluffy clouds.
Step-by-Step Instructions
Alright, let’s get down to business. Follow these steps, and you’ll be swimming in chocolate and peanut butter bliss in no time!
Making the Chocolate Cake:
- Preheat & Prep: Preheat your oven to 350°F (175°C). Lightly grease and flour a 9-inch round cake pan (or line with parchment paper). Don’t skip the prep, your cake will thank you.
- Whisk Dry Ingredients: In a large bowl, whisk together the flour, sugar, cocoa powder, baking soda, baking powder, and salt. Make sure there are no lumps of cocoa powder.
- Whisk Wet Ingredients: In a separate medium bowl, whisk the eggs, milk, vegetable oil, and vanilla extract until well combined.
- Combine & Mix: Pour the wet ingredients into the dry ingredients. Mix on low speed (or by hand) until just combined. **Do not overmix!**
- Add Hot Liquid: Carefully pour in the hot water or coffee. Mix on low speed until the batter is smooth. It will be thin, and that’s totally okay!
- Bake It Off: Pour the batter into your prepared cake pan. Bake for 30-35 minutes, or until a wooden skewer inserted into the center comes out clean.
- Cool Down: Let the cake cool in the pan for 10-15 minutes before inverting it onto a wire rack to cool completely. This is crucial before adding the mousse.
Whipping Up the Peanut Butter Mousse:
- Cream It Up: In a large bowl, beat the softened cream cheese with powdered sugar until smooth and creamy. Scrape down the sides of the bowl.
- Add Peanut Butter: Beat in the creamy peanut butter and vanilla extract until fully incorporated and smooth.
- Whip the Cream: In a separate, chilled bowl, whip the cold heavy cream on high speed until stiff peaks form. Don’t walk away, it happens faster than you think!
- Fold It In: Gently fold about a third of the whipped cream into the peanut butter mixture to lighten it, then fold in the remaining whipped cream until just combined. Be careful not to deflate it!
Assemble Your Masterpiece:
- Get Spreading: Once the chocolate cake is completely cool (and I mean *completely*), spread the peanut butter mousse evenly over the top.
- Chill Out: Pop it in the fridge for at least an hour to let the mousse set. This makes for cleaner slices.
- Serve & Devour: Slice, serve, and accept all the praise!
Common Mistakes to Avoid
Look, we all make mistakes. But with these friendly nudges, you won’t have to! Avoid these rookie blunders for cake perfection:
- Not Preheating the Oven: Seriously, this isn’t optional. Your cake needs that immediate heat boost to rise properly. It’s not a suggestion, it’s a command!
- Overmixing the Batter: The second you combine wet and dry ingredients, mix just until no streaks of flour remain. Overmixing develops gluten, leading to a tough, dry cake. Nobody wants that.
- Opening the Oven Door Too Early: Patience, young padawan. Give your cake at least 25 minutes before peeking, or it might just decide to have a tantrum and sink.
- Not Cooling the Cake Completely: If you put mousse on a warm cake, you’ll end up with a melty, sad mess instead of a beautifully distinct layer. **Chilled cake is non-negotiable.**
- Using Crunchy Peanut Butter for Mousse: Unless you *want* a chunky mousse (and who does?), stick to creamy. Otherwise, you’ll be picking nuts out of your teeth.
Alternatives & Substitutions
Feeling a little rebellious? Here are some ways to shake things up or make do with what you’ve got:
- Cake Mix Cheat: If you’re *really* pressed for time (and honestly, no judgment here), feel free to use a good quality boxed chocolate cake mix. Just make sure it bakes into a 9-inch round. Shhh, your secret’s safe with me.
- Nut Butter Swap: Not a peanut butter fan? You could try almond butter or cashew butter for the mousse. Just keep in mind it won’t be the classic PB&C combo, but still delicious!
- Dairy-Free Friends: Use plant-based milk and oil for the cake. For the mousse, look for vegan cream cheese alternatives and a dairy-free whipped topping or whipped coconut cream.
- Add a Crunch: Sprinkle some chopped roasted peanuts or a drizzle of melted chocolate on top of the mousse for extra flair and texture. Go wild!
- Coffee vs. Water: While hot water works fine, **hot brewed coffee seriously enhances the chocolate flavor** without making the cake taste like coffee. If you drink coffee, use it! If not, no biggie.
FAQ (Frequently Asked Questions)
Got questions? I’ve got answers! (Mostly.)
Can I make this cake ahead of time? Absolutely! You can bake the cake a day in advance, wrap it tightly, and store it at room temperature. The mousse can also be made a day ahead and kept in an airtight container in the fridge. Assemble just before serving for best results!
What if I don’t have buttermilk for the cake? (Oops, this recipe uses regular milk, but if it did…) No worries! You can make your own “buttermilk” by adding 1 tablespoon of white vinegar or lemon juice to a liquid measuring cup, then filling it up to ¾ cup with regular milk. Let it sit for 5-10 minutes until it looks slightly curdled. Voila!
My mousse isn’t thickening, help! This usually happens if your cream cheese wasn’t soft enough, or your heavy cream wasn’t cold enough when whipped. Or, sometimes, you just didn’t whip the cream long enough. Pop it back in the fridge to chill thoroughly, then try whipping again.
Can I make this into cupcakes instead? You betcha! This recipe will make about 18-24 cupcakes. Fill cupcake liners about two-thirds full and bake for 18-22 minutes. Let them cool completely before piping on the mousse.
Is this cake *too* rich? Is there even such a thing as “too rich” when chocolate and peanut butter are involved? (The answer is no, by the way.) But seriously, a small slice goes a long way, but you’ll probably want a second. FYI, it’s worth every single calorie.
How long does this cake last? Stored in an airtight container in the fridge, it’ll be delicious for 3-4 days. But let’s be honest, it probably won’t last that long.
Can I use natural peanut butter for the mousse? While you technically *can*, natural peanut butter tends to separate and can make your mousse a bit oilier or grainier. For the best, silkiest mousse, stick with the classic processed creamy stuff.
Final Thoughts
Alright, chef, you’ve officially leveled up! This cake is a showstopper, a mood-lifter, and frankly, a darn good reason to grab another slice. So go forth, bake, and bask in the glory of your chocolatey, peanut-buttery masterpiece. You totally earned that taste test… or five. Now go impress someone – or yourself – with your new culinary skills. You’ve earned it!


