So you’re craving something epic but also kind of want to just chill on the couch and not, you know, *bake*? Welcome to the club, my friend. And guess what? We’re about to make an ice cream cake that’s so easy, you’ll wonder why you ever bought one from a store. Seriously, it’s that simple. Get ready to look like a culinary genius without breaking a sweat (or a recipe book).
Why This Recipe is Awesome
Look, I get it. Baking can be intimidating. But this isn’t baking; it’s **assembly with flair**. This recipe is your secret weapon for looking like a kitchen superstar with minimal effort. It’s practically **idiot-proof** – and trust me, I’ve tested that theory extensively. Plus, it’s an ice cream cake. Do I need to say more? Vanilla ice cream goodness, a crispy cookie base, chocolatey crunch… *chef’s kiss*. This isn’t just dessert; it’s a statement.
Ingredients You’ll Need
Gather your troops! Here’s what you’ll need to create this masterpiece. Don’t worry, nothing too fancy.
- **Oreo Cookies:** One package (about 14 oz / 400g). Because regular crusts are boring. We want chocolatey magic!
- **Unsalted Butter:** 1/2 cup (1 stick), melted. The glue that holds dreams together. Don’t use margarine unless you *want* sadness.
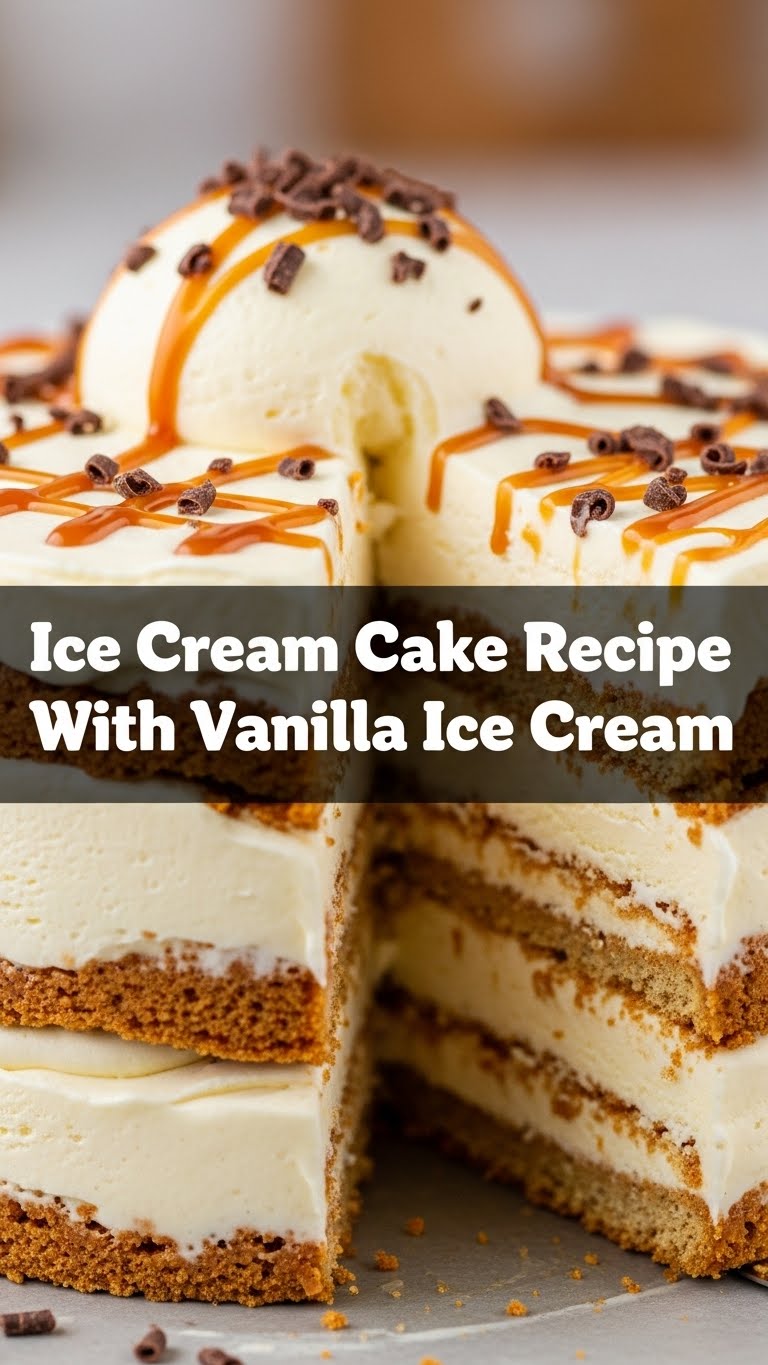
- **Vanilla Ice Cream:** 1.5 quarts (about 1.4 liters). The star of the show! Get a good quality one, you deserve it.
- **Hot Fudge Topping:** 1 jar (about 12-16 oz). The gooey, chocolatey river of joy.
- **Whipped Topping:** 1 tub (8 oz), thawed (like Cool Whip). For that cloud-like perfection on top.
- **Chocolate Syrup:** For drizzling. Optional, but why skimp on chocolate?
- **Sprinkles:** Because life is too short for plain desserts. Rainbows make everything better, change my mind.
Step-by-Step Instructions
Ready? Let’s do this. Follow these ridiculously easy steps, and you’ll be an ice cream cake champion in no time.
Crush the Cookies: Get out those Oreos! In a food processor, crush the entire package until they’re fine crumbs. No food processor? No problem! Put them in a sturdy zip-top bag and smash ’em with a rolling pin or your frustrations. It’s surprisingly therapeutic.
Mix the Crust: Pour the melted butter over the crushed cookies in a bowl. Stir ’em up until everything’s nicely coated. It should look like wet sand, holding together when you squeeze it.
Press the Base: Grab a 9-inch springform pan. Press the cookie mixture evenly into the bottom of the pan. Use the back of a spoon or your hands. **Press firmly!** This is crucial for a stable crust.
Freeze the Crust: Pop that pan into the freezer for at least 30 minutes. This helps it set up nicely so it doesn’t crumble later. Patience, my friend, patience.
Soften the Ice Cream: While the crust chills, take your vanilla ice cream out of the freezer. Let it soften for about 10-15 minutes at room temp. You want it scoopable, but not totally melted or runny.
First Ice Cream Layer: Spread half of the softened ice cream evenly over the frozen crust. Try to make it as smooth as possible.
Fudge It Up: Drizzle about half of the hot fudge topping over the first ice cream layer. Don’t be shy! This is where the magic happens.
Second Ice Cream Layer: Spread the remaining softened ice cream over the fudge layer. Again, smooth it out. If it’s a little messy, who cares? It’s homemade!
More Fudge & Freeze: Drizzle the rest of the hot fudge on top. Now, back to the freezer! Freeze for at least 4-6 hours, or ideally, overnight. **This is key** for a firm, sliceable cake that holds its shape.
Decorate: Once your cake is solidly frozen, carefully remove it from the springform pan. Spread the thawed whipped topping over the top. Drizzle with extra chocolate syrup and shower with sprinkles. Go wild!
Serve & Enjoy: Slice it up and bask in the glory of your creation! Don’t forget to take a picture before it disappears. It’s going to be amazing, I promise.
Common Mistakes to Avoid
Nobody’s perfect, but we can avoid these common blunders that lead to less-than-stellar ice cream cake outcomes.
- **Not freezing the crust long enough:** You’ll end up with a crumbly mess, not a solid base. Rookie move! Give it its full 30 minutes (or more).
- **Using rock-hard ice cream:** Trying to spread frozen solid ice cream is a recipe for ripped cookie crusts and frustration. Let it soften a bit! You want it pliable, not an ice brick.
- **Not freezing the *whole cake* long enough:** Impatience will get you every time. If it’s not super firm, it’s gonna be a gooey disaster when you try to slice it. **Patience is a virtue here.**
- **Skimping on the good stuff:** This isn’t the time for diet ice cream or questionable chocolate sauce. Treat yo’ self! Your taste buds (and your friends) will thank you.
Alternatives & Substitutions
Feeling adventurous? Here are some ways to jazz up your ice cream cake, or just swap things out if you’re missing an ingredient.
- **Cookie Crust:** Not an Oreo fan? (Gasp!) You can totally use graham crackers, Nilla wafers, or even chocolate chip cookies. Just make sure to crush them finely and mix with melted butter.
- **Ice Cream Flavor:** Vanilla is classic, but feel free to go wild! Mint chip, strawberry, chocolate, coffee, cookie dough… your cake, your rules. Just make sure it pairs well with chocolate fudge (most things do, IMO).
- **Toppings:** Caramel sauce instead of fudge? Chopped nuts? More crushed cookies? Mini chocolate chips? Go nuts! The world is your ice cream cake playground.
FAQ (Frequently Asked Questions)
Got questions? I’ve got answers (and maybe some sass).
- **”Can I use store-brand ice cream?”** Absolutely! While a good quality one makes a difference, your taste buds won’t complain either way. Just make sure it’s a flavor you actually like, because, you know, you’re eating it.
- **”My crust is too wet/dry, help!”** If it’s too wet, add a few more crumbs. Too dry? A tiny bit more melted butter. It should hold together when you squeeze it between your fingers. It’s an art, not a science, btw.
- **”Do I *have* to use a springform pan?”** It makes life SO much easier for serving, trust me. You can use a regular 9×13 pan, but it won’t be as fancy when you scoop it out, and the layers might get a bit smooshed.
- **”How long does it last in the freezer?”** If covered well with plastic wrap and foil, it can last for a week or two. But honestly, it’s rarely around that long. Mine usually disappears within 24 hours.
- **”Can I make this ahead of time for a party?”** Um, yes! That’s the beauty of it. Make it the day before, decorate right before serving, and enjoy the applause (and the compliments).
- **”What if I don’t have a food processor for the Oreos?”** Get a zip-top bag and a rolling pin (or a sturdy can/bottle). Release your inner Hulk. It’s surprisingly therapeutic and works just as well.
Final Thoughts
You did it! You’ve officially conquered the ice cream cake. Now go impress someone—or yourself—with your new culinary skills. You’ve earned those bragging rights (and that delicious slice). Don’t forget to share, unless you don’t want to. I won’t judge. 😉


