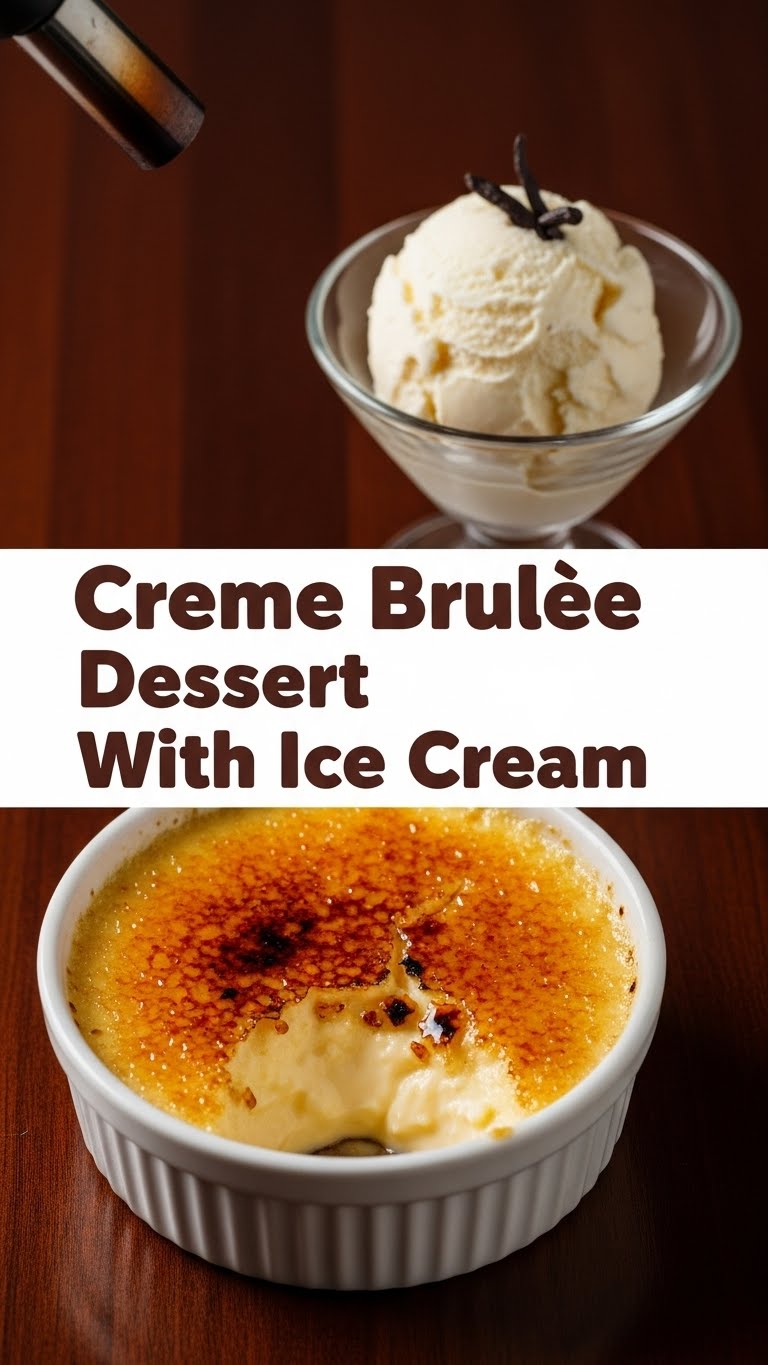
So, you’ve scrolled through enough food porn on Instagram, haven’t you? And now that little voice in your head is screaming for something fancy, but your actual voice is saying, “Ugh, effort!” Welcome to my world, friend. Today, we’re making Crème Brûlée with Ice Cream. Because why choose when you can have both?!
Why This Recipe is Awesome
Listen, I get it. Crème Brûlée sounds intimidating. Like something only a fancy French chef in a ridiculously tall hat can pull off. But guess what? It’s surprisingly chill. And by “chill,” I mean **idiot-proof**. Seriously, if I can do it without setting off the smoke detector, you’re golden. Plus, we’re pairing it with ice cream, because adulting means you can have two desserts at once. YOLO, right?
This recipe is quick enough that you won’t be chained to the kitchen all day, elegant enough to impress literally anyone (even your super-judgmental aunt), and dangerously delicious. It’s the kind of dessert that makes people think you have your life together, even when your socks don’t match. It’s a win-win, IMO.
Ingredients You’ll Need
Gather ’round, fellow culinary adventurers! Here’s what you’ll need for this epic dessert. Don’t worry, it’s nothing too exotic, mostly stuff you probably already have lurking in your fridge or pantry.
- **Heavy Cream (aka Double Cream):** About 2 cups (480ml). This is where the magic happens, people. Don’t skimp.
- **Egg Yolks:** 6 of ’em. Yes, just the yolks. What to do with the whites? Meringues? A really sad omelette? Your call.
- **Granulated Sugar:** Half a cup (100g) for the custard, plus a little extra for that glorious crackly top (about 2-3 tablespoons).
- **Vanilla Extract:** 1 teaspoon. Or a vanilla bean if you’re feeling fancy and want to show off those little black specks.
- **Pinch of Salt:** Just a tiny pinch, trust me. It makes everything taste more “oomph!”
- **Boiling Water:** For the bain-marie (fancy word for a water bath).
- **Your Favorite Ice Cream:** A scoop or two (or three, who’s counting?) for serving. Vanilla is classic, but hey, live a little! Salted caramel? Espresso? Go wild!
Step-by-Step Instructions
Alright, apron on, game face ready! Let’s get cracking (pun intended for that brûlée top!).
- **Preheat and Prep:** Pop your oven to 325°F (160°C). Grab some ramekins – 4-6 of them, depending on size. Place them in a roasting pan or a deep baking dish. You’ll see why in a sec.
- **Heat the Cream:** Pour the heavy cream into a saucepan. Add the vanilla extract and that tiny pinch of salt. Heat it over medium heat until it’s just simmering around the edges – **don’t let it boil vigorously!** Take it off the heat immediately.
- **Whisk the Yolks & Sugar:** In a separate bowl, whisk those egg yolks with the ½ cup of sugar until they’re pale yellow and slightly thick. You want it light and fluffy.
- **Temper, Temper!:** This is the “chef” part. Slowly, and I mean SLOWLY, pour about a third of the hot cream mixture into the egg yolks while whisking constantly. This warms up the eggs without scrambling them. Then, pour the warmed egg mixture back into the saucepan with the rest of the cream. Whisk until everything is smoothly combined.
- **Strain for Silkiness:** For an extra smooth custard (and to catch any tiny scrambled bits, oops!), pour the mixture through a fine-mesh sieve into a measuring cup or a pitcher.
- **Fill ‘Em Up:** Divide the custard evenly among your ramekins.
- **Water Bath Time!:** Carefully pour boiling water into the roasting pan around the ramekins, reaching about halfway up their sides. This water bath (bain-marie) helps the custard cook evenly and prevents it from curdling. **Pro tip: do this on the oven rack!** Less chance of sloshing hot water everywhere.
- **Bake Away:** Carefully slide the whole pan into the oven. Bake for 30-35 minutes, or until the edges are set but the center still jiggles slightly like Jell-O.
- **Cool Down:** Carefully remove the pan from the oven. Let the ramekins cool in the water bath for about 15 minutes, then transfer them to a wire rack to cool completely. Once they’re at room temp, cover them with plastic wrap and chill them in the fridge for at least 4 hours, or ideally, overnight.
- **The Grand Finale (Brûlée!):** When you’re ready to serve, pat the tops of the chilled custards dry with a paper towel. Sprinkle a thin, even layer of granulated sugar over each one. Grab your kitchen torch (or use your oven’s broiler – more on that later!). Torch the sugar until it melts and turns into a beautiful, amber, crispy crust. **Work quickly and keep the flame moving!**
- **Serve with Joy:** Let the brûléed custards sit for a minute or two for the sugar to harden. Then, scoop some of your favorite ice cream onto the side, grab a spoon, and *CRACK* that top! Pure bliss.
Common Mistakes to Avoid
Nobody’s perfect, especially not in the kitchen when deliciousness is on the line. Here are a few traps to sidestep on your journey to Crème Brûlée glory:
- **Scrambled Eggs (Oops!):** Pouring hot cream into cold egg yolks too fast is a recipe for breakfast, not dessert. **Temper slowly, whisk constantly!** This is probably the biggest hurdle.
- **Boiling the Cream:** Gently simmer, don’t boil. Overheated cream can also contribute to a grainy or curdled custard.
- **Overbaking:** If the centers aren’t jiggly when you pull them out, you’ve gone too far. Overbaked custard can become rubbery or have a weird texture.
- **Skipping the Strainer:** Trust me, those tiny egg bits are not what you want in your silky smooth crème brûlée. Strain it!
- **Torch Trauma:** Holding the torch in one spot for too long will burn the sugar, making it bitter. **Keep that flame moving!** We want caramel, not charcoal.
- **Impatience:** Trying to brûlée a warm custard will just melt the sugar into a sticky mess. **Chill your custards fully!** This is non-negotiable for that satisfying crack.
Alternatives & Substitutions
Feeling a little rebellious? Want to put your own spin on it? I like your style! Here are a few ideas:
- **Flavor Boost:** Instead of just vanilla, try infusing the cream with a cinnamon stick, star anise, a few coffee beans, or lemon zest while it heats up. Just strain them out before tempering the eggs. Lavender crème brûlée? Chef’s kiss!
- **No Kitchen Torch? No Problem!** You can use your oven’s broiler. Place the chilled custards on a baking sheet, sprinkle with sugar, and pop them under a preheated broiler (rack about 4-6 inches from the heat). **Watch them like a hawk!** This happens FAST. As soon as they’re golden and bubbly, pull them out.
- **Sugar Swap:** While granulated sugar is classic, you can try superfine sugar for an even quicker caramelization, or even brown sugar for a slightly different flavor profile (though it might not get as perfectly crisp).
- **Dairy-Free Dream?** It’s trickier, but you *can* attempt this with full-fat coconut cream (the thick stuff from a can, chilled overnight, scoop off the top). Just be aware the flavor and texture will be different – more tropical, less traditional.
- **Ramekin Rebellion:** No ramekins? Small oven-safe ceramic bowls or even espresso cups can work in a pinch, just adjust baking time if they’re significantly different in size.
FAQ (Frequently Asked Questions)
Got questions? I’ve got (mostly) sarcastic answers!
- **”Do I *really* need a kitchen torch?”** Well, technically no, you can use the broiler (see above!). But if you want to feel like a culinary superhero and impress your friends with fire, a torch is totally worth the small investment. Plus, it’s fun!
- **”Can I make this ahead of time?”** Absolutely! In fact, it’s better. Make the custards, chill them overnight, and then brûlée just before serving. Freshly torched sugar is the best.
- **”My crème brûlée isn’t setting. What did I do wrong?”** Probably underbaked. Or maybe your oven temperature is off. Make sure the edges are set and the center has a slight wobble. A good long chill in the fridge helps too.
- **”Why do I need a water bath? Is it just to make more dishes?”** Haha, kinda! But no, seriously, the water bath ensures even, gentle cooking, preventing the custard from cracking, curdling, or turning into rubber. It’s your friend!
- **”Can I use regular milk instead of heavy cream?”** You *can*, but it won’t be Crème Brûlée. It’ll be more like a very thin, sad custard. The heavy cream is crucial for that rich, luxurious texture. Don’t do it to yourself.
- **”My sugar burned! Is it ruined?”** If it’s just a little bit, scrape it off carefully. If the whole top is black and bitter, you might need to try again with a fresh layer of sugar (if possible) or accept your fate. Practice makes perfect with the torch!
Final Thoughts
So there you have it, champ! You just conquered Crème Brûlée, potentially becoming the most sophisticated dessert maker in your friend group. Take a bow! This isn’t just a recipe; it’s a declaration that you’re capable of incredible things, even if those things involve setting sugar on fire in the name of deliciousness. Now go impress someone—or yourself—with your new culinary skills. You’ve earned that satisfying *CRACK!* And that ice cream? Pure genius. You’re welcome!


