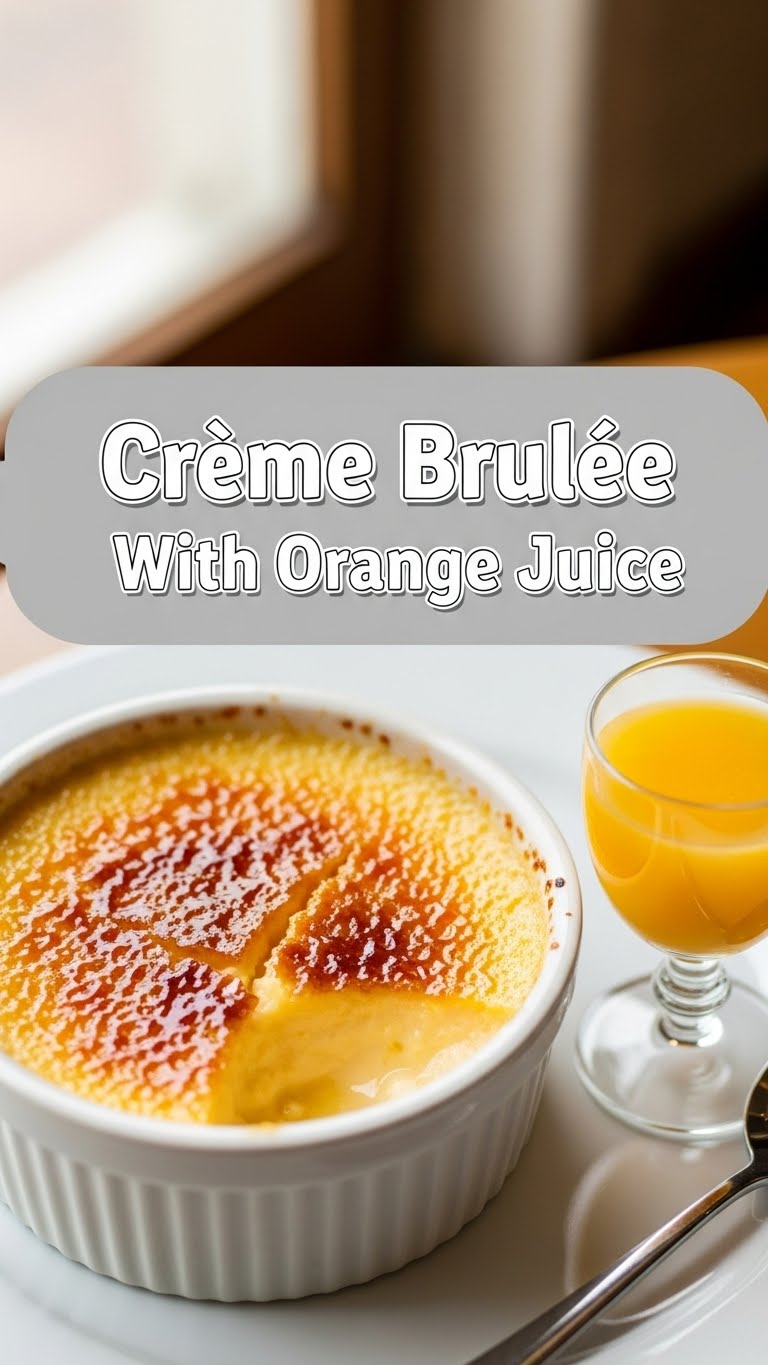
So, you’re craving something fancy-schmancy but also ridiculously easy to make, and let’s be real, you’re probably scrolling TikTok while thinking about it. Same. Good news, my friend! We’re diving headfirst into the creamy, dreamy world of Crème Brûlée, but with a zingy twist that’ll make your tastebuds do a happy dance: orange juice! Because why be basic when you can be brilliantly brûléed?
Why This Recipe is Awesome
Okay, let’s be honest. Crème brûlée sounds intimidating, right? Like something only Michelin star chefs or people who own fancy aprons can make. WRONG! This version is so **idiot-proof**, I’m pretty sure my cat could supervise it. Seriously, if you can stir, whisk, and not burn water, you’re golden. The orange juice addition isn’t just a whim; it cuts through the richness of the cream beautifully, adding a bright, sunny kick that makes you feel a little less guilty about devouring an entire ramekin (or two, no judgment here).
Plus, think about it: impress your friends, baffle your frenemies, or just treat yourself after a long week of adulting. It looks super elegant, but your effort-to-impressiveness ratio will be off the charts. You’re welcome.
Ingredients You’ll Need
- **Heavy Cream (2 cups):** Don’t even think about light cream, skim milk, or anything that whispers “diet.” We’re going full-fat, full-flavor here. This is not the time for compromises, people!
- **Granulated Sugar (1/2 cup, plus extra for topping):** For the custard itself. The extra is for that glorious, crunchy crust later. Because everything’s better with a crunchy sugar shell.
- **Large Egg Yolks (6):** These are the magic makers, giving us that rich, velvety texture. Separate them carefully; we don’t want any whitey-tighties crashing our party.
- **Vanilla Extract (1 teaspoon):** A classic, comforting hug for your custard. Use the good stuff, not the imitation “vanilla-ish” kind.
- **Freshly Squeezed Orange Juice (1/4 cup):** This is our star! Fresh is best, seriously. No concentrate. We want that vibrant, tangy sunshine.
- **Orange Zest (1 teaspoon):** For an extra burst of aromatic goodness. Don’t skip this, it makes all the difference!
- **Pinch of Salt:** Just a tiny bit to wake up all those beautiful flavors.
Step-by-Step Instructions
- **Preheat and Prep:** First things first, crank up your oven to 325°F (160°C). Grab four 6-ounce ramekins and place them in a larger baking dish. This is where our trusty water bath will come into play later.
- **Heat the Creamy Goodness:** In a medium saucepan, gently heat the heavy cream, orange juice, orange zest, and salt over medium-low heat. **Don’t boil it!** We’re aiming for steaming hot, just barely simmering around the edges. Remove it from the heat once it’s cozy warm.
- **Whisk the Yolks:** In a separate medium bowl, whisk together the egg yolks, sugar, and vanilla extract until they’re pale yellow and slightly thick. You’re building anticipation, embrace it!
- **Temper Like a Pro:** Here’s the “fancy” part, but it’s super easy. Slowly, I mean **slowly**, pour about half of the hot cream mixture into your egg yolk mixture while continuously whisking. This prevents you from making scrambled eggs (a rookie mistake we’re avoiding!). Once combined, pour the egg yolk mixture back into the remaining hot cream in the saucepan, whisking constantly.
- **Strain for Silkiness:** Now, pour the custard mixture through a fine-mesh sieve into a large measuring cup or pitcher. This step is key for that unbelievably smooth, silky texture. Don’t skip it unless you like lumpy custard (you don’t).
- **Fill ‘Em Up & Bathe ‘Em:** Divide the custard evenly among your prepared ramekins. Carefully pour hot water into the larger baking dish, around the ramekins, until it reaches about halfway up their sides. This water bath (bain-marie, if you wanna get fancy) ensures even cooking.
- **Bake ‘Til Wobbly:** Carefully transfer the baking dish to the oven. Bake for 30-35 minutes, or until the edges are set but the centers still have a slight jiggle. They’ll firm up as they cool, promise!
- **Chill Out:** Carefully remove the baking dish from the oven. Let the ramekins cool in the water bath for about 15-20 minutes. Then, take them out, cover them with plastic wrap, and refrigerate for at least 4 hours, or ideally, overnight. **Patience is a virtue here!**
- **Brûlée Time!:** When you’re ready to serve, pat the tops of the chilled custards dry with a paper towel. Sprinkle a thin, even layer of granulated sugar over each. Grab your kitchen torch and melt the sugar until it’s caramelized and bubbly. Let it cool for a minute or two until the sugar hardens into a gorgeous, crispy shell.
Common Mistakes to Avoid
- **Scrambled Eggs:** Pouring the hot cream into the egg yolks too fast without whisking is basically asking for scrambled egg custard. Don’t do it. Temper slowly!
- **Overbaking:** If you bake them until they’re completely firm, you’ll end up with rubbery custard. A slight jiggle in the center is what you want. Think of it as a subtle dance.
- **Skipping the Sieve:** Seriously, don’t. That silky texture is what makes crème brûlée crème brûlée. Lumps are for mashed potatoes, not this dessert.
- **Not Chilling Long Enough:** Impatience is your enemy here. If it’s not thoroughly chilled, the custard won’t set properly, and your sugar won’t brûlée correctly. **FYI**, cold custard + hot sugar = perfection.
- **Uneven Sugar Layer:** If your sugar layer is too thick or uneven before torching, you’ll get burnt spots and raw sugar spots. Aim for an even, thin sprinkle.
Alternatives & Substitutions
Feeling adventurous or missing an ingredient? No stress!
- **Citrus Swap:** Not feeling orange? Try lemon, lime, or even grapefruit juice and zest for a different tangy twist. Just use the same quantity!
- **Spice It Up:** Add a tiny pinch of cinnamon, cardamom, or even a star anise (removed before straining) to your cream mixture for an exotic flair.
- **Liqueur Love:** A tablespoon of Grand Marnier, Cointreau, or Triple Sec added to the cream mixture would amplify that orange flavor. Go on, live a little!
- **No Torch, No Problem:** If you don’t have a kitchen torch (seriously, get one, they’re fun!), you can use your oven’s broiler. Place the sugared ramekins under a preheated broiler for 1-2 minutes, watching like a hawk until the sugar caramelizes. **Warning:** This method is riskier and can easily overcook your custard. Proceed with extreme caution!
- **Brown Sugar Topping:** While granulated sugar gives the clearest, hardest crust, a sprinkle of light brown sugar can also work for brûléeing, giving a slightly different flavor profile.
FAQ (Frequently Asked Questions)
- **Can I make this ahead of time?** Absolutely! In fact, it’s encouraged. You can make the custards up to 2-3 days in advance and keep them chilled. Just brûlée right before serving.
- **Why do I need a water bath?** The water bath creates a gentle, moist, and even cooking environment, preventing the custards from curdling or drying out. It’s the secret to that perfectly smooth texture.
- **Can I use whole eggs instead of just yolks?** Technically, you *could*, but it won’t be the same. Whole eggs result in a lighter, less rich custard, more like flan. For that classic, luxurious crème brûlée mouthfeel, stick with the yolks!
- **My sugar didn’t get crispy! What happened?** Usually, this means your custard wasn’t cold enough, or your sugar layer was too thick or uneven. Make sure those custards are super chilled, and the sugar is evenly distributed.
- **Can I add more orange juice for a stronger flavor?** I’d advise against adding much more liquid (more than 1/4 cup) as it can affect the custard’s setting. For a stronger orange punch, amp up the zest a bit more or consider the liqueur alternative!
Final Thoughts
So there you have it! Crème Brûlée with Orange Juice. It’s elegant, it’s easy, and it’s got that little spark of citrus that makes it truly special. You’ve officially conquered a dessert that most people only dream of making. Now go forth and impress someone—or better yet, just yourself—with your new culinary skills. You’ve earned every single glorious, crunchy bite. Enjoy!


