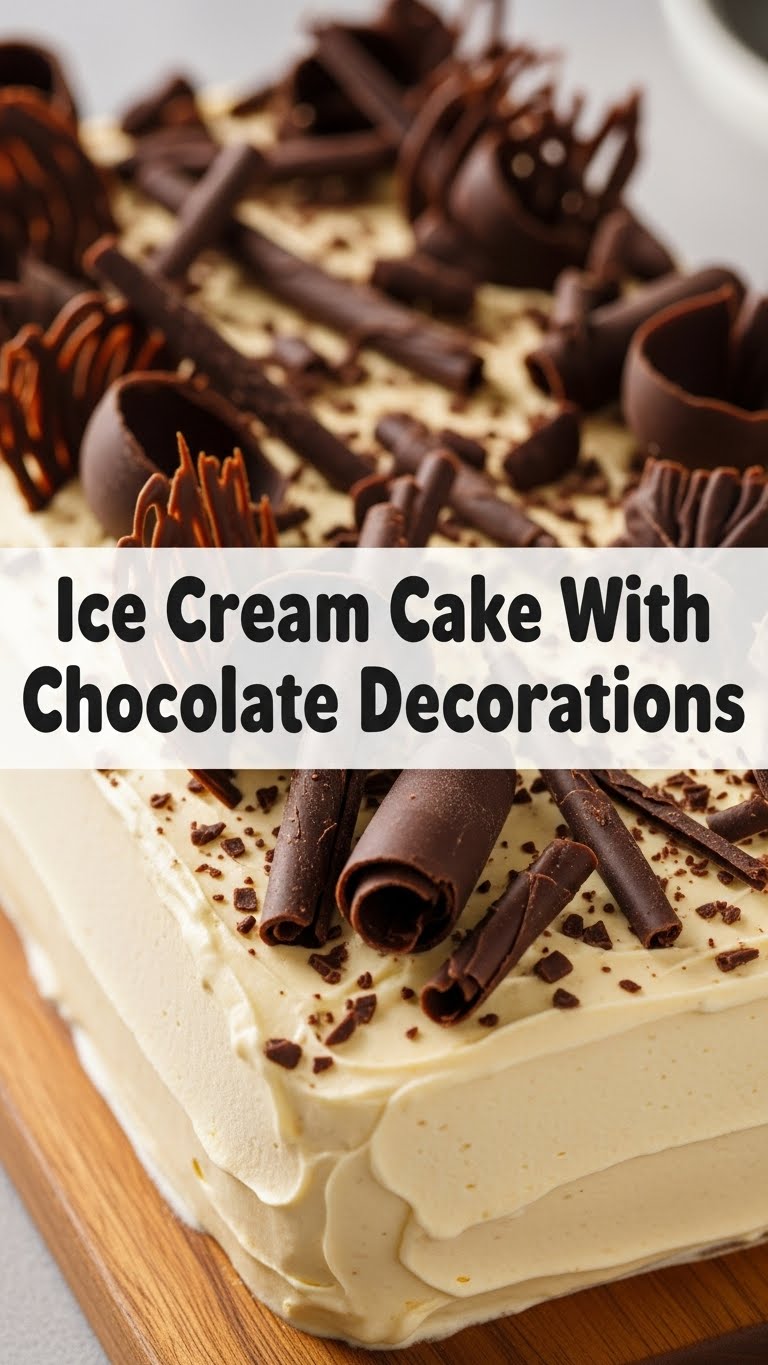
So you’re craving something epic, something that looks like you spent hours slaving away, but the actual thought of *baking* a ‘real’ cake makes you want to crawl under the covers? Been there, friend, many, many times. Good news! Today, we’re making an Ice Cream Cake with Chocolate Decorations. It’s basically an edible magic trick: minimal effort, maximum “wow” factor. Ready to fool everyone into thinking you’re a culinary genius? Let’s do this!
Why This Recipe is Awesome
Okay, let’s be real. This isn’t just “awesome,” it’s a life hack in dessert form. First off, it’s idiot-proof, even I didn’t mess it up. Seriously, if you can scoop ice cream and press cookies, you’ve got this. Second, it requires zero actual baking. Yes, you read that right. ZERO. Ovens are for suckers today. Third, it looks incredibly impressive, like something you’d pay a fortune for at a fancy patisserie. You get all the glory without any of the actual *sweat*. And finally, it’s customizable. Want to go wild with flavors? Go wild! It’s your masterpiece.
Ingredients You’ll Need
Gather your troops! Here’s what you’ll need to assemble your edible masterpiece:
- 1 ½ sleeves (about 24-30) chocolate sandwich cookies (like Oreos, but don’t tell Nabisco I said that). Roughly 250g.
- 6 tablespoons unsalted butter, melted. Because everything’s better with butter, right?
- 1 ½ quarts (about 6 cups) your favorite ice cream. Chocolate is a classic, vanilla is a good base, or go wild! Half chocolate, half something else? You do you.
- 1 ½ quarts (about 6 cups) a second flavor of ice cream (optional, but highly recommended for depth and drama). Think mint chip, coffee, or even strawberry for a fun contrast!
- 1 cup hot fudge or chocolate sauce, chilled. This isn’t just for decoration; it’s a layer of pure joy.
- 1 (8-ounce) container whipped topping (like Cool Whip, or homemade whipped cream if you’re feeling fancy). Softens the blow of all that ice cream.
- 1 large chocolate bar or chocolate chips for shaving/decorating. Because “chocolate decorations” isn’t just a suggestion, it’s a promise!
- A 9-inch springform pan. This is your secret weapon for easy release. Don’t skip this unless you enjoy wrestling desserts.
Step-by-Step Instructions
Time to get into action. Follow these simple steps and behold your creation!
- First things first: Crush those cookies! You can use a food processor for speed (my preferred method, IMO), or put them in a Ziploc bag and unleash your inner Hulk with a rolling pin. You want fine crumbs, not chunky bits.
- In a medium bowl, combine your crushed cookies with the melted butter. Mix until it resembles wet sand. Press this mixture firmly into the bottom of your 9-inch springform pan. Use the back of a spoon or your clean hands. Pop it in the freezer for at least 15 minutes to firm up.
- While your crust is chilling, let your first ice cream flavor soften a bit on the counter (about 10-15 minutes). You want it spreadable, not soupy. Spread about half of this softened ice cream evenly over your frozen cookie crust. Drizzle about half of your chilled chocolate sauce over this layer.
- Now, gently spoon the remaining first ice cream flavor over the chocolate sauce, spreading it carefully so you don’t mix it all up. Freeze for at least 30 minutes, or until firm. Patience, grasshopper!
- Repeat the softening and spreading process with your second ice cream flavor (if using) or the rest of your first flavor. Spread it over the now-firm first layer. Drizzle the remaining chocolate sauce on top.
- Finally, top your glorious ice cream stack with the whipped topping, spreading it smoothly to the edges. Now for the fun part: decorate with chocolate shavings or chips! Use a vegetable peeler on the side of a chocolate bar for those fancy curls.
- Freeze the entire cake for at least 4-6 hours, or ideally overnight. The longer it freezes, the cleaner your slices will be. Trust me on this.
- When you’re ready to serve, remove the cake from the freezer and let it sit at room temperature for about 5-10 minutes. This makes it easier to slice. Run a thin knife under hot water, wipe it dry, and slice away! Release the springform pan and serve immediately.
Common Mistakes to Avoid
Nobody’s perfect, but we can try to avoid these rookie errors:
- Impatience is not a virtue here. Seriously, trying to layer ice cream without freezing between steps will give you a muddy, unappealing mess. Freeze each layer adequately!
- Over-softening the ice cream. If it’s liquidy, it won’t set nicely and will seep into your crust, making it soggy. Aim for “spreadable,” not “milkshake-ready.”
- Skimping on the chocolate decorations. The recipe title has “Chocolate Decorations” in it for a reason, people! Go big or go home with those shavings and drizzles.
- Trying to slice it straight from the deep freeze. You’ll bend your knife and probably break your arm. Give it a few minutes on the counter. Your freezer is powerful, respect its strength.
- Forgetting the springform pan. You *can* use a regular cake pan, but getting the cake out will be a feat of engineering, and likely result in a demolished dessert. Don’t say I didn’t warn you!
Alternatives & Substitutions
Feeling creative? Here are some ways to switch things up:
- Crust: Instead of chocolate sandwich cookies, try graham crackers for a classic cheesecake crust vibe, or even crushed pretzels for a salty-sweet twist. Yum!
- Ice Cream Flavors: Go wild! Mint chip with chocolate sauce, coffee ice cream for the java lovers, or swirl in some strawberry for a fruity kick. Your cake, your rules.
- Sauce: Caramel sauce or peanut butter sauce can totally replace or complement the chocolate fudge. Imagine a peanut butter cup ice cream cake… 🤤
- Topping: If Cool Whip isn’t your jam, make fresh whipped cream (heavy cream, a little sugar, a splash of vanilla). Or, for extra decadence, spread a layer of chocolate ganache over the top once the cake is firm!
- Decorations: Beyond chocolate, think sprinkles, chopped nuts, mini candy bars, or even fresh berries (add these just before serving!).
FAQ (Frequently Asked Questions)
Got questions? I’ve got answers (mostly humorous ones).
- Q: Can I use regular cake pans instead of a springform?
A: Well, technically yes, but good luck getting it out in one piece. Springform is your BFF for a reason—it lets you release the sides without wrestling the cake. Trust the process! - Q: How long does it *really* need to freeze?
A: For a cake that holds its shape and slices like a dream, aim for at least 4-6 hours. Overnight is always best. Good things come to those who wait, especially when “good things” involve ice cream cake. - Q: Can I make this ahead of time?
A: Absolutely! This is an awesome make-ahead dessert. You can make it up to a week in advance, just keep it well-covered in the freezer to prevent freezer burn. Perfect for parties! - Q: What if my ice cream is too hard to spread?
A: Let it sit on the counter for 5-10 minutes. **Do NOT microwave it!** Unless you’re aiming for an ice cream soup layer, which I doubt you are. - Q: Any tips for neat slices?
A: Professional baker’s secret: Run your knife under hot water, wipe it dry, then slice. Repeat for each slice. It’ll glide through like butter (or rather, perfectly frozen ice cream). - Q: Is it really *that* easy?
A: Yes, it really is. Now go humble-brag to your friends about your incredible “baking” skills. You’ve earned it!
Final Thoughts
So there you have it! You just created a show-stopping, crowd-pleasing, utterly delicious ice cream cake with minimal fuss and maximum impact. You’re basically a dessert superhero. Now go impress someone—or yourself—with your new culinary skills. You’ve earned it! Don’t forget to send me a slice. Just kidding (mostly). Enjoy!


