So you’re craving something tasty but too lazy to spend forever in the kitchen, huh? Same. And honestly, who has the time for a culinary marathon when there’s Netflix to binge and maybe, just maybe, some actual human interaction to consider? Good news, my friend. I’ve got the ultimate solution to your dessert dilemmas, and it involves zero oven time (unless you count chilling, which doesn’t count, FYI).
Why This Recipe is Awesome
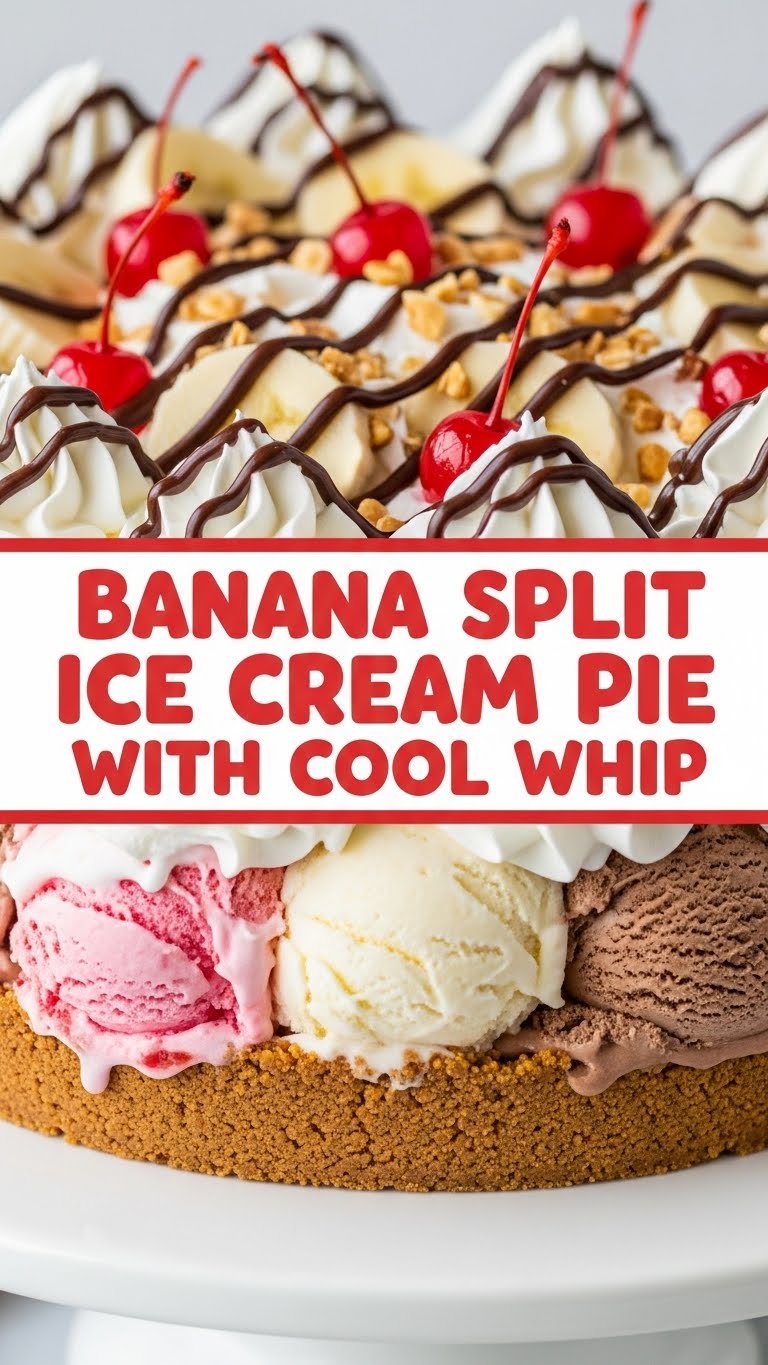
Okay, real talk. This Banana Split Ice Cream Pie isn’t just awesome; it’s practically a superhero in dessert form. It’s no-bake, which means your oven can finally take a much-deserved vacation. It’s also shockingly simple – honestly, it’s pretty idiot-proof. Even I, someone who once tried to microwave a metal spoon (don’t ask), managed not to mess this up. Plus, it tastes like a carnival exploded in your mouth, but in the best way possible. Seriously, get ready for compliments!
Ingredients You’ll Need
- 1 ½ cups crushed graham cracker crumbs (or Oreo crumbs if you’re feeling extra fancy and a little dark)
- ¼ cup granulated sugar (just enough sweetness, don’t go wild)
- ⅓ cup unsalted butter, melted (the good stuff, no margarine, please!)
- 1 ½ quarts banana ice cream, softened (let it chill, but not too much)
- 1 large banana, sliced (the star of the show, obviously)
- ½ cup hot fudge topping (warm it up, trust me on this)
- ½ cup caramel topping (because why choose when you can have both?)
- 1 (8 ounce) container Cool Whip, thawed (the fluffy cloud of dreams)
- Maraschino cherries, for garnish (the little red hats for our pie)
- Chopped nuts (pecans, walnuts, your choice – optional, but highly recommended for crunch)
Step-by-Step Instructions
- Crust Time! In a medium bowl, mix your graham cracker crumbs, sugar, and melted butter until it looks like wet sand. Press this glorious mixture firmly into the bottom and up the sides of a 9-inch pie plate. Now, stick it in the freezer for about 15 minutes. This helps it get nice and firm.
- Ice Cream Layer: Pull that crust out of the freezer. Spoon the softened banana ice cream evenly over the crust. Don’t press too hard, just spread it gently. Back into the freezer it goes for at least 30 minutes, or until it’s firm again.
- Banana Bonanza: Once the ice cream is solid, arrange your sliced banana rounds over the ice cream layer. Try to make it pretty, or don’t, it’s going to be covered anyway!
- Topping Tornado: Drizzle your warmed hot fudge and caramel toppings generously over the bananas. Go wild! More is more, right?
- Cool Whip Cloud: Spread the thawed Cool Whip over the toppings. Make it look like a fluffy snowdrift. This is your canvas, artist!
- Final Flourish: Now for the fun part – decorate! Sprinkle with chopped nuts and strategically place those bright red maraschino cherries. Pop the whole pie back into the freezer for at least 4 hours, or even better, overnight. This is the hardest part: the waiting game.
- Serve & Devour! When it’s ready, take it out of the freezer about 10-15 minutes before serving so it’s easier to slice. Slice, serve, and bask in the glory.
Common Mistakes to Avoid
- Impatience: Trying to slice it too soon. Seriously, give it time to firm up in the freezer. A runny pie is a sad pie.
- Warm Ice Cream Woes: Don’t let your ice cream get too soft. It should be spreadable, not soupy. Otherwise, it’ll just melt into your crust.
- Skimping on Toppings: This is a banana split, not a plain vanilla pie. Embrace the decadence! Go ahead, add that extra drizzle.
- Forgetting the Freezer: Thinking you can just assemble and serve. Nope. This pie needs its beauty sleep in the freezer.
Alternatives & Substitutions
- Crust Swap: Not a graham cracker fan? Try crushed Oreos, Nilla Wafers, or even chocolate wafers for a different vibe. Each brings its own party to the crust!
- Ice Cream Adventures: Banana ice cream is classic here, but feel free to experiment! Strawberry, chocolate, or even a mixed berry ice cream could be fun. Just promise me it’s good quality.
- Nutty No-No: Allergic to nuts or just not a fan? Skip ’em! Or try toasted coconut flakes for an alternative crunch.
- DIY Toppings: Don’t have hot fudge or caramel? Make your own, or swap for chocolate syrup, dulce de leche, or even a raspberry drizzle for a tangy kick.
FAQ (Frequently Asked Questions)
- “Can I use regular whipped cream instead of Cool Whip?” Well, technically yes, but for a stable, long-lasting frozen pie, Cool Whip is your friend. It holds up much better when frozen. Plus, who wants deflated whipped cream? Not me!
- “My ice cream is rock hard; how do I soften it?” Just leave it out on the counter for 10-15 minutes. Patience, grasshopper. Don’t microwave it unless you want ice cream soup.
- “How long does this pie last in the freezer?” If it actually lasts, it’ll be good for about a week, tightly covered. But honestly, it’s usually gone in 24 hours in my house.
- “Can I add other fruits?” Absolutely! Pineapple chunks or sliced strawberries would be fantastic additions to lean even harder into the banana split vibe.
- “Is this healthy?” Pffft. It’s a dessert, my friend. It’s healthy for your soul and your happiness. Calories don’t count when they’re delicious, right? 😉
- “Can I make this ahead for a party?” YES! That’s one of its superpowers. Make it the day before, pop it in the freezer, and pull it out when you’re ready to wow everyone.
Final Thoughts
There you have it, folks! Your new go-to, stress-free, impress-everyone dessert. This Banana Split Ice Cream Pie is seriously delicious and surprisingly easy. So go on, channel your inner pastry chef (without all the actual baking), and whip this up. You’ve earned a delicious treat, and your taste buds will thank you. Now go impress someone—or yourself—with your new culinary skills. You’ve earned it!


