Okay, real talk. You know that dessert that looks super fancy, tastes divine, and makes everyone go “oooooh, ahhhh” when you serve it? Yeah, that’s crème brûlée. And you probably think it’s a monumental task reserved for Michelin-starred chefs, right? **WRONG.** We’re about to make it, and guess what? We’re throwing ice cream into the mix because, frankly, why not be extra? Life’s short, eat dessert first (or with, or whenever).
Why This Recipe is Awesome
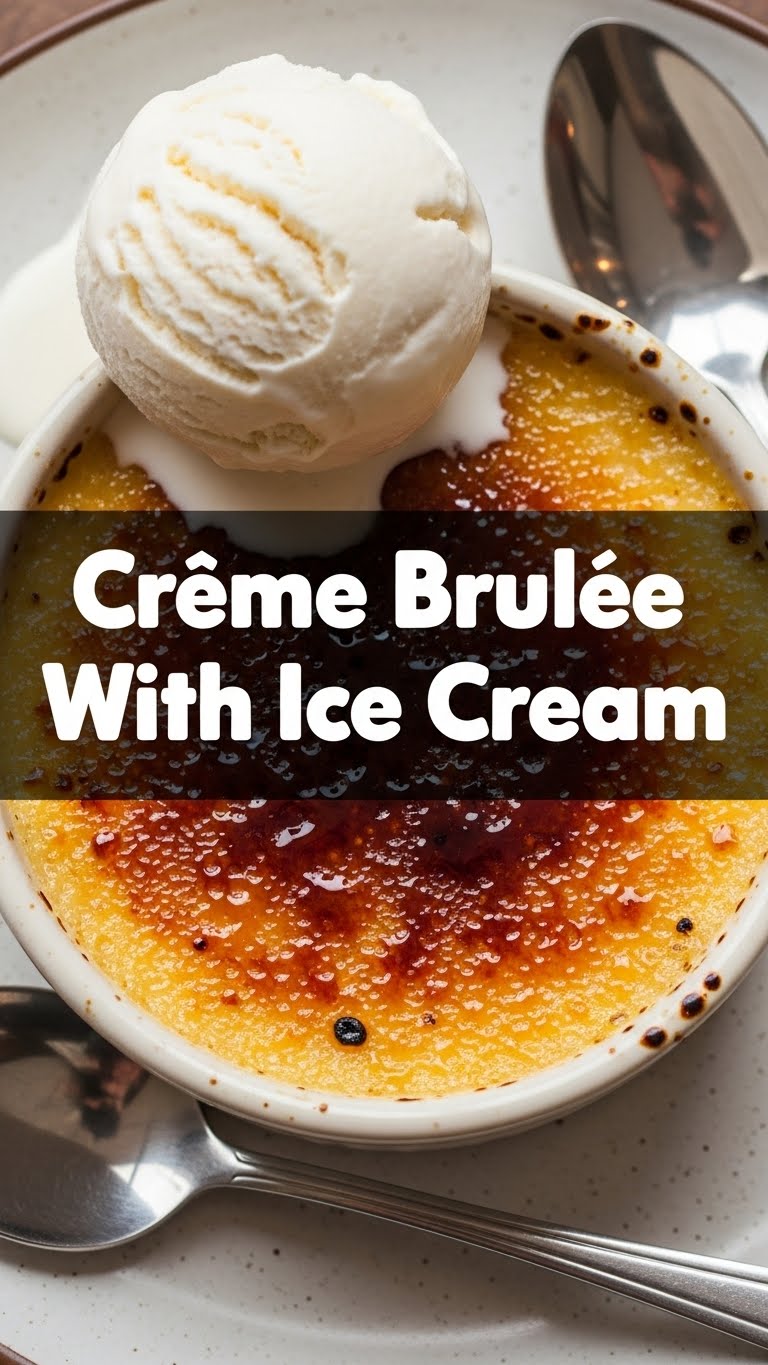
First off, it’s crème brûlée. That’s a mic drop right there. But seriously, this isn’t some fussy, temperamental diva of a dessert. It’s surprisingly chill. The magic lies in its simplicity: a rich, creamy custard topped with a crunchy, caramelized sugar shell. And when you pair that warm, silky goodness and satisfying *crack* with a scoop of your favorite cool ice cream? **Game changer, people.** It’s like a warm hug and a cool high-five all at once. Plus, it makes you look like a culinary wizard without actually needing to own a magic wand. Score!
Ingredients You’ll Need
Gather ’round, buttercups! Here’s your shopping list for dessert glory:
- **Heavy Cream (2 cups):** Don’t even *think* about light cream. This is where the magic happens. We’re going for luscious, not “lightly remorseful.”
- **Large Egg Yolks (5):** Yes, just the yolks. Separate them like you’re separating gossip from facts – carefully and decisively.
- **Granulated Sugar (1/2 cup + 2-3 tbsp for topping):** Sweetness for the custard, and the crucial sugar for that epic crunch.
- **Vanilla Extract (1 tsp):** Good quality, please. Pure vanilla makes all the difference. Or, if you’re feeling fancy, a vanilla bean scraped into the cream!
- **Pinch of Salt:** Just a tiny bit to balance out all that sweetness. Think of it as a flavor enhancer.
- **Your Favorite Ice Cream:** This is non-negotiable. Vanilla bean, salted caramel, chocolate fudge… whatever makes your heart sing.
Step-by-Step Instructions
Deep breaths! You’ve got this. Follow these easy steps to crème brûlée nirvana:
- **Preheat & Prep:** First things first, preheat your oven to a cozy 325°F (160°C). Grab four 4-ounce ramekins and set them in a larger baking dish (like a roasting pan). We’re making a water bath, so have some hot water ready to go.
- **Heat the Cream:** In a medium saucepan, combine your heavy cream, vanilla extract, and that tiny pinch of salt. Heat it over medium heat until it’s just simmering around the edges – **do NOT let it boil**. We want warm, happy cream, not angry, curdled cream. Remove from heat.
- **Whisk the Yolks:** In a separate mixing bowl, whisk your egg yolks and 1/2 cup of sugar together until they’re pale yellow and creamy. You’re basically making a delicious, yolky ribbon.
- **Temper Like a Pro:** Here’s the most “chef-y” part, but it’s easy. Slowly, I mean *slowly*, pour about half of the warm cream mixture into the egg yolk mixture, whisking constantly. This is called tempering and it prevents your eggs from scrambling. Then, pour the tempered egg mixture back into the remaining cream in the saucepan, still whisking.
- **Strain for Smoothness:** For that unbelievably silky texture, pour the custard mixture through a fine-mesh sieve into a liquid measuring cup or another bowl. This catches any little bits of cooked egg or vanilla bean.
- **Fill & Bathe:** Divide the strained custard evenly among your ramekins. Carefully pour hot water into the larger baking dish until it reaches halfway up the sides of the ramekins. This water bath ensures even cooking and a super creamy custard.
- **Bake It Up:** Gently transfer the baking dish to your preheated oven. Bake for 30-35 minutes, or until the edges are set but the centers still have a slight jiggle. **This jiggle is key!** Don’t overbake.
- **Chill Out:** Carefully remove the ramekins from the water bath and let them cool on a wire rack. Once they’re cool enough to handle, cover them with plastic wrap and chill in the refrigerator for at least 4 hours, or ideally, overnight. This is where they firm up and get their glorious texture.
- **Torch Time!** When you’re ready to serve, sprinkle 1/2 to 1 tablespoon of granulated sugar evenly over the top of each chilled custard. Now, grab your kitchen torch (or use the broiler, see FAQ!). Torch the sugar until it melts, bubbles, and turns a beautiful, amber caramel color. Work quickly and keep the flame moving to prevent burning.
- **Serve with a Scoop:** Immediately serve your perfectly torched crème brûlée with a generous scoop of your favorite ice cream right alongside it. Enjoy the contrast of warm, cool, creamy, and crunchy!
Common Mistakes to Avoid
Even the pros make blunders, but with these tips, you won’t be one of them. Mostly.
- **Boiling the Cream:** Seriously, don’t boil it. If you do, it can curdle your custard or make it separate. Just heat until those tiny bubbles appear around the edges. **Slow and steady wins the cream race.**
- **Scrambled Eggs (AKA Skipping Tempering):** Pouring hot cream directly into cold egg yolks without tempering is a one-way ticket to scrambled egg custard. Take your time with that slow pour and constant whisking!
- **Overbaking:** You’re looking for a gentle jiggle in the center, not a solid, rubbery puck. Overbaking will give you a grainy texture, and nobody wants that.
- **Rushing the Chill:** Patience, grasshopper. The chilling time is crucial for the custard to set properly and develop its full flavor and texture. Don’t skip it!
- **Skimping on the Sugar Layer:** That crunchy sugar crust is **the** crème brûlée experience. Don’t be shy with the sugar on top, and make sure it’s evenly spread for maximum shatter.
Alternatives & Substitutions
Feeling a little rebellious? Here are some ways to shake things up:
- **Flavor Infusions:** Instead of plain vanilla, try infusing your cream with other flavors! Think a few coffee beans, lavender sprigs, orange or lemon zest, or even some cardamom pods. Just heat them with the cream, then strain before tempering.
- **Sugar Swap:** For the topping, brown sugar or turbinado sugar (raw sugar) can give a deeper, more molasses-like caramel flavor. Just be aware they might take slightly longer to torch.
- **Ice Cream Adventure:** While vanilla is a classic pairing, don’t be afraid to experiment! Salted caramel ice cream adds another layer of decadence, a tart berry sorbet offers a refreshing contrast, or even a good espresso ice cream could be epic.
- **No Torch? No Problem (Kind of):** If you don’t have a kitchen torch, you can use your oven’s broiler. Place the sugared ramekins on a baking sheet on the top rack. Watch them like a hawk! It takes literally seconds to burn, so pull them out as soon as the sugar is caramelized. **This is for emergencies only, IMO.** A torch is much better for control.
FAQ (Frequently Asked Questions)
Got questions? I’ve got answers (mostly, and with a smile).
- **Can I make crème brûlée ahead of time?** Absolutely! In fact, it’s better. Make the custards, chill them, and then torch right before serving. It’s a lifesaver for dinner parties!
- **What if I don’t have a kitchen torch?** Well, technically yes, you can use your oven broiler as mentioned above. But why deny yourself the joy (and control) of a kitchen torch? They’re super affordable online!
- **Why do I need heavy cream? Can I use half-and-half?** You *can* use half-and-half, but your custard won’t be as rich, thick, or creamy. The high fat content in heavy cream is crucial for that luxurious texture. Don’t compromise here!
- **Can I use whole eggs instead of just yolks?** Not for this classic crème brûlée. Whole eggs will give you a firmer, more pudding-like texture, not the delicate, silky custard we’re aiming for. Save those whites for an omelet or meringue!
- **How do I know when the crème brûlée is done baking?** It should be mostly set around the edges but still have a slight “jiggle” in the very center when you gently nudge the ramekin. It will continue to set as it cools.
- **My sugar burned when I torched it! What happened?** You either held the flame in one spot for too long, or the flame was too close. Keep the torch moving constantly and hold it a few inches above the sugar. Practice makes perfect (and prevents sad, burnt sugar).
- **Why serve it with ice cream? Is that traditional?** Is it “traditional”? Maybe not in the strictest sense. Is it delicious and takes the dessert to a whole new level? Heck yes! Think of it as an upgrade, not a deviation.
Final Thoughts
See? You just made something that screams “I’m sophisticated and I know things” without breaking a sweat. Or at least, not too much sweat. That satisfying *crack* of the sugar and the creamy, cool combo with ice cream is pure bliss, trust me. Now go forth and conquer dessert, my friend. You’ve earned that sweet, sweet victory. Go impress someone – or just yourself, because you’re worth it!


