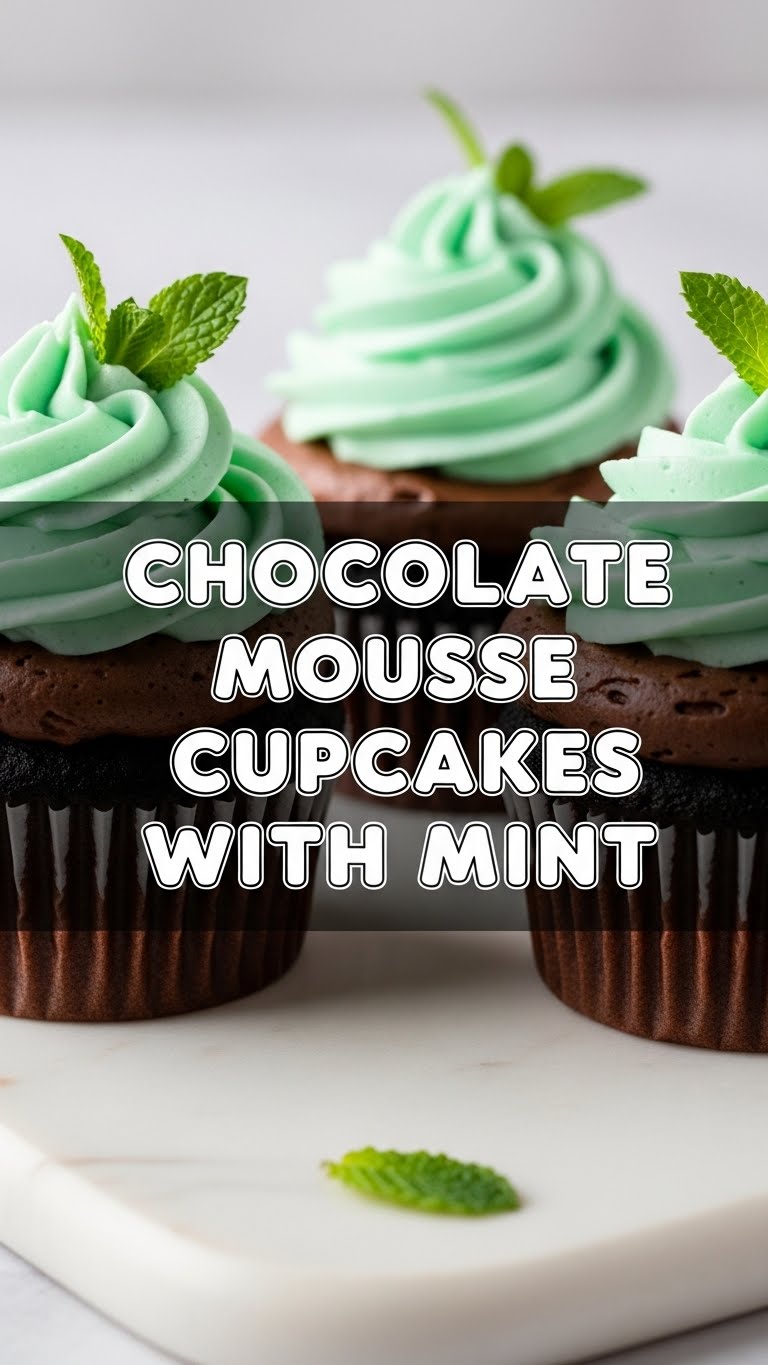
So you’re craving something tasty but too lazy to spend forever in the kitchen, huh? Same. And probably, you want to impress someone (or just yourself, no judgment) without looking like you tried too hard. Enter: Chocolate Mousse Cupcakes with Mint. They’re basically a fancy dessert in a casual disguise, all wrapped up in a pretty little paper cup.
Why This Recipe is Awesome
Let’s be real, these aren’t just cupcakes. They’re a *statement*. They scream, “I’m sophisticated, but I also know how to have fun and maybe wear pajamas all day.” Plus, they look way more complicated than they actually are. Seriously, it’s almost insultingly easy. Even if your culinary skills usually peak at instant ramen, you got this. These bad boys are **idiot-proof; I didn’t mess them up, and that’s saying something.** The rich chocolate cupcake base, the dreamy, airy mousse, and that fresh pop of mint? *Chef’s kiss* (or rather, *your* kiss, ’cause you made ’em!)
Ingredients You’ll Need
Time to gather your edible arsenal. Nothing too wild here, just the good stuff:
- For the Chocolate Cupcakes:
- 1 cup all-purpose flour (the basic stuff, no need for artisanal ancient grain flour, unless you’re feeling *extra*)
- ½ cup unsweetened cocoa powder (go for the good stuff, it makes a difference!)
- 1 teaspoon baking soda (our little lifting hero)
- ½ teaspoon salt (balances everything out, don’t skip it!)
- ½ cup unsalted butter, softened (room temp is key, folks)
- 1 cup granulated sugar (for that sweet, sweet goodness)
- 2 large eggs (happy chickens make happy cakes)
- 1 teaspoon vanilla extract (because everything is better with vanilla)
- ½ cup buttermilk (if you don’t have it, just add a teaspoon of lemon juice or vinegar to regular milk and let it sit for 5 mins—voila!)
- ½ cup hot water or hot coffee (coffee really deepens the chocolate flavor, trust me on this!)
- For the Chocolate Mint Mousse:
- 8 ounces good quality dark chocolate, chopped (70% cacao is my jam, but whatever floats your boat!)
- 1 ½ cups heavy cream, divided (we’re going to whip some of this!)
- ¼ cup powdered sugar (icing sugar, confectioners’ sugar—whatever you call it)
- 1 teaspoon mint extract (don’t overdo it, unless you want them to taste like toothpaste)
- A few drops green food coloring (optional, but makes them look extra minty and fun!)
- For Garnish (aka the “Look How Fancy I Am” part):
- Fresh mint leaves (a few sprigs, for that final touch of elegance)
- Chocolate shavings or mini chocolate chips (because more chocolate is always a good idea)
Step-by-Step Instructions
Alright, apron on, game face ready! Let’s get baking.
- Preheat & Prep: Pop that oven to **350°F (175°C)**. Line a 12-cup muffin tin with paper liners. Don’t be that person who forgets, or you’ll be scraping for days.
- Dry Mix: In a medium bowl, whisk together the flour, cocoa powder, baking soda, and salt. Set aside.
- Wet Mix (Part 1): In a large bowl (or stand mixer), cream together the softened butter and granulated sugar until it’s light and fluffy. Takes about 2-3 minutes.
- Eggs & Vanilla: Beat in the eggs, one at a time, making sure each is fully incorporated before adding the next. Stir in the vanilla extract.
- Combine & Alternate: Now, add half of your dry mixture to the wet mixture, mixing until just combined. Pour in the buttermilk and mix. Then add the remaining dry mixture. Don’t overmix, or your cupcakes will be tough like a week-old biscuit.
- Hot Stuff: Gently stir in the hot water (or coffee). The batter will be thin, and that’s totally okay, **don’t panic!**
- Bake ‘Em Up: Divide the batter evenly among your prepared cupcake liners, filling each about two-thirds full. Bake for **18-22 minutes**, or until a toothpick inserted into the center comes out clean.
- Cool Down: Let the cupcakes cool in the muffin tin for a few minutes, then transfer them to a wire rack to cool completely. This is crucial for the mousse step, trust me.
- Melt the Chocolate: While the cupcakes cool, melt your chopped dark chocolate. You can do this in a microwave (30-second bursts, stirring in between) or over a double boiler. Let it cool slightly.
- Whip the Cream: In a separate cold bowl, whip 1 cup of the heavy cream with the powdered sugar until medium peaks form. Add the mint extract and green food coloring (if using), and gently fold until just combined.
- Make the Mousse: In another bowl, combine the remaining ½ cup heavy cream with the slightly cooled melted chocolate. Mix until smooth. Then, **gently fold** this chocolate mixture into your whipped cream mixture until just combined. Be gentle! We want that airy mousse texture.
- Mousse Time! Once the cupcakes are completely cool, spoon or pipe the chocolate mint mousse generously on top.
- Garnish & Chill: Garnish with fresh mint leaves and chocolate shavings. For the best texture, chill for at least 30 minutes before serving. This helps the mousse set up perfectly.
Common Mistakes to Avoid
Nobody’s perfect, but we can avoid some major cupcake blunders, right?
- Thinking you don’t need to preheat the oven: Rookie mistake. Your cupcakes will bake unevenly and probably be sad. Don’t do it.
- Overmixing the batter: This is a cardinal sin! Overmixing develops gluten, leading to tough, rubbery cupcakes. Mix until just combined, a few lumps are fine.
- Filling cupcake liners to the brim: Unless you want volcano cupcakes spilling everywhere, stick to two-thirds full.
- Frosting warm cupcakes: This isn’t a “warm chocolate lava cake” situation. Your mousse will melt into a sad puddle. **Patience, my friend, patience!**
- Using too much mint extract: A little goes a long way. Start with 1 teaspoon, taste, and add *tiny* amounts if you dare. Otherwise, you’ll be serving toothpaste.
Alternatives & Substitutions
Feeling creative? Or maybe you just ran out of something. No stress, we’ve got options!
- Chocolate Type: Not a dark chocolate fan? Use semi-sweet or even milk chocolate for the mousse, but adjust the powdered sugar if it’s already quite sweet. IMO, dark chocolate provides the best contrast.
- Mint Extract: Don’t have mint extract? You can try adding a tiny amount of peppermint essential oil (make sure it’s food-grade!) or even some finely chopped fresh mint leaves directly into the mousse (strain them out later if you don’t like texture).
- Buttermilk Substitute: As mentioned, add 1 tsp lemon juice or white vinegar to ½ cup regular milk and let it sit for 5 minutes. Boom, instant buttermilk!
- Frosting Fun: If you’re not feeling the mousse (gasp!), these cupcakes would also be divine with a simple buttercream frosting, either plain chocolate or a mint-flavored one.
- Coffee vs. Water: If you don’t drink coffee, hot water works perfectly fine. The coffee just enhances the chocolate flavor without making it taste like a mocha.
FAQ (Frequently Asked Questions)
Got questions? I’ve got (casual) answers!
- Can I make these gluten-free? Absolutely! Swap the all-purpose flour for your favorite 1:1 gluten-free baking blend. FYI, results might vary slightly, but they should still be delish.
- How long do these last? In theory, they last 2-3 days in an airtight container in the fridge. In reality? Probably about 2-3 hours if you live with me. The mousse is best fresh, but a day or two is fine.
- Can I use a different kind of extract for the mousse? Sure, if you’re feeling adventurous! Orange extract, almond extract, or even a hint of espresso powder could be fun. But then they wouldn’t be “mint” cupcakes, would they?
- My mousse isn’t setting up, help! Did you whip the cream enough? Was your melted chocolate too hot when you mixed it in? Make sure your cream is super cold, and the chocolate is just slightly warm, not scorching. Pop it in the fridge for a bit and try whipping again.
- Do I really need good quality chocolate? Well, you *could* use cheap chocolate chips, but why hurt your soul like that? Seriously, good chocolate makes a HUGE difference in flavor and texture for the mousse. Treat yourself!
- Can I make the cupcakes ahead of time? Yes, you can bake the cupcakes a day in advance and store them in an airtight container at room temperature. Then make the mousse and assemble them just before serving.
Final Thoughts
And there you have it, folks! Your very own batch of elegant-but-easy Chocolate Mousse Cupcakes with Mint. You’ve successfully navigated the treacherous waters of baking and emerged victorious, with delicious treats to prove it. Now go impress someone—or yourself—with your new culinary skills. You’ve earned it! Seriously, go grab one, you deserve it after all that hard work (which, let’s be honest, wasn’t *that* hard). Enjoy!


