Okay, so you’ve got a box of vanilla pudding sitting in the pantry, or maybe just a craving for something ridiculously easy, universally loved, and utterly comforting? Either way, you’re in the absolute right place, my friend. We’re about to turn that humble vanilla pudding into a dessert superstar without breaking a sweat (or a single expensive kitchen gadget). Think of it as an extreme pudding makeover!
Why This Recipe is Awesome
Because it’s basically the culinary equivalent of putting on sweatpants after a long day: comfy, satisfying, and zero fuss. We’re talking **minimal effort, maximum deliciousness**. Plus, it’s completely customizable. Think of vanilla pudding as your blank canvas, and we’re about to get super artsy with the toppings. **It’s idiot-proof**, seriously. If I can nail this without setting off the smoke detector, you’re definitely golden.
Ingredients You’ll Need
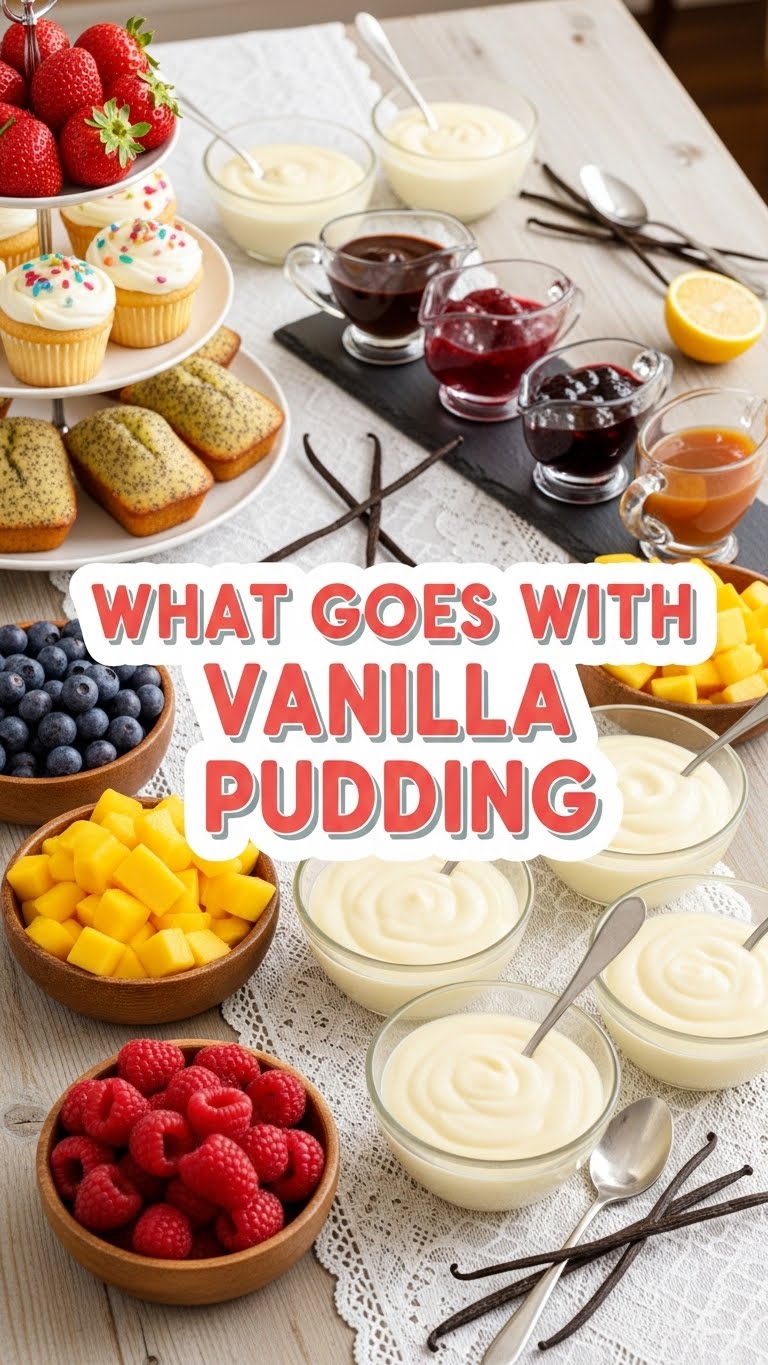
- Vanilla Pudding: The undisputed star of our show! Boxed mix is totally fine, or homemade if you’re feeling fancy (but honestly, who has the time?).
- Milk: To make said pudding. Whole milk for creamy dreams, skim if you’re pretending to be healthy (we see you).
- Whipped Cream: Because everything’s better with a cloud on top. Canned, homemade, whatever floats your boat.
- Crushed Cookies/Wafers: Graham crackers, shortbread, vanilla wafers, Oreos, biscoff… pick your crunchy poison! Broken bits are encouraged.
- Fresh Fruit: Berries (strawberries, blueberries, raspberries) are always a win! Sliced bananas, peaches, mangoes—whatever’s in season and looks pretty.
- Chocolate/Caramel Sauce: For that extra drizzle of decadence. Optional, but highly recommended by my sweet tooth.
- Optional Embellishments: A few chocolate chips, sprinkles, or toasted nuts if you’re feeling extra.
Step-by-Step Instructions
- First things first, whip up your vanilla pudding according to the package directions. It’s usually just whisking with milk. Make sure it’s smooth, with no sneaky lumps hiding.
- Now, here’s the crucial part: **Don’t skimp on the chilling time!** Pop that pudding in the fridge until it’s properly set and delightfully cold. Nobody likes warm, runny pudding.
- While your pudding is chilling its little heart out, grab some cute glasses, small bowls, or even mason jars. This is where the magic (and layering) happens.
- Time to build! Start with Layer 1: Spoon a generous portion of your crushed cookies into the bottom of each glass. This creates a delightful crunchy base.
- Next, Layer 2: Add a big dollop of your perfectly chilled vanilla pudding over the cookies. Smooth it out gently.
- For Layer 3: Sprinkle in some of your fresh fruit. Contrast those colors and textures, chef!
- Repeat the layers until your glass is almost full, making sure your top layer is vanilla pudding.
- Finally, top it all off with a glorious swirl of whipped cream. Drizzle with chocolate or caramel sauce if you dare, and add a final sprinkle of fruit or cookie crumbs for pizzazz.
- Serve immediately for the best experience, or cover and chill for a bit if you’re making them ahead. Dig in!
Common Mistakes to Avoid
- Not Chilling the Pudding Enough: This is a cardinal sin! Patience, grasshopper. Nobody wants a sad, soupy dessert. Let it chill!
- Over-Mixing the Pudding: You want it smooth, but don’t beat it into submission. Mix until just combined and smooth, then stop. Lumpy pudding is a sad pudding.
- Ignoring the Layering: Just dumping everything in is technically okay, but where’s the fun (or aesthetics) in that? The layers are key to the experience!
- Forgetting a Spoon: Seriously, how are you gonna eat this masterpiece? A rookie mistake, I tell ya.
- Underestimating the Power of Quality Toppings: A tired berry or stale cookie can bring down the whole vibe. **Fresh is best for fruit, and crunchy is key for cookies!**
Alternatives & Substitutions
This is where you get to truly play!
- Pudding Flavor Swap: While vanilla is the OG, feel free to swap it for banana, butterscotch, or even chocolate pudding if you’re feeling wild. But vanilla is classic for a reason – it pairs with *everything*.
- Crumbly Bits: Don’t have cookies? Try crushed biscotti, leftover cake crumbs (stale cake is great here!), granola, or even toasted nuts like pecans or walnuts.
- Fruit Fantasies: No fresh fruit? No problem! Thawed frozen berries work in a pinch (drain them well). Canned peaches, cherries, or mandarin oranges are also fantastic, just make sure they’re well-drained.
- Sauce Sensation: Beyond chocolate and caramel, try a drizzle of warmed Nutella, a swirl of lemon curd, or even a peanut butter drizzle. **Pro Tip:** A tiny splash of Kahlua, rum, or Cointreau can elevate this to adult-dessert status. Just sayin’.
FAQ (Frequently Asked Questions)
- Can I make this ahead of time? Absolutely! It’s actually better when the flavors get to meld a bit. Just add the whipped cream and final garnish right before serving to keep it looking fresh.
- What if I don’t have fresh fruit? No biggie! Canned fruit (drained!), frozen thawed berries, or even just chocolate chips or a handful of sprinkles work wonders.
- Is this considered breakfast? Technically no, but I won’t tell if you don’t. It’s got fruit, right? And dairy! Sounds like a balanced meal to me. 😉
- Can I use sugar-free pudding? Yup! Go for it if that’s your jam. It won’t affect the deliciousness one bit, especially with all those yummy toppings.
- What about allergies? Super easy to adapt! Use gluten-free cookies, dairy-free milk/pudding, or nut-free toppings. You do you!
- Is this too much sugar? Hey, it’s dessert! But if you’re watching your intake, you can cut back on the sweet sauces or use less sweet fruit. Or just enjoy the indulgence, IMO.
Final Thoughts
See? Told you it was easy. Now go forth and conquer that craving! This little vanilla pudding hack is perfect for last-minute guests, a treat-yourself moment, or just showing off your ‘culinary skills’ (shhh, it’s our secret how truly easy it was). You’ve earned that deliciousness. Go get ’em, tiger!


