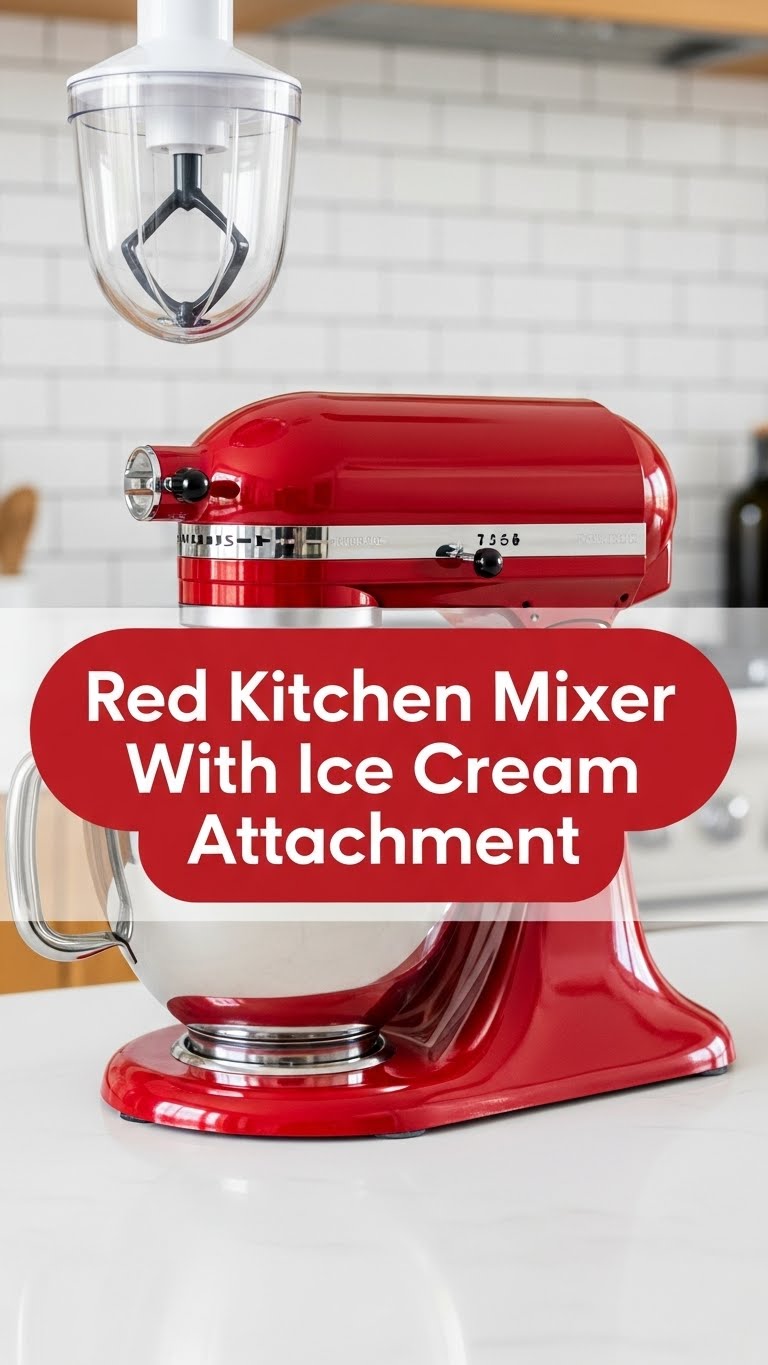
So, your trusty red kitchen mixer has been giving you the side-eye, specifically that shiny ice cream attachment you snagged (or maybe just got around to unboxing), right? You’re craving something ridiculously delicious, homemade, and honestly, a little impressive, but you’re also a human being with a life. Same. Let’s ditch the store-bought tubs and make some magic with minimal fuss.
Why This Recipe is Awesome
Okay, let’s be real: making your own ice cream sounds fancy, like something a contestant on a cooking show would whip up. But guess what? With your red mixer and its cool attachment, it’s pretty much idiot-proof. Seriously, it’s so simple, you’ll wonder why you ever bought a pint from the store again. Plus, you get major bragging rights. “Oh, this? Just a little something I whipped up myself.” Instant culinary hero status, guaranteed. It’s customizable, requires minimal actual *cooking* (more like mixing and chilling), and the results are ridiculously creamy and divine. Your taste buds (and ego) will thank you.
Ingredients You’ll Need
- 2 cups Heavy Cream: The good stuff. No skim milk imposters here, please. This is where the magic happens.
- 1 cup Whole Milk: For that perfect creamy dreaminess without being *too* rich.
- ¾ cup Granulated Sugar: Sweetness is key. You can adjust this slightly, but don’t skimp too much unless you want icy sadness.
- 1-2 teaspoons Pure Vanilla Extract: Go for the good stuff, or even better, scrape the seeds from half a vanilla bean for next-level flavor.
- Pinch of Salt: Sounds weird, but it really enhances all the other flavors. Don’t skip it!
Step-by-Step Instructions
- First things first, make sure your ice cream attachment bowl is completely frozen solid. We’re talking at least 15-24 hours in the freezer. This is the most crucial step, don’t be a rebel and skip it!
- In a large bowl, whisk together the heavy cream, whole milk, granulated sugar, vanilla extract, and that tiny pinch of salt. Whisk until the sugar has fully dissolved. You can do this by hand, or even use your mixer with a regular whisk attachment if you’re feeling extra lazy (no judgment here!).
- Cover the mixture and pop it into the fridge for at least 2 hours, or even better, overnight. You want this base to be super cold before churning. This helps create that smooth, creamy texture we’re chasing.
- Once your base is thoroughly chilled and your attachment bowl is frozen solid, assemble your red kitchen mixer with the ice cream attachment. Make sure it’s securely in place.
- Turn your mixer to its lowest speed setting. Slowly and carefully pour the chilled ice cream base into the frozen bowl as it starts to churn. Don’t dump it all in at once!
- Let the mixer do its thing. Churn for about 20-30 minutes, or until the ice cream has thickened to the consistency of soft-serve. It’ll still be quite soft, but noticeably thicker than when you started.
- Spoon the soft-serve ice cream into a freezer-safe container. Press a piece of parchment paper or plastic wrap directly onto the surface to prevent ice crystals from forming (pro tip!).
- Freeze for at least 2-4 hours, or until firm enough to scoop. Patience, young grasshopper! It’ll be worth it.
Common Mistakes to Avoid
- Not Chilling the Bowl Enough: This is the cardinal sin of homemade ice cream. If your bowl isn’t rock solid frozen, you’ll get a soupy mess, not ice cream. Consider this your most important commandment.
- Not Chilling the Base: Pouring warm (or even room temp) liquid into a frozen bowl will warm it up too quickly, resulting in less efficient churning and an icy texture. Seriously, chill out.
- Overfilling the Bowl: Your ice cream will expand as it churns, so don’t fill the bowl to the brim with your liquid base. Check your mixer’s manual for the max fill line. Rookie mistake, we’ve all been there.
- Adding Mix-ins Too Early: If you want to add chocolate chips, nuts, or cookie pieces, add them in the last 5 minutes of churning, or fold them in after you transfer the ice cream to the freezer container. Otherwise, they’ll sink to the bottom or get pulverized.
Alternatives & Substitutions
This vanilla base is a fantastic canvas for your culinary whims! Don’t be shy, get creative!
- Chocolate Lover? Whisk in ¼ cup unsweetened cocoa powder with your dry ingredients for a rich chocolate base. Or, for a simpler fix, fold in mini chocolate chips at the end of churning.
- Fruity Fun: Mash up some ripe berries (strawberries, raspberries) and gently fold them into the ice cream during the last few minutes of churning, or swirl them in when you transfer to the freezer container.
- Coffee Kick: Dissolve 1-2 tablespoons of instant espresso powder into your warm milk before chilling it. Hello, coffee ice cream!
- Dairy-Free? You can totally make this dairy-free by substituting full-fat canned coconut milk (the thick cream on top!) and a plant-based milk. The texture will be slightly different, but still delicious.
- Less Sugar? You can reduce the sugar slightly, but remember sugar helps with the texture and prevents it from becoming too icy. You could also experiment with alternative sweeteners, but results may vary.
FAQ (Frequently Asked Questions)
Q: My ice cream is hard as a rock, what gives?
A: Too much water, not enough fat/sugar, or it’s just been in the freezer too long. Let it sit out on the counter for 5-10 minutes before scooping. Also, next time, consider a tiny splash of booze (like a tablespoon of vodka or rum – it prevents ice crystals!) if you’re into that sort of thing.
Q: Can I use low-fat milk or cream?
A: Well, technically yes, but why hurt your soul (and your ice cream’s texture) like that? The fat is what makes it creamy and prevents iciness. Full-fat is your friend here, IMO.
Q: How long does homemade ice cream last?
A: In an airtight container, it’s generally best within a week or two. After that, it might start to get a bit icy. But honestly, it’s usually gone long before then, right?
Q: Do I really need to chill the base mixture?
A: Yes, yes, a thousand times yes! It helps the churning process be more efficient and results in a smoother, creamier texture. Don’t skip this.
Q: Can I add alcohol to my ice cream?
A: Absolutely! Alcohol lowers the freezing point, making for a softer scoop. Just don’t add too much (1-2 tablespoons per batch is usually enough) or it won’t freeze properly. Flavored liqueurs can add a fun twist!
Final Thoughts
And there you have it! You’ve just unlocked a new level in your home kitchen game. Your red mixer isn’t just for cakes and cookies anymore; it’s a gourmet ice cream parlor waiting to happen. Go forth and churn! Impress your friends, delight your family, or just hoard it all for yourself (we won’t tell). You’ve earned this ridiculously delicious, homemade treat!


