So, you’ve got that chocolate craving hitting harder than a Monday morning alarm, but the thought of a multi-step baking project makes you wanna just… not? Same, friend, same. Good news! We’re about to make something so ridiculously easy, so utterly delicious, and so delightfully quick, you’ll wonder why you ever bothered with fancy layered cakes. Get ready for the ultimate lazy-person’s treat: Chocolate Skillet Dessert with Ice Cream!
Why This Recipe is Awesome
First off, it’s pretty much **idiot-proof**. Seriously, if I can make this without setting off the smoke alarm, you’re golden. We’re talking minimal ingredients, minimal fuss, and maximum payoff. It’s the kind of dessert that looks fancy because it comes in a skillet, but secretly, you whipped it up faster than you can find your favorite show on Netflix.
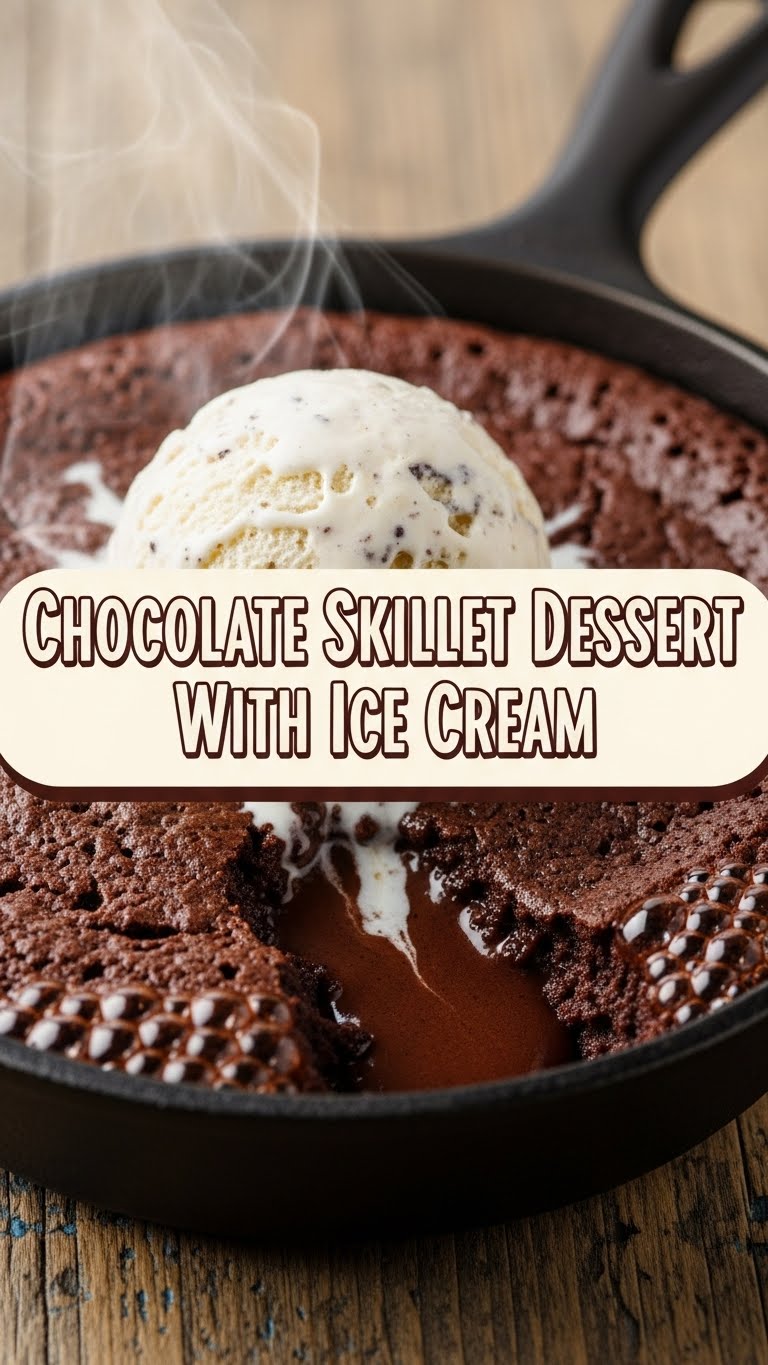
Second, it’s served warm straight outta the oven, right in the skillet. That means **zero extra dishes** for a serving platter. Can I get an amen?! Plus, that warm, gooey chocolate meeting cold, melting ice cream? *Chef’s kiss*. It’s a texture and temperature party in your mouth, and everyone’s invited.
Third, it’s fast. Like, ‘oops, I forgot dessert was a thing’ fast. From mixing bowl to hot deliciousness, you’re looking at maybe 30 minutes total. Perfect for those spontaneous sweet cravings or when you need to impress someone with *apparent* culinary prowess without actually, you know, prowess-ing all that much. 😉
Ingredients You’ll Need
Gather ’round, my fellow dessert enthusiasts. Here’s what you need to make magic happen:
- **1/2 cup (1 stick) unsalted butter:** The real deal, folks. Not that spreadable sad stuff. We want rich flavor here.
- **1/2 cup granulated sugar:** For that sweet, sweet goodness.
- **1 large egg:** Just one, binding all our delicious dreams together.
- **1 teaspoon vanilla extract:** A little hug for your taste buds. Don’t skip it!
- **1/2 cup all-purpose flour:** The backbone of our operation.
- **1/4 cup unsweetened cocoa powder:** Because we’re making chocolate, duh.
- **1/2 teaspoon baking powder:** For a little lift, so it’s not a flat disc of despair.
- **Pinch of salt:** Essential! It makes everything pop and balances the sweetness.
- **1 cup chocolate chips:** The true star of the show. Semi-sweet is classic, but choose your adventure: milk, dark, whatever makes your heart sing!
- **Vanilla ice cream (or your favorite flavor):** For serving, because what’s a warm skillet dessert without a generous scoop (or three) of melty goodness?
Step-by-Step Instructions
- **Preheat & Prep:** First things first, get that oven nice and toasty. Preheat it to **350°F (175°C)**. While it’s warming up, grab a 6 or 8-inch cast iron skillet. Give it a light grease with a little butter or cooking spray. You don’t want your masterpiece sticking!
- **Melt the Butter:** In a microwave-safe bowl or small saucepan, melt your stick of butter. It should be fully liquid but not boiling hot.
- **Wet Ingredients Unite!** In a medium bowl, combine the melted butter and granulated sugar. Whisk them together until they’re nice and smooth. Then, crack in that egg and add the vanilla extract. Whisk again until everything is well combined and looks delightfully glossy.
- **Dry Mix-Up:** In a separate, smaller bowl (or just dump them straight in if you’re feeling adventurous and messy, like me), whisk together the all-purpose flour, cocoa powder, baking powder, and that crucial pinch of salt.
- **Combine & Conquer:** Add the dry ingredients to the wet ingredients. Mix gently with a spatula or wooden spoon until just combined. **Don’t overmix!** A few streaks of flour are totally fine. We’re going for tender, not tough.
- **Chocolate Time!** Now for the good part – fold in your chocolate chips. Make sure they’re evenly distributed so every bite is packed with melty chocolatey goodness.
- **Skillet Spread:** Pour (or spoon) the batter into your prepared cast iron skillet. Spread it out evenly with the back of your spoon or spatula. It might not look like a lot, but trust the process!
- **Bake It Up:** Pop that skillet into your preheated oven. Bake for **20-25 minutes**. You’re looking for the edges to be set, and a toothpick inserted into the center should come out with moist crumbs (not wet batter). The middle might still be a little gooey, and that’s exactly what we want!
- **Serve Hot!** Carefully remove the skillet from the oven. Let it cool for just 5 minutes (if you can wait that long!). Then, grab your favorite ice cream, scoop it right on top, and dive in with a spoon. Or two. Or five. You’ve earned it!
Common Mistakes to Avoid
Even though this recipe is practically foolproof, here are a few tiny pitfalls to dodge for ultimate dessert perfection:
- **Not Preheating the Oven:** Rookie mistake! Your oven needs to be at temperature to ensure even baking. Otherwise, you might end up with burnt edges and a raw middle. Nobody wants that.
- **Overmixing the Batter:** Seriously, once the dry and wet ingredients are *just* combined, stop! Overmixing develops gluten, leading to a tough, dense dessert instead of the gooey, tender dream you’re aiming for.
- **Skipping the Salt:** “It’s a dessert, why salt?” Because salt is a flavor enhancer, my friend! It balances the sweetness and makes the chocolate taste even more chocolatey. Don’t underestimate its power.
- **Not Greasing the Skillet Properly:** While cast iron is somewhat non-stick, a little butter or spray ensures your dessert slides out (or, you know, spoons out beautifully without sticking to the bottom).
- **Impatience (aka Scooping Ice Cream IMMEDIATELY):** I know, I know. It’s hard to wait. But give it those 5 minutes out of the oven. It allows the dessert to set just a tiny bit, preventing the ice cream from turning into a sad puddle too quickly. A *little* melt is good, but full-on soup? Nah.
Alternatives & Substitutions
Feeling creative? This recipe is super flexible! Here are a few ideas to shake things up:
- **Butter Swap:** You can totally use coconut oil instead of butter for a slightly different flavor profile (and a dairy-free option!). Just make sure it’s melted.
- **Chocolate Chip Adventures:** Don’t limit yourself to semi-sweet! Try milk chocolate, dark chocolate, white chocolate, or a mix! You can even toss in some chopped peanut butter cups, M&Ms, or your favorite chocolate bar.
- **Ice Cream Extravaganza:** Vanilla is classic for a reason, but why stop there? Mint chip, coffee, strawberry, or even a decadent caramel swirl ice cream would be *amazing*. Or skip the ice cream and go for whipped cream, a drizzle of caramel sauce, or a sprinkle of powdered sugar.
- **Nutty Additions:** Fold in 1/2 cup of chopped pecans, walnuts, or even peanuts for some extra crunch and flavor. Roasting them slightly beforehand takes it up a notch.
- **Flavor Boosts:** A pinch of espresso powder will deepen the chocolate flavor beautifully. A splash of orange zest or a teaspoon of peppermint extract could also be fun!
FAQ (Frequently Asked Questions)
Got questions? I’ve got answers (mostly humorous, definitely helpful):
- **Can I use a different size skillet?** You sure can! An 8-inch skillet will give you a slightly thinner dessert, while a 6-inch will be thicker. Just keep an eye on the baking time; thicker might need a few more minutes, thinner might need a few less.
- **Can I make it ahead of time?** This dessert is truly best served warm, straight out of the oven. But if you must, you can bake it, let it cool, and then gently reheat it in the oven (or even microwave a single serving) when you’re ready to serve. It won’t be *quite* as gooey, but still delicious.
- **Is this recipe dairy-free?** Not as written, but it’s super easy to adapt! Use a good quality vegan butter alternative, ensure your chocolate chips are dairy-free, and grab your favorite non-dairy ice cream.
- **What about gluten-free?** Yep! Just swap out the all-purpose flour for a 1:1 gluten-free all-purpose flour blend. Make sure it contains xanthan gum for the best texture.
- **I don’t have baking powder, can I skip it?** You *can*, but your dessert will be much denser and less cake-like. It’ll still be a gooey chocolate experience, just less fluffy. It’s like having a really good brownie versus a really good chocolate cake – both tasty, just different!
- **Can I halve this recipe?** Absolutely! Perfect for a single serving (or, let’s be real, a serving for one very happy person). Just use half of everything and bake it in a smaller skillet or even a ramekin.
Final Thoughts
See? Told ya it was easy! You’ve basically just leveled up your dessert game with minimal effort and maximum deliciousness. This chocolate skillet dessert is the ultimate comfort food – warm, gooey, chocolatey, and perfectly paired with a scoop of cold ice cream. It’s what dessert dreams are made of, IMO.
Now go forth and conquer that chocolate craving! You’ve officially graduated from “I can barely boil water” to “I whip up warm skillet desserts like it’s my job.” Time to grab a spoon (or three) and dive in. You’ve earned this, chef!


