So, you’re scrolling through Instagram, right? You see all those impossibly beautiful desserts, looking like they were sculpted by tiny food fairies, and you think, “Ugh, I could never make that.” Well, my friend, **today is the day we prove Instagram wrong**. We’re diving headfirst into making something so ridiculously pretty, so outrageously delicious, and so shockingly simple, you’ll wonder if you accidentally swapped brains with a Michelin-star chef. We’re talking Watercolor Ice Cream with Fruits, baby!
Why This Recipe is Awesome
Let’s be real, most fancy recipes involve a gazillion steps, obscure ingredients, and probably a tiny, judgmental chef ghost hovering over your shoulder. Not this one! This recipe is the culinary equivalent of putting on your comfiest sweatpants and ordering pizza – minimal effort, maximum payoff. Seriously, it’s **idiot-proof**, even *I* didn’t mess it up, and I once set off a smoke detector making toast. Plus, it’s no-churn! Your arms get a break, and your taste buds get a party. It’s an edible art piece that requires zero artistic talent, just a willingness to swirl. How cool is that?
Ingredients You’ll Need
Get ready for a super-short shopping list. We’re keeping it simple because life’s too short for endless grocery aisles.
- 2 cups (about 475ml) Heavy Cream, super cold: This is our magic potion. Don’t even *think* about using anything less than heavy cream. We’re building dreams here, not watery regrets.
- 1 can (14 oz / 397g) Sweetened Condensed Milk: The glorious, sticky, sweet heart of our no-churn operation. It’s basically liquid gold.
- 1 teaspoon Vanilla Extract: Because vanilla makes everything taste fancy, even if you’re wearing your pajamas.
- Gel Food Coloring (2-4 colors): Your artistic palette! Go for vibrant gel colors; they make everything pop. Think blue, pink, purple, yellow – whatever makes your soul sing.
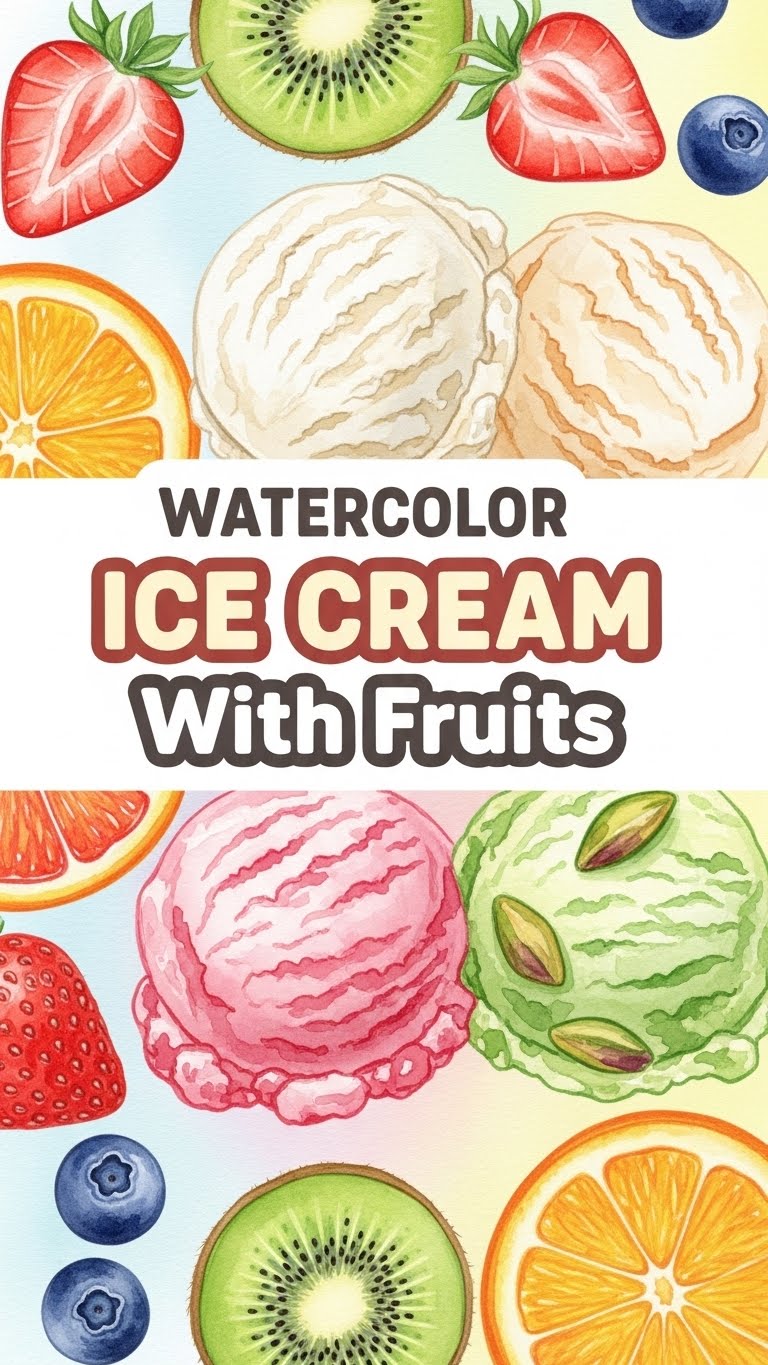
- 1-2 cups Mixed Fresh Fruits, chopped: Strawberries, blueberries, raspberries, mango, kiwi – whatever floats your fruity boat! This is where the “with Fruits” part comes in, obviously.
- A pinch of salt (optional, but a good idea): Just a tiny bit to balance the sweetness. Trust me on this one, it’s a game-changer.
Step-by-Step Instructions
Alright, apron on (or not, we don’t judge). Let’s make some edible art!
- Grab a large, super-chilled mixing bowl and your electric mixer (or a whisk, if you’re feeling ambitious and need an arm workout). Pour in the heavy cream and that tiny pinch of salt. Beat the cream on medium-high speed until **stiff peaks form**. This means when you lift the beaters, the cream stands up straight like a confident little soldier. Be careful not to over-whip, unless you’re secretly trying to make butter.
- Gently fold in the entire can of sweetened condensed milk and the vanilla extract. Use a spatula for this. We want to keep that lovely airy texture from the whipped cream, so be gentle, like you’re tucking in a baby cloud.
- Divide your glorious, creamy base into 3-4 smaller bowls. Now for the fun part: add a different gel food coloring to each bowl. Start with just a drop or two; you can always add more. Gently swirl the color into the cream with a spoon or a toothpick – don’t fully mix it in! We want those distinct color streaks.
- Grab a loaf pan or a freezer-safe container. Spoon dollops of your different colored creams into the pan, alternating colors. Think abstract art!
- Dot your chopped fresh fruits over the creamy canvas. Don’t be shy; scatter them liberally.
- Take a knife or a skewer and gently swirl through the creams and fruits one last time. This is where your “watercolor” effect really comes to life! Don’t overmix, or you’ll end up with a single, murky color (which is fine, but not our goal today, aspiring artist!).
- Cover the pan tightly with plastic wrap (press it directly onto the surface to prevent ice crystals, IMO) and freeze for at least 6 hours, or ideally, overnight. Patience is a virtue, especially when ice cream is involved.
- Scoop, serve, and bask in the glory of your beautiful, delicious creation!
Common Mistakes to Avoid
Listen, we all make mistakes. It’s part of the human (and cooking) experience. Here’s how to dodge some common pitfalls with this recipe:
- Under-whipping the cream: If your cream isn’t stiff, your ice cream will be less “creamy dream” and more “sad, icy puddle.” Beat it like you mean it!
- Over-mixing the colors: Remember, we’re going for a watercolor swirl, not a single, uniform color. A gentle swirl is all you need. You’re an artist, not a paint mixer!
- Forgetting to cover the pan: Exposing your ice cream to the harsh freezer air is a recipe for ice crystals and a less-than-creamy texture. **Cover it tightly!**
- Impatience: Peeking every 20 minutes won’t make it freeze faster, it just makes the ice cream resent you. Give it its time in the deep freeze. Good things come to those who wait.
Alternatives & Substitutions
Feeling rebellious? Want to put your own spin on it? I love that for you!
- Fruit Power-Up: No fresh fruit? Frozen berries work beautifully, just give them a quick chop. Not a fruit person? **Swirl in mini chocolate chips, chopped nuts, or even crushed cookies** (like Oreos or Biscoff) instead!
- Flavor Frenzy: Ditch the vanilla and try other extracts! Almond, peppermint (hello, holiday vibes!), or even a touch of orange zest could be divine. You could also swirl in some fruit purées for a more intense fruit flavor and color.
- Sweetness Swap: While sweetened condensed milk is key for no-churn, if you’re really into experimenting, you could try adding a swirl of jam or a little bit of maple syrup (though this will affect the texture slightly, FYI).
FAQ (Frequently Asked Questions)
Got questions? I’ve got (casual) answers!
- Do I need an ice cream maker for this?
Absolutely not! That’s the whole magic of this “no-churn” recipe. Your freezer and a mixing bowl are your best friends here. No fancy gadgets required! - Can I use light cream or half-and-half instead of heavy cream?
Bless your heart for trying, but no. We need that high-fat content from heavy cream to get that perfectly creamy, scoopable texture without churning. Anything less will result in an icy disappointment, and we don’t want that! - How long will this ice cream last in the freezer?
Realistically? Probably not long enough to find out, because you’ll eat it all. But properly covered, it should last up to 2-3 weeks. After that, it might start to get a bit icy. - My colors mixed together too much, now it looks muddy. What happened?
Oops! You probably got a little too enthusiastic with the swirling. Next time, aim for fewer, gentler swirls. It’s still going to taste amazing, though, so don’t fret! - Can I make this dairy-free?
Yes, you can! Use full-fat canned coconut cream (chilled overnight, scoop out the thick cream from the top) instead of heavy cream, and a dairy-free sweetened condensed milk alternative. The texture might be slightly different but still delicious!
Final Thoughts
See? I told you this was easy peasy lemon squeezy! You’ve just created a literal work of art that tastes like pure joy. It’s beautiful, it’s delicious, and you didn’t even break a sweat (unless you were *really* going for it with that whisk). Now go forth and impress someone—or yourself—with your new culinary skills. You’ve earned it! Grab a spoon, kick back, and enjoy your masterpiece. You’re basically a food artist now. Congrats!


