So, you’re eyeing that Creami machine you splurged on, wondering if it’s really worth the counter space, huh? And you’ve got a hankering for something ridiculously delicious but also, like, *minimum effort*? My friend, you’ve come to the right place. Because today, we’re not just making ice cream; we’re making **Oreo Ice Cream with your Creami**, and it’s going to be so easy, your biggest challenge will be not eating the entire pint in one sitting. Don’t say I didn’t warn you.
Why This Recipe is Awesome
Okay, let’s be real. In a world full of complex recipes and Pinterest-perfect disasters, this one is your superhero. Why? Because it’s practically **idiot-proof**. Seriously, even I, a person who once set off the smoke alarm making toast, can nail this. It takes like, five minutes of actual “work” (if you can even call pouring ingredients work), and then your freezer and the magical Creami do all the heavy lifting. Plus, it’s homemade ice cream that actually tastes *good*, not like some icy, sad excuse for dessert. You get to control the sweetness, the chunkiness, and the sheer volume of Oreos. What’s not to love?
Ingredients You’ll Need
- **Whole Milk (or your fave alternative):** About 1 ½ cups. Don’t skimp on the fat if you want that dreamy, creamy texture!
- **Heavy Cream:** ¼ cup. This is where the magic happens, people. Embrace the richness!
- **Granulated Sugar:** 2-3 tablespoons, depending on how sweet you like your life (and your ice cream).
- **Vanilla Extract:** ½ teaspoon. Non-negotiable for flavor depth.
- **Oreos:** About 6-8 cookies, crushed. More if you’re feeling extra wild. These are your mix-ins, so get ready to smash ’em.
- **Creami Pint Container:** Obviously.
Step-by-Step Instructions
- **Whip up the Base:** Grab your Creami pint. Pour in the milk, heavy cream, sugar, and vanilla extract. Give it a good whisk until the sugar is dissolved. Don’t be shy, get those arm muscles working!
- **Freeze, Baby, Freeze:** Pop the lid on your pint and chuck it into the freezer. **Crucial step:** It needs to freeze solid for at least 24 hours. No peeking, no cheating! If it’s not rock solid, your Creami will just make a smoothie, and we’re not about sad smoothies today.
- **Creami Time!** Once your base is a frozen brick, take it out. Remove the lid and place it in your Creami outer bowl. Lock it into the machine.
- **Spin it Good:** Select the “Lite Ice Cream” or “Ice Cream” setting. Let the Creami do its thing. It’ll be loud, but trust the process.
- **Check for Perfection (or Respin):** After the first spin, it might look a little crumbly or powdery. Totally normal! If it’s not perfectly creamy, just select the “Respin” option. Do this once or twice until it’s smooth and luscious.
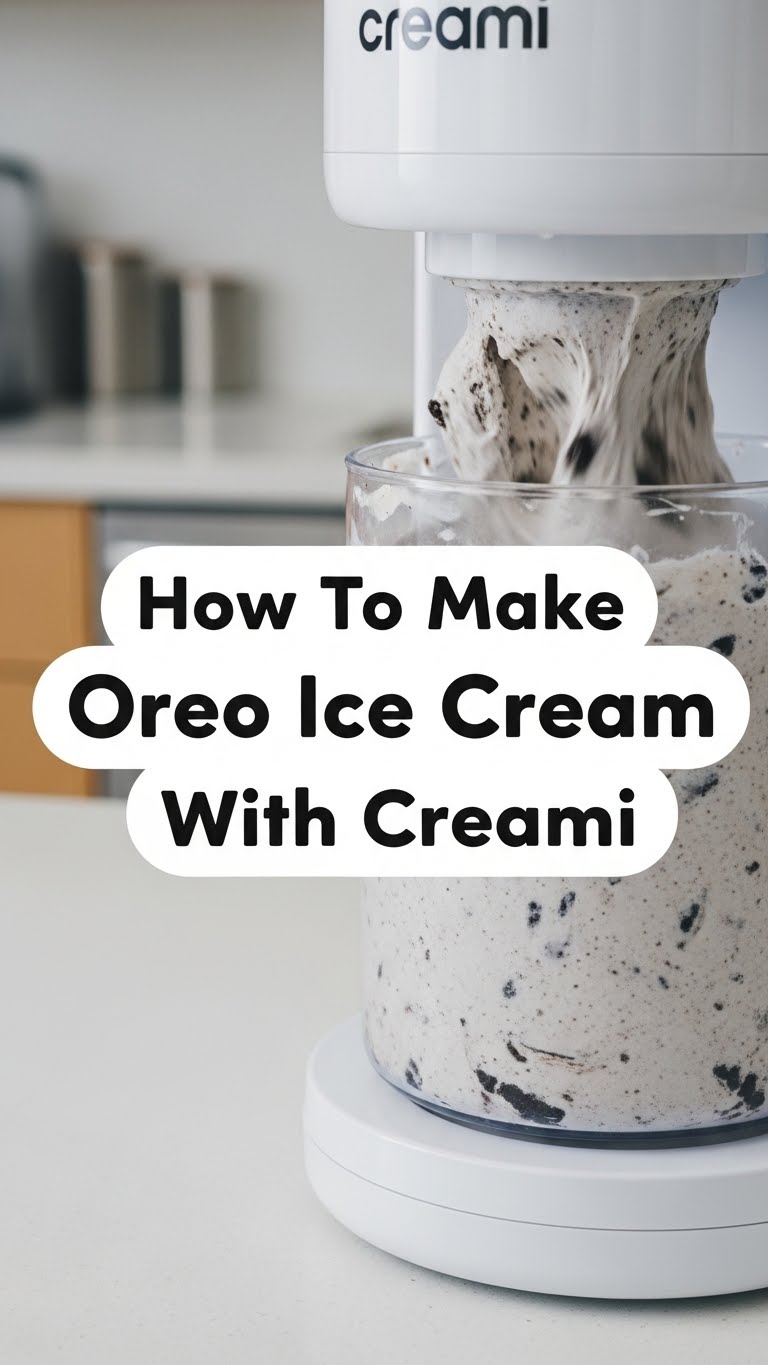
- **Oreo Attack!** Now for the fun part! Create a small well in the center of your spun ice cream. Dump in your crushed Oreos.
- **Mix-In Magic:** Place the pint back in the Creami, select the “Mix-in” setting. This will perfectly incorporate those delicious cookie bits throughout your ice cream.
- **Devour:** Scoop, serve, and bask in the glory of your homemade Oreo ice cream. You earned this.
Common Mistakes to Avoid
- **Impatience is a Vice:** Trying to Creami a base that isn’t **frozen solid** for 24 hours? Rookie move. You’ll end up with a milky mess. Plan ahead, folks!
- **Ignoring the Respin:** Thinking your ice cream is “done” after one spin when it’s still powdery? Nope! The Respin feature is your best friend for achieving that velvety texture. Don’t be afraid to use it.
- **Adding Mix-ins Too Early:** Don’t throw the Oreos in before the initial spin! They’ll get pulverized into oblivion. We want chunks, people, *chunks*!
- **Overfilling the Pint:** The fill line is there for a reason. Go past it, and you’re inviting an overflow party that no one wants to clean up.
Alternatives & Substitutions
Got a dietary restriction or just feeling adventurous? No problem! This recipe is super flexible:
- **Milk Matters:** You can totally swap whole milk for **almond milk, oat milk, or cashew milk**. Just know that using lower-fat milk might result in a slightly icier texture, but it’ll still be delicious! Add an extra splash of heavy cream or a tablespoon of cream cheese (trust me on this one) for added creaminess if you go dairy-free.
- **Cookie Swaps:** Not an Oreo person? (Gasp! But okay, I respect it.) Try **Biscoff cookies, Nutter Butters, or even chocolate chip cookies**. Crush ’em up and use ’em as your mix-in.
- **Sweetener Switch-up:** Instead of granulated sugar, you could use a sugar substitute or even a touch of **maple syrup or honey** in your base. Adjust to taste!
- **Extra Goodies:** Want more than just Oreos? Go wild! Add a swirl of **chocolate fudge, caramel, or even a spoonful of peanut butter** during the mix-in step. Your ice cream, your rules!
FAQ (Frequently Asked Questions)
- **Do I *really* need to freeze it for 24 hours?** Yes, you absolutely, positively do. Is it annoying to wait? Sure. But is a soupy, sad non-ice-cream-thing more annoying? Definitely. Plan ahead!
- **Can I use a different Creami model?** Yep! Whether you have the original, the Breeze, or the Deluxe, the process is pretty much the same. Just follow your specific model’s instructions for locking in the pint and selecting settings.
- **My ice cream is still powdery after Respinning, what gives?** Sometimes this happens if your freezer is super cold or the ingredients were extra dense. Try adding a tablespoon of milk (or cream) to the center and then Respin again. It often does the trick!
- **Can I make a big batch ahead of time?** You can definitely make multiple pint bases and freeze them. Then, just Creami them one by one when the craving strikes. It’s like having a delicious, ready-to-go dessert stash!
- **Is this healthy?** Uh, honey, we’re making Oreo ice cream. It’s delicious. It’s a treat. Let’s not overthink it. 😉 Enjoy in moderation, or don’t, I’m not your mom!
Final Thoughts
And there you have it, folks! Your very own, incredibly easy, ridiculously tasty Oreo ice cream, all thanks to your trusty Creami and your willingness to follow a few simple steps. Now go impress someone—or yourself—with your new culinary skills. You’ve earned it! Seriously, put on some PJs, grab a spoon, and enjoy every single crumbly, creamy bite. You’re a rockstar. Now, if you’ll excuse me, my own pint is calling my name…


