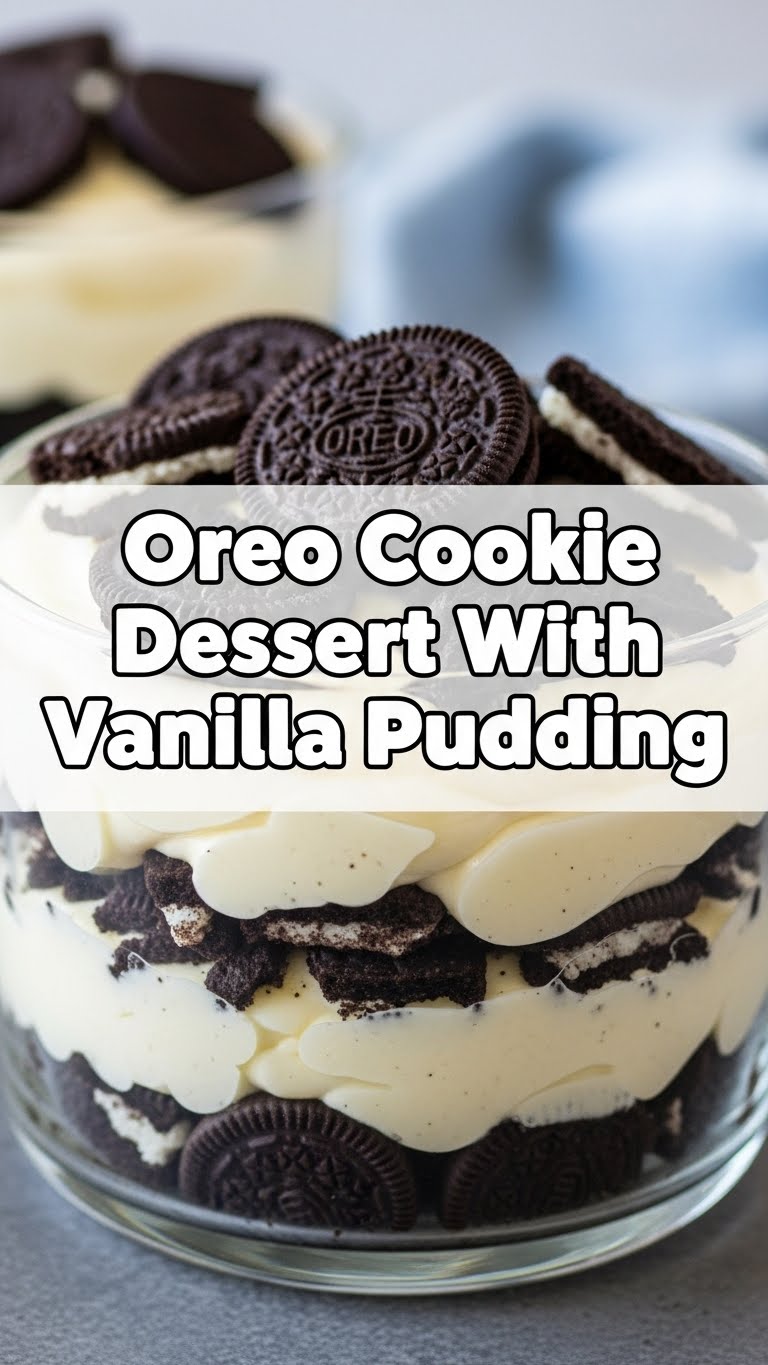
So you’re craving something tasty but too lazy to spend forever in the kitchen, huh? Same. And let’s be real, sometimes your sweet tooth screams for a hero, but your energy levels are just… whispering. Enter the ultimate fix: an Oreo cookie dessert that’s so easy, it practically makes itself. You’re welcome.
Why This Recipe is Awesome
Why is this dessert your new best friend? Let me count the ways. First off, it’s **no-bake**. Yep, you heard that right – no oven needed, which means no sweating it out in a hot kitchen. Second, it involves Oreos. Do I need to say more? Third, it tastes like a fancy schmancy dessert you slaved over, but it’s actually so simple, even your cat could probably supervise. Seriously, it’s **idiot-proof**, even I didn’t mess it up. Perfect for impressing guests, or just yourself, after a long day of adulting.
Ingredients You’ll Need
- 1 package (14.3 oz) Oreo Cookies: The OG, the legend, the reason we’re all here. Don’t cheap out!
- 1/2 cup (1 stick) unsalted butter, melted: Because everything is better with butter. And yes, it needs to be melted, unless you enjoy wrestling with solid dairy.
- 2 packages (3.4 oz each) instant vanilla pudding mix: Instant is key. We’re not about that “wait for it to set” life today.
- 4 cups cold milk: Whole milk works best for that creamy factor, but use what you got. Just make sure it’s *cold*. This is important for the pudding to set right!
- 1 container (8 oz) frozen whipped topping, thawed: Cool Whip, Dream Whip, whatever floats your boat. Just make sure it’s thawed, or you’ll be stirring for days.
- Optional: Extra Oreos or chocolate shavings for garnish: Because presentation matters, even if you’re just eating it straight from the pan at 2 AM.
Step-by-Step Instructions
- Crush those Oreos: Grab about 3/4 of your Oreo package. Place them in a food processor and pulse until they’re fine crumbs. No food processor? No problem! Stick ’em in a Ziploc bag and unleash your inner Hulk with a rolling pin or a heavy can.
- Make the crust: In a medium bowl, combine the Oreo crumbs with the melted butter. Mix it really well until it looks like wet sand. Press this mixture firmly into the bottom of a 9×13 inch baking dish. **Pro tip:** Use the bottom of a glass to get it super compact. Pop it in the fridge while you do the next step.
- Whip up the pudding: In a large bowl, whisk together the instant vanilla pudding mixes and the cold milk. Whisk for about 2 minutes until it starts to thicken. Don’t overmix, just until it’s getting gloopy.
- Fold in the fluff: Gently fold the thawed whipped topping into the thickened pudding mixture until it’s all combined and looks super creamy and dreamy.
- Assemble the magic: Pour the pudding mixture evenly over your chilled Oreo crust. Use a spatula to spread it right to the edges.
- Top it off: Remember those extra Oreos you saved? Crush ’em up (or just roughly chop ’em if you’re feeling rustic) and sprinkle them over the top. If you’re fancy, add some chocolate shavings.
- Chill out: Cover the dish and refrigerate for at least 4 hours. **Even better, chill overnight.** This is where the magic happens and everything sets up perfectly. Patience, young padawan!
Common Mistakes to Avoid
- Using warm milk for pudding: Rookie mistake! **Cold milk is your best friend** for instant pudding. Otherwise, you’ll have a sad, runny mess.
- Not chilling long enough: We know it’s tempting to dive in, but trust us, a properly chilled dessert is a happy dessert. If it’s too soft, it won’t hold its shape.
- Not crushing the Oreos fine enough for the crust: Big chunks mean a crumbly, uncooperative crust. Go for fine crumbs, like really fine.
- Overmixing the pudding: Whisk until combined and thickening, then stop. Overmixing can sometimes make it a little less smooth.
Alternatives & Substitutions
- Pudding flavor swap: Not a vanilla person? Chocolate pudding works beautifully here! Or even cheesecake pudding if you’re feeling adventurous. Strawberry? Go wild!
- Cookie crusades: While Oreos are supreme, you could totally swap them for graham crackers, chocolate chip cookies, or even those fancy Biscoff cookies if you’re feeling bougie.
- Whipped topping alternatives: If you’re a purist, you can absolutely make your own whipped cream (heavy cream + a little sugar). Just know it might not be quite as stable for super long periods as the frozen stuff.
- Add-ins: Feeling extra? Stir in some mini chocolate chips, chopped nuts, or even a drizzle of caramel or hot fudge before chilling. IMO, the more chocolate, the better.
FAQ (Frequently Asked Questions)
- Can I use sugar-free pudding or whipped topping? Absolutely! If you’re watching your sugar intake, these work just fine. Will it taste *exactly* the same? Probably not, but it’ll still be delish!
- How long does this dessert last in the fridge? It’s best within 3-4 days. After that, the cookies in the crust might get a little too soft. Not *bad*, just not peak performance.
- Can I freeze this dessert? You *can*, but the texture might change a bit when thawed, especially the crust. It’s really best served chilled, not frozen.
- My pudding isn’t setting, what did I do wrong? Did you use cold milk? Instant pudding? Did you give it enough time to chill? These are usually the culprits. Sometimes elevation or humidity can play a small role too, but usually it’s one of the first three.
- Do I have to use a 9×13 dish? Nope! A slightly smaller square dish will give you a thicker dessert, which isn’t a bad thing. Just make sure your ingredients fit!
Final Thoughts
So there you have it, your new go-to, stress-free, totally delicious Oreo cookie dessert. It’s the kind of treat that looks fancy enough for a potluck but requires minimal effort, leaving you more time for important things, like binging your favorite show or, you know, eating more dessert. Now go impress someone—or yourself—with your new culinary skills. You’ve earned it! Enjoy every glorious, creamy, crunchy bite!


