So, You’re Dreaming of Homemade Ice Cream, But Also Dreaming of Not Actually *Working* For It? Same.
Feeling that ice cream craving hit you like a rogue sprinkler on a hot day, but also feeling *way* too comfortable on the couch to go to the store? Or maybe you’ve got an ice cream maker sitting there, judging you for not using it? Perfect! Because today, we’re making some ridiculously easy, unbelievably delicious homemade ice cream. And guess what? Your ice cream maker is about to become your new best friend. Seriously, it’s so simple, you’ll wonder why you ever bought a pint again.
Why This Recipe is Awesome (Beyond the Obvious “Ice Cream” Part)
Look, I’m not going to lie and say this is a gourmet, Michelin-star-level dessert. But it IS a ridiculously good, creamy, homemade treat that tastes like sunshine and happiness. And the best part? It’s **idiot-proof**. Like, even *I* didn’t mess it up, and my track record with kitchen appliances sometimes involves a smoke detector. It requires minimal effort, minimal dishes (if you’re careful!), and maximum deliciousness. Plus, you get to control what goes into it, which means no weird preservatives or mystery ingredients. Just pure, unadulterated icy bliss. **It’s a “dump, stir, and churn” masterpiece**, my friend.
Ingredients You’ll Need (The Good Stuff!)
Gather ’round, buttercups! This isn’t rocket science, just creamy science.
- **Heavy Cream (2 cups):** Don’t even *think* about skimping here. This is where the magic (and the fat, and thus the flavor) happens. Go full-fat, baby!
- **Whole Milk (1 cup):** The supporting actor to our heavy cream diva. It helps balance the richness.
- **Granulated Sugar (½ to ¾ cup):** Depending on how sweet your tooth is. I usually lean towards ¾ cup because, well, it’s ice cream!
- **Vanilla Extract (1-2 teaspoons):** The classic, comforting flavor. Go for the good stuff if you can; it makes a difference.
- **Pinch of Salt (⅛ teaspoon, maybe?):** Seriously, just a tiny bit. It actually makes the sweetness pop! Don’t skip it.
- **Your Ice Cream Maker:** The star of the show! Make sure the churning bowl is **super duper frozen**. This is crucial, like, life-or-death crucial.
Step-by-Step Instructions (Let’s Make Some Magic!)
Okay, put on your favorite apron (or don’t, I won’t tell), and let’s get churning!
- **Get Chilly:** First things first, ensure your ice cream maker’s bowl has been in the freezer for at least 12-24 hours. **This is non-negotiable!** A partially frozen bowl means sad, slushy ice cream. Nobody wants that.
- **Mix It Up:** In a large bowl, whisk together your heavy cream, whole milk, granulated sugar, vanilla extract, and that tiny pinch of salt. Whisk until the sugar is completely dissolved. Give it a taste (carefully!) and adjust for sweetness if you dare.
- **Chill Out (Again!):** Cover your mixture and pop it in the fridge for at least 2 hours, or even better, overnight. **A cold base churns faster and produces a creamier result.** Patience is a virtue, especially when ice cream is involved.
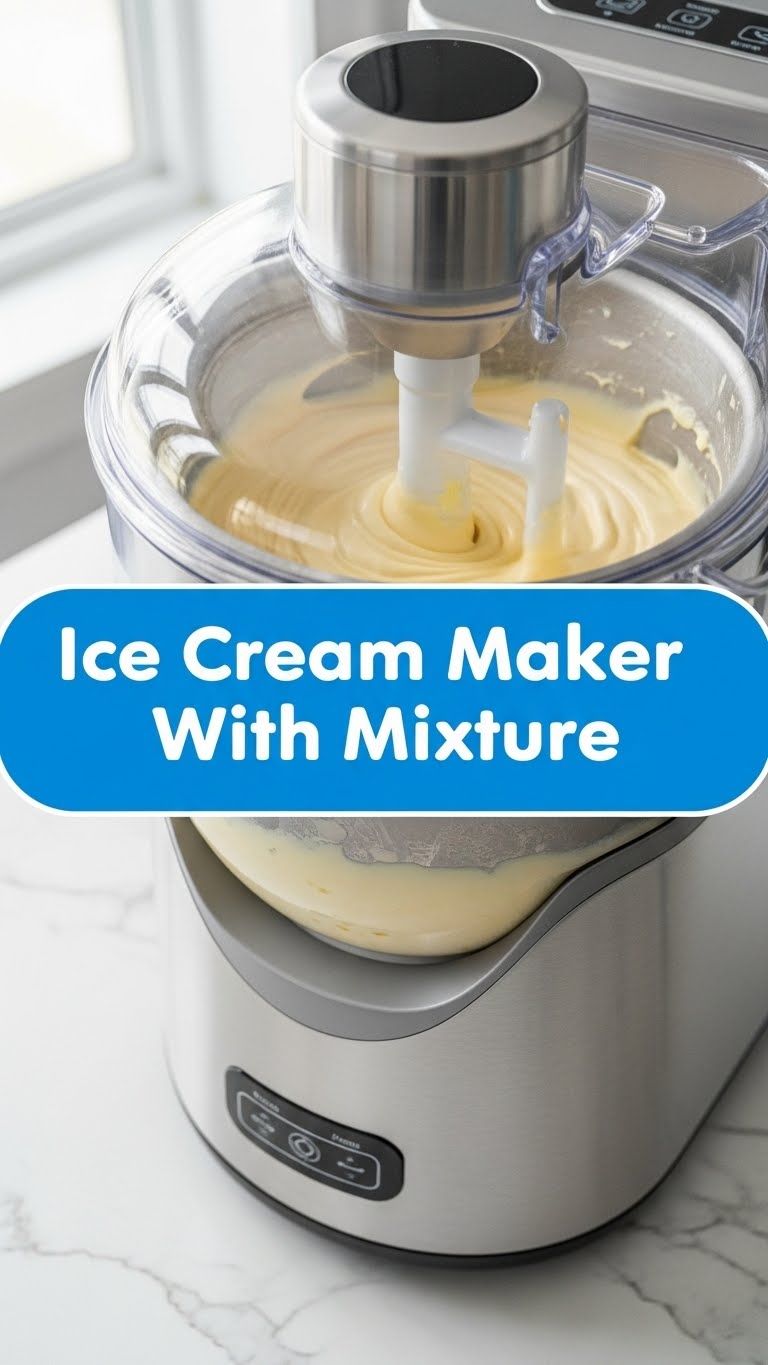
- **Churn, Baby, Churn!** Take your super-chilled ice cream maker bowl out of the freezer. Assemble your machine according to its instructions. Pour your cold ice cream mixture into the frozen bowl. Turn on the machine and let it churn for 20-30 minutes, or until it reaches the consistency of soft-serve ice cream. It’s mesmerizing to watch, FYI.
- **The Grand Finale (Optional, But Recommended):** If you like soft-serve, you can dig in immediately! For firmer ice cream, transfer it to an airtight container (a shallow one works best for even freezing). Press a piece of plastic wrap directly onto the surface of the ice cream to prevent ice crystals. Freeze for another 2-4 hours, or until firm.
- **Devour!** Scoop it up, put it in a cone, a bowl, or just grab a spoon and eat it straight from the container. You’ve earned this.
Common Mistakes to Avoid (So You Don’t End Up Crying Over Spilled Milk…Literally)
We all make mistakes, but let’s try to avoid these rookie errors:
- **Not Freezing the Bowl Enough:** This is the #1 sin of ice cream making. If your bowl isn’t rock-solid frozen, you’ll end up with a milky shake, not ice cream. **Seriously, freeze it for a full 24 hours.**
- **Not Chilling the Base Mixture:** Pouring room-temp mixture into a cold bowl is like asking a sloth to win a sprint. It just won’t work well. **A cold base is essential for quick churning and a smooth texture.**
- **Overfilling the Churner:** Ice cream expands as it churns. Check your machine’s max fill line. Overfilling leads to a sticky, overflowing mess.
- **Adding Mix-ins Too Early:** If you’re adding chunks of cookies, fruit, or candy, wait until the last 5 minutes of churning. Adding them too early can make them soggy or damage your machine.
- **Peeking Too Much:** Opening the lid repeatedly lets warm air in, which slows down the freezing process. Trust the machine!
Alternatives & Substitutions (Get Creative, You Culinary Genius!)
This base recipe is awesome, but it’s also a blank canvas for your wildest ice cream dreams!
- **Flavor Frenzy:** Swap out vanilla for almond extract, peppermint extract (hello, holiday ice cream!), or even a hint of rum extract. Get wild!
- **Mix-in Magic:** This is where the fun begins! During the last 5 minutes of churning, add chocolate chips, chopped nuts, cookie pieces (Oreos, anyone?), fresh berries, caramel swirls, or even a shot of espresso. Just don’t go *too* crazy, or your ice cream might revolt.
- **Dairy-Free Option:** For my lactose-intolerant pals, you can absolutely substitute full-fat canned coconut milk (the creamy kind, not the drinkable one) for the heavy cream, and use a non-dairy milk alternative (like almond or oat milk) for the whole milk. The texture will be slightly different, but still delicious!
- **Sweetener Swaps:** You can experiment with maple syrup or honey instead of granulated sugar, but start with less and taste as you go, as these are sweeter and have different consistencies.
FAQ (Frequently Asked Questions, Because You’re Curious!)
Do I *really* need to chill the bowl for a full 24 hours?
Oh honey, if you want actual ice cream and not a milky slushy, then yes, **absolutely!** It’s like asking if you really need to put gas in your car. It’s fundamental!
Can I use low-fat milk or half-and-half?
Technically, yes, you *can*. But why would you hurt your soul (and your taste buds) like that? Low-fat means less creaminess, and we’re going for ultimate indulgence here. Stick with whole milk and heavy cream for the best results, IMO.
My ice cream is still soft after churning. What gives?
That’s totally normal! Ice cream fresh out of the churner is usually soft-serve consistency. For a firmer scoop, it needs more time in the freezer. Just transfer it to an airtight container and let it firm up for a few hours. Patience, young padawan.
When’s the best time to add mix-ins like cookie dough or fruit?
Always in the last 5 minutes of churning! This ensures they get evenly distributed without getting crushed or sinking to the bottom, and keeps them from freezing solid too early.
How long will my homemade ice cream last in the freezer?
It usually tastes best within 1-2 weeks. After that, it starts to get a bit icy. But honestly, who are we kidding? It’ll probably be gone in a day. It’s that good.
Can I make a bigger batch?
Most ice cream makers have a capacity limit. **Do not overfill it!** The mixture needs room to expand as it churns. If you want more, make two separate batches, or consider getting a bigger machine!
Final Thoughts (Go Forth and Churn!)
So there you have it, my friend! You’re now armed with the knowledge and confidence to whip up some seriously awesome homemade ice cream. It’s easy, it’s delicious, and it’s infinitely customizable. Get creative, have fun with it, and don’t be afraid to experiment. Now go impress someone—or more importantly, yourself—with your new culinary skills. You’ve earned that creamy, dreamy reward! Happy churning!


