So you’re craving something frosty, fruity, and fabulous, but also, like, *effortless*? Girlfriend, I hear you. The mere thought of firing up the oven on a hot day makes me sweat more than a Peloton class. Good news: we’re making sorbet today, and it’s so easy, your cat could probably do it (if it had opposable thumbs, obvs).
Why This Recipe is Awesome
Okay, first off, it’s stupid simple. Seriously, if you can press a button on a blender, you’re basically a Michelin-star chef in training. Second, it uses real fruit, so you can pretend you’re being healthy while devouring something delicious. It’s the ultimate ‘I-tried-but-not-really’ dessert. Plus, no weird chemicals, no unpronounceable ingredients, just pure, unadulterated fruit magic. It’s also super customizable – you pick the fruit, you pick your adventure. What’s not to love?
Ingredients You’ll Need
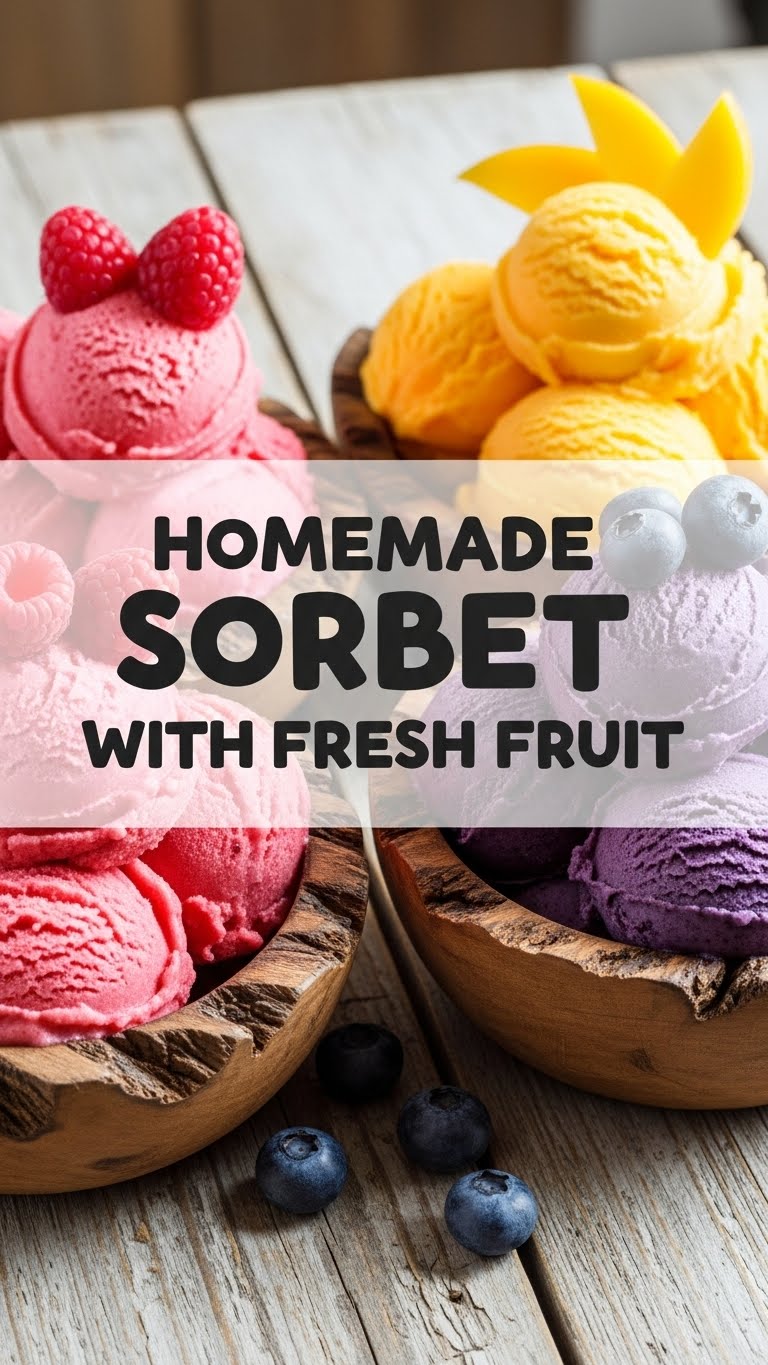
- Fresh or Frozen Fruit (2-3 cups): This is the star of the show. Berries, mango, peaches, pineapple – whatever your fruity heart desires. Pro tip: Frozen fruit makes it extra icy, extra fast.
- Granulated Sugar (1/4 to 1/2 cup, or to taste): The sweetness enabler. Start small; you can always add more, but you can’t take it out. Unless you’re a magician. Are you a magician?
- Water or Fruit Juice (1/4 cup): Just a splash to get things moving. Water is fine, juice adds a little extra oomph.
- Lemon or Lime Juice (1 tablespoon): The secret weapon! Brightens everything up and keeps it from being *too* sweet. A little zing never hurt anyone.
- Optional: A tiny pinch of salt: Sounds weird, tastes amazing. Enhances the fruit flavor like a tiny flavor fairy.
Step-by-Step Instructions
- Prep Your Fruit: If using fresh fruit, wash it, chop it, and ideally, freeze it for at least 2-3 hours. Seriously, don’t skip the freezing step. This is crucial for that perfect sorbet texture.
- Into the Blender: Toss your frozen fruit, sugar, water/juice, and citrus juice into a high-speed blender or food processor.
- Blend Away: Start blending on low, then gradually increase to high. You might need to scrape down the sides a few times with a spatula. Don’t be shy about it.
- Add Liquid as Needed: If it’s too thick and not blending, add a tiny bit more water or juice, one tablespoon at a time, until it starts to come together into a soft-serve consistency. You want it smooth, but still thick.
- Taste Test (Crucial!): Grab a spoon and taste it. Need more sweetness? Add a bit more sugar. Want more zing? A squeeze of lemon. Adjust to your perfect preference.
- Freeze (Optional, but Recommended): For a firmer scoopable sorbet, transfer the mixture to a shallow freezer-safe container. Cover it and freeze for at least 2-4 hours. Give it a stir every hour or so for extra creaminess, if you’re feeling fancy.
- Serve and Enjoy: Scoop it straight from the blender if you like it soft-serve style, or from the freezer once it’s firm. Garnish with fresh fruit or mint if you’re feeling extra bougie.
Common Mistakes to Avoid
- Not freezing your fruit first: This isn’t a smoothie, friend. We need icy goodness. Skipping this step results in a sad, slushy mess, not sorbet. FYI: Texture is everything here!
- Adding too much liquid: Your sorbet will turn into fruit juice. We’re aiming for thick and scoopable, not sippable. Less is more here.
- Over-sweetening: You can always add more sugar, but you can’t take it away. Start conservatively! Taste, then adjust. Your taste buds are your best guide.
- Impatience: While it’s quick, a little chill time in the freezer makes a world of difference for that perfect texture. Don’t rush perfection.
Alternatives & Substitutions
- Fruit Frenzy: Literally any fruit works! Mango sorbet is divine, raspberry is classic, and pineapple-coconut is like a tiny vacation in a bowl. Mix and match! Strawberry-banana? Why not?
- Sweetener Swaps: Not into granulated sugar? You can totally use maple syrup, honey, or agave nectar. Just remember these are often sweeter, so adjust amounts accordingly. You might also need slightly less liquid.
- Liquid Options: Instead of water, try coconut water for a tropical vibe, or a splash of your fruit’s own juice for intensified flavor. A tiny bit of booze (like Cointreau or rum) can also lower the freezing point and make it softer, but only if you’re feeling naughty.
FAQ (Frequently Asked Questions)
- Do I *really* need a high-speed blender? Honestly, it helps a ton for a super smooth texture. A regular blender might work, but you’ll need more patience, more scraping, and potentially more liquid. Invest in good tools, people!
- Can I make this dairy-free? Uh, *hello*? It IS dairy-free! That’s one of its many charms. Pure fruit power!
- How long does homemade sorbet last? In a sealed container in the freezer, it’ll be good for about 1-2 weeks. After that, it might start to get a bit icy, but still edible if you’re desperate.
- What if my sorbet is too hard after freezing? Just let it sit out on the counter for 10-15 minutes before scooping. Or, if you’re impatient (like me), blast it in the microwave for literally 10-15 seconds. Don’t overdo it!
- Can I add alcohol to my sorbet? Oh, you fancy, huh? Yes! A tablespoon or two of a complementary liqueur (like Limoncello for lemon sorbet, or Chambord for berry sorbet) can add a nice kick and help keep it softer. Just remember, a little goes a long way.
- Is this actually healthy? It’s fruit, mostly! Definitely healthier than a tub of super-processed ice cream. So, yes, pat yourself on the back. It’s a win.
Final Thoughts
See? I told you it was easy. You just whipped up a gourmet-level dessert with minimal effort and maximum deliciousness. Go ahead, bask in your culinary glory. Now go impress someone – or just yourself, because you deserve all the frosty goodness. You’ve earned it! And next time you’re craving something sweet, remember this little secret weapon. Your taste buds (and your inner lazy chef) will thank you.


