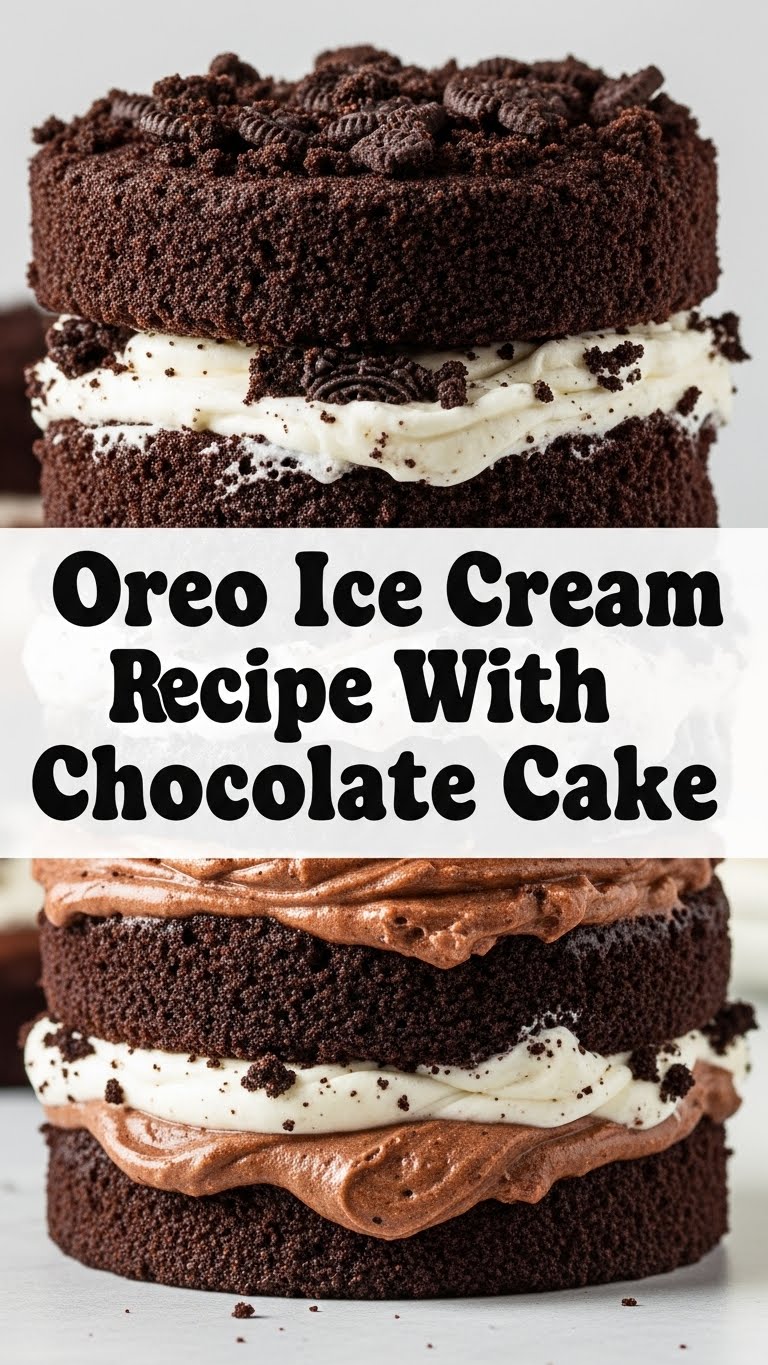
So you’re craving something that screams “I tried, but not too hard” and tastes like a party in your mouth? And maybe, just maybe, involves Oreos, chocolate cake, and ice cream? My friend, you’ve come to the right place. Ditch the diet for five minutes (or forever, who’s counting?) because we’re making an Oreo Ice Cream Cake with Chocolate Cake, and it’s basically heaven on a plate. This isn’t just a dessert; it’s a statement. A delicious, glorious statement.
Why This Recipe is Awesome
Okay, let’s be real. There are a million recipes out there. So why this one? Well, for starters, it combines literally three of the best things on earth: rich chocolate cake, creamy vanilla ice cream, and crunchy Oreos. It’s like the Avengers of desserts, but way more delicious and less likely to leave you with existential dread.
Secondly, it’s surprisingly easy. We’re talking “even I didn’t mess it up” levels of easy. It looks super fancy, like you spent all day slaving away, but in reality, a good chunk of the time is just waiting for things to chill. Which, honestly, is my kind of cooking. You get maximum “wow factor” with minimal actual effort. It’s practically idiot-proof. So go ahead, impress your friends, your family, or just your couch with this masterpiece. You deserve it.
Ingredients You’ll Need
Get ready to raid your pantry (or make a quick dash to the store – no judgment!).
- 1 box (approx. 15.25 oz) Chocolate Cake Mix: Yep, we’re using a mix. Don’t tell anyone, it’ll be our little secret. Just get your favorite brand.
- Ingredients for cake mix: Usually eggs, oil, and water. Check the back of your box, chief.
- 1 package (about 14.3 oz) Oreo Cookies: The classic kind. Or double-stuffed if you’re feeling extra indulgent. No judgment here.
- 1/2 cup (1 stick) Unsalted Butter, melted: For the crust, because everything is better with butter.
- 1.5 quarts (about 6 cups) Vanilla Ice Cream: Get the good stuff. Not the cheap, icy kind. You want creamy dreams, not crunchy nightmares. Let it soften on the counter for a bit so it’s spreadable.
- 1 jar (12-16 oz) Hot Fudge Topping: For drizzling. Or eating straight from the jar, if that’s your thing. (It’s my thing.)
- 1 container (8 oz) Whipped Topping: Like Cool Whip, thawed. Or go fancy and make your own whipped cream, you overachiever!
- Optional: Extra Oreos or chocolate shavings for garnish, because presentation matters, even if you’re eating it alone.
Step-by-Step Instructions
Alright, apron on (or not, live dangerously), let’s get this delicious show on the road!
- Bake that Cake: Follow the directions on your chocolate cake mix box to bake one 8-inch round cake. Let it cool completely on a wire rack. Seriously, completely cool! Warm cake + ice cream = soupy sadness.
- Prep the Pan & Crust: Line an 8-inch springform pan with parchment paper on the bottom and up the sides. This makes removal SO much easier, trust me. Now, crush about 20-25 Oreo cookies (about 1.5 cups crumbs) in a food processor or a Ziploc bag with a rolling pin. Mix the crumbs with the 1/2 cup melted butter. Press this mixture firmly into the bottom of the prepared springform pan.
- First Ice Cream Layer: Take about half of your softened vanilla ice cream and spread it evenly over the Oreo crust in the pan. Pop it in the freezer for about 20-30 minutes to firm up a bit.
- Crush More Oreos: While that’s chilling, crush another 15-20 Oreos. These are for the middle layer.
- Assemble the Layers: Once your cake is cool, carefully slice it in half horizontally to create two thin layers. We only need one for this cake, so save the other half for snacking or another mini cake! Place one cake layer gently over the set ice cream. Drizzle generously with hot fudge. Now, sprinkle your second batch of crushed Oreos over the fudge.
- Second Ice Cream Layer & Freeze: Spread the remaining softened vanilla ice cream over the Oreos and fudge. Smooth it out. Cover the pan loosely with plastic wrap and freeze for at least 4-6 hours, or even better, overnight. Patience is a virtue here.
- Decorate and Devour: Once frozen solid, carefully remove the sides of the springform pan. Top with the thawed whipped topping, spreading it evenly. Decorate with extra crushed Oreos or chocolate shavings if you’re feeling fancy. Slice and serve immediately!
Common Mistakes to Avoid
Listen, we all make mistakes. But let’s try to avoid these rookie errors, shall we?
- Not softening the ice cream enough: Trying to spread rock-hard ice cream is a recipe for frustration and potential wrist injury. Let it hang out on the counter for 10-15 minutes.
- Not cooling the cake completely: I said it once, I’ll say it again. Warm cake + cold ice cream = a gooey mess. Be patient!
- Forgetting to line the pan: Oh, the horror! Removing this cake without parchment paper on the bottom is like trying to solve a Rubik’s Cube blindfolded. Don’t do it to yourself.
- Eating all the Oreos before they make it into the cake: A classic, tragic mistake. Designate a “cake Oreo” pile and a “snack Oreo” pile. Maintain discipline.
- Not freezing long enough: You need those layers to be solid for a clean slice. Don’t rush perfection.
Alternatives & Substitutions
Feeling adventurous? Or maybe you just have different stuff in your fridge. No problem!
- Ice Cream Flavor Swap: Vanilla is classic, but try mint chocolate chip, coffee, strawberry, or even a different Oreo-flavored ice cream for an extra cookie punch!
- Cookie Crusher: Not an Oreo fan (gasp!)? Use Nilla wafers, chocolate chip cookies, or even graham crackers for the crust and layers.
- Cake Mix Magic: Feel free to use a darker chocolate cake mix, or if you’re feeling truly wild, a yellow cake mix!
- Hot Fudge Hack: No hot fudge? A simple chocolate syrup will do in a pinch, or make a quick ganache with chocolate chips and heavy cream.
- Whipped Topping Upgrade: Instead of plain whipped cream, try adding a little cocoa powder for chocolate whipped cream, or a dash of peppermint extract for a festive twist.
FAQ (Frequently Asked Questions)
Got questions? I’ve got (casual, possibly sassy) answers!
- Can I make this cake ahead of time? Heck yes! This cake actually thrives in the freezer. Make it up to a week in advance. Just don’t put the final whipped topping on until a few hours before serving.
- How long does it last in the freezer? Wrapped tightly, it’s good for about 2-3 weeks. But honestly, who lets it last that long?
- Can I use store-bought frosting instead of whipped topping? You *can*. But why hurt your soul like that? Whipped topping is light and airy, while frosting can be a bit heavy with ice cream. IMO, stick with the whipped stuff.
- What if I don’t have a springform pan? You can use a regular 8 or 9-inch round cake pan. Just line it extra well with plastic wrap, leaving overhang on the sides. Once frozen, you can use the overhang to lift the whole cake out. Boom, problem solved.
- Dairy-free options? Absolutely! Use a dairy-free chocolate cake mix (many are accidentally vegan), a plant-based butter alternative, dairy-free ice cream (there are so many good ones now!), and a coconut-based whipped topping.
- Can I use different types of Oreos? Please do! Mint Oreos, Golden Oreos, Red Velvet Oreos… the world is your cookie, friend! Just ensure they’re crushed well.
Final Thoughts
So there you have it, folks! An Oreo Ice Cream Cake with Chocolate Cake that’s as impressive as it is delicious, and surprisingly easy to boot. This isn’t just dessert; it’s a testament to the power of chocolate, cookies, and a little bit of freezer magic. Go forth, assemble, and impress someone (or just yourself) with your newfound culinary prowess. You’ve earned it!
Now, if you’ll excuse me, I think I hear a slice calling my name…


