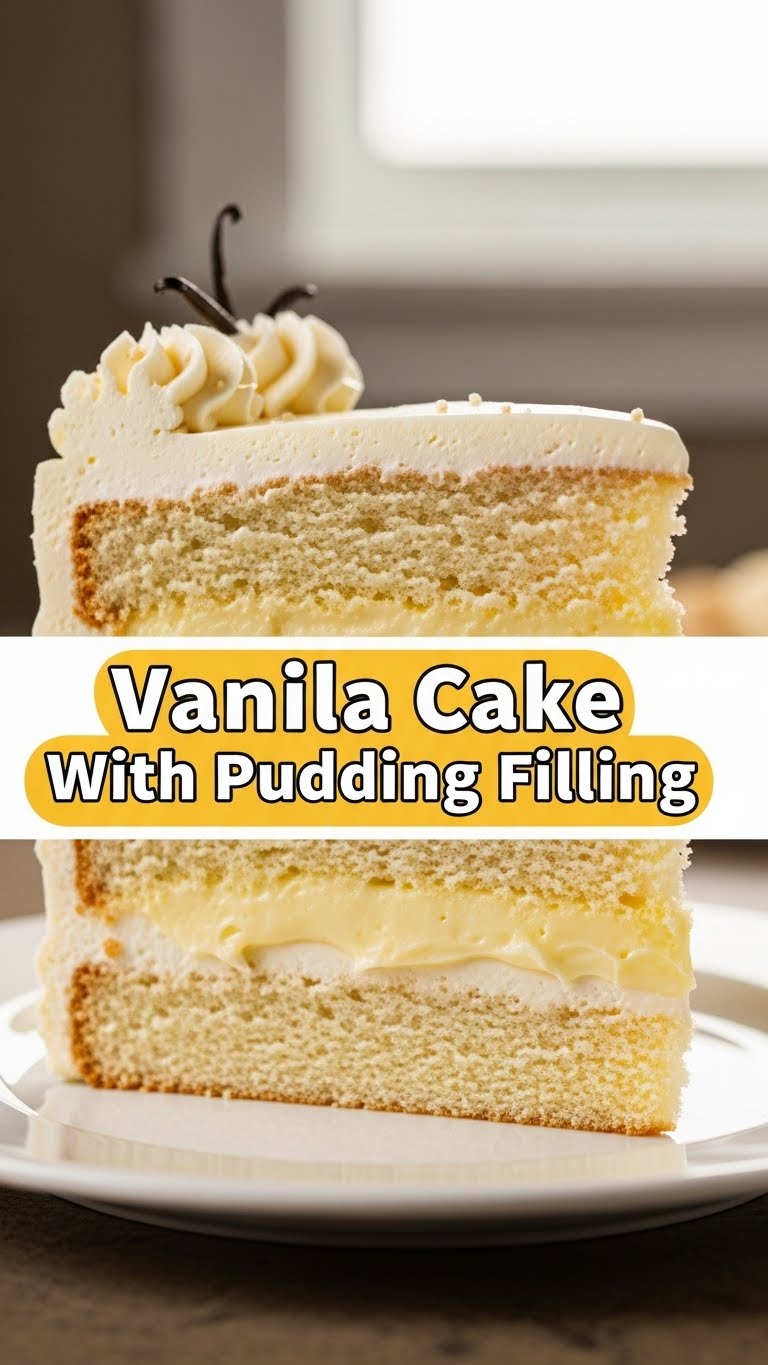
So, you’ve got that classic ‘I need cake right NOW’ feeling, but the thought of spending an entire afternoon baking makes you want to just order takeout? Been there, my friend. MANY times. But what if I told you there’s a cake so ridiculously easy, so moist, so perfectly sweet, and so impressive that people will think you secretly went to pastry school? Enter: The Vanilla Cake with Pudding Filling. Your new best friend.
Why This Recipe is Awesome
Listen, this isn’t just *any* cake. This is ‘I-look-like-I-spent-hours-but-really-I-was-binging-Netflix’ cake. It’s surprisingly simple, ridiculously moist, and has a creamy, dreamy pudding filling that will make people wonder if you secretly have a live-in baker. Seriously, if I, the queen of almost-burning-toast, can nail this, you absolutely can too. It’s practically foolproof. **No fancy equipment needed**, just your awesome self and a spoon. It’s truly idiot-proof, even I didn’t mess it up.
Ingredients You’ll Need
Gather your troops! These are the stars of our show:
For the Vanilla Cake:
- 2 ½ cups All-purpose flour: (The MVP of baking, duh.)
- 1 ½ cups Granulated sugar: (Sweet stuff, obviously.)
- 1 tbsp Baking powder: (For that glorious lift.)
- ½ tsp Salt: (Don’t skip it, it balances everything!)
- ¾ cup Unsalted butter, softened: (The good stuff, don’t skimp. Room temp is key!)
- 3 Large eggs, at room temperature: (They just behave better this way, trust me.)
- 1 tbsp Vanilla extract: (The more, the merrier, IMO.)
- 1 cup Whole milk, at room temperature: (Again with the room temp, it helps everything emulsify properly.)
For the Pudding Filling:
- 1 (3.4 oz) box Instant vanilla pudding mix: (Your secret weapon for ultimate creaminess.)
- 2 cups Cold milk or heavy cream: (Check package directions for exact amount, but cream makes it extra lush!)
Step-by-Step Instructions
- Preheat and Prep: Get your oven preheating to 350°F (175°C). Seriously, do it now. Grease and flour two 8 or 9-inch round cake pans. Or line ’em with parchment if you’re feeling fancy. **Don’t skip this part unless you like scraping cake out of pans.**
- Dry Mix: In a large bowl, whisk together your flour, granulated sugar, baking powder, and salt. Easy peasy. Set aside.
- Wet Mix: In another large bowl (or your stand mixer if you’re living the dream), cream together the softened butter and remaining sugar until light and fluffy. Beat in the eggs one at a time, scraping down the sides of the bowl, then stir in that glorious vanilla extract.
- Combine: Gradually add the dry ingredients to the wet ingredients, alternating with the milk. Start and end with the dry ingredients. **Mix just until combined**—don’t overmix, or your cake will be tough. Nobody wants a tough cake.
- Bake It, Baby: Divide the batter evenly between your prepped pans. Bake for 25-30 minutes, or until a toothpick inserted into the center comes out clean. Let them cool in the pans for about 10 minutes before carefully transferring to a wire rack to cool completely. Patience, young grasshopper.
- Pudding Power: While your cakes are cooling, whip up your instant vanilla pudding according to package directions. Seriously, it’s that easy. You can use milk, or for an extra decadent filling, use heavy cream instead. Let it chill in the fridge for at least 15-20 minutes to firm up properly.
- Assemble Your Masterpiece: Once the cakes are completely cool (this is crucial, people!), level them with a serrated knife if needed for a flat top. Spread a generous layer of chilled pudding on top of one cake layer. Place the second cake layer on top. Frost with your favorite vanilla buttercream (store-bought is totally acceptable, no judgment here!) or just dust with powdered sugar if you’re keeping it minimalist. You do you.
Common Mistakes to Avoid
We’ve all been there. Learn from my past kitchen mishaps!
- “Preheating? What’s that?”: Nope, **always preheat your oven**. It ensures even baking and a happy cake. Otherwise, your cake could be dense and sad.
- Overmixing the batter: The fastest way to a dense, tough, sad cake. Mix just until combined, seriously. As soon as you see no streaks of flour, stop. Step away from the mixer!
- Filling a warm cake with pudding: Unless you want a melty, messy, disappointing puddle of custard oozing everywhere, let those cakes **cool completely**. I mean it. Completely.
- Skipping the greasing/flouring of pans: We’ve all been there, swearing at a stuck cake. Don’t be that person. Your future self will thank you for taking the extra 30 seconds.
Alternatives & Substitutions
Feeling a little adventurous, or just missing an ingredient? No stress, we got options!
- Pudding Flavor Swap: Feeling a different vibe? Swap that vanilla pudding for chocolate, banana, or even lemon pudding for a zesty kick. Get wild!
- Add-ins for the Filling: Want more texture? Fold in some fresh berries (strawberries, raspberries, blueberries are all amazing) or sliced bananas into the pudding layer before assembling. Or chocolate chips. FYI, everything is better with chocolate chips.
- Dairy-Free? No Problem!: Use your favorite non-dairy milk (almond, soy, oat) for the cake. For the pudding, many instant mixes work great with non-dairy milk; just check the package.
- Butter Substitute: No butter? Technically you *can* use margarine, but IMO, butter just makes everything taste better and lends itself to a richer flavor. Use it if you have it!
FAQ (Frequently Asked Questions)
- Can I make this ahead of time? Absolutely! You can bake the cake layers a day in advance, wrap them tightly, and store at room temperature. The pudding can also be made a day ahead and kept in the fridge. Assemble closer to serving for the freshest result.
- How long does this cake last? Covered and stored in the fridge, it’ll happily last for 3-4 days. But let’s be real, it probably won’t last that long.
- Can I use a box cake mix? Oh, you sly fox! Yes, absolutely! If you want to cut down on time, a good quality vanilla box cake mix works perfectly. Just follow the box directions for baking the layers, then follow our instructions for the pudding filling and assembly. Cheat code unlocked!
- Do I *have* to level the cakes? Not if you like a rustic, slightly lopsided look! But leveling them does make for neater, more professional-looking slices.
- What if I don’t have two cake pans? You can bake one layer at a time, just ensure the second batch of batter waits patiently. Or, if you have a larger pan (like a 9×13), you can bake it all at once and then cut it into two rectangular layers for stacking.
- Can I make it gluten-free? You bet! Use a 1:1 gluten-free flour blend for the cake. No biggie, just make sure your baking powder is also GF.
- Can I freeze this cake? The cake layers themselves freeze beautifully for up to a month. The assembled cake with the pudding filling? Not recommended, as the pudding’s texture can get weird upon thawing.
Final Thoughts
See? You just whipped up a masterpiece! Go on, pat yourself on the back, you deserve it. This cake is proof that delicious doesn’t have to mean difficult, and a little pudding can go a long, long way. Now go impress someone—or yourself—with your new culinary skills. You’ve earned it, superstar!


