So you’re staring at that lonely box of vanilla pudding in your pantry, huh? And your fridge is giving you the side-eye because it knows you’re about to make something epic (or at least, incredibly easy). Welcome to the club! Today, we’re not just making *something* with vanilla pudding; we’re crafting a dessert so ridiculously simple, yet shockingly delicious, it should probably be illegal. Think layers of pure happiness without even turning on your oven. Yep, we’re talking no-bake magic, my friend.
Why This Recipe is Awesome
Let’s be real, who has time for complicated recipes these days? This gem is a **no-bake wonder**, meaning your oven can take a well-deserved nap. It’s also pretty much idiot-proof—seriously, if I can make it without setting off the smoke detector, you’re golden. You get rich, creamy layers that look fancy enough to fool guests into thinking you spent hours slaving away. Your secret’s safe with me. 😉 Plus, it’s perfect for potlucks, lazy Sundays, or any moment you just need a big ol’ spoonful of comfort without the fuss. It’s basically a hug in dessert form, and who doesn’t need more of those?
Ingredients You’ll Need
Gather ’round, buttercup, these are your weapons of mass deliciousness:
- **1 package (approx. 14.3 oz) Golden Oreo cookies** (or regular Oreos if you’re feeling dark, or graham crackers for a classic vibe. Your call!)
- **1/2 cup unsalted butter, melted** (because everything’s better with butter, right?)
- **1 (8 oz) package cream cheese, softened** (seriously, soften it. Unless you enjoy arm workouts and lumpy layers.)
- **1 cup powdered sugar** (for that sweet, sweet goodness, duh)
- **1 large (12 oz) container whipped topping, thawed** (like Cool Whip, the MVP of easy desserts. Divide it: half for the cream cheese layer, half for the top!)
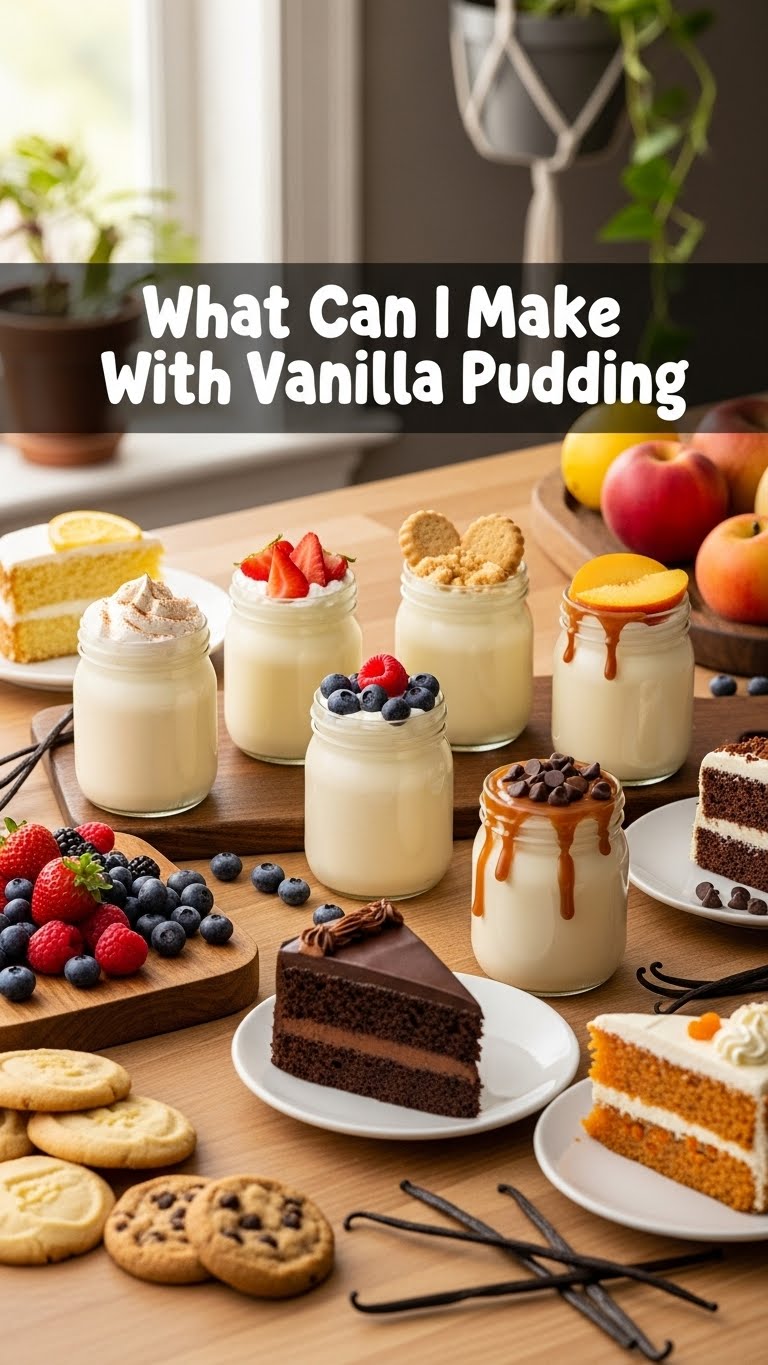
- **2 (3.4 oz) packages instant vanilla pudding mix** (the star of our show!)
- **3 cups cold milk** (the colder, the faster it sets. Don’t skimp on the chill factor!)
- **Optional: Sprinkles, chocolate shavings, or fresh berries** (for pizzazz, because even easy desserts deserve to look good)
Step-by-Step Instructions
- **Crush it Real Good:** Grab those Golden Oreos (or whatever cookies you chose) and get ’em crushed. You can use a food processor for speed or a Ziploc bag and a rolling pin for some stress relief. Aim for fine crumbs, no big chunks allowed!
- **Butter Up the Crust:** Pour that glorious melted butter over your cookie crumbs. Mix it up until every crumb is coated and looks like wet sand. Press this mixture firmly into the bottom of a 9×13 inch pan. Use the back of a spoon or your clean hands. Pop it in the fridge while you move to the next layer to let it firm up.
- **Cream Cheese Dream:** In a medium bowl, beat the softened cream cheese with the powdered sugar until it’s smooth and creamy. No lumps, please! Gently fold in half of your thawed whipped topping until just combined. Spread this fluffy concoction evenly over your chilled cookie crust. Return the pan to the fridge.
- **Pudding Perfection:** In another bowl, whisk together the two packages of instant vanilla pudding mix and the 3 cups of cold milk. Whisk for about 2-3 minutes until it starts to thicken up. Don’t worry, it gets thicker as it sits. Pour this lovely vanilla dream over the cream cheese layer.
- **Top it Off & Chill Out:** Spread the remaining half of the whipped topping over the pudding layer. Now, the hardest part: cover the pan and **chill the entire dessert for at least 4 hours**, or even better, overnight. Patience is a virtue, especially when it comes to layered desserts!
- **Serve & Conquer:** Once properly chilled, slice it up and serve! Add those optional sprinkles or berries for an extra flourish. Enjoy your masterpiece, you culinary genius!
Common Mistakes to Avoid
Look, we all make mistakes. Here are a few to dodge so your vanilla dream doesn’t turn into a vanilla nightmare:
- **Not chilling the layers enough:** Impatience is a dessert’s worst enemy. Seriously, if you cut into it too soon, things will get messy. Trust the chill!
- **Using warm milk for the pudding:** This is a rookie mistake. You’ll end up with vanilla soup instead of thick, creamy pudding. **Cold milk is key!**
- **Forgetting to soften the cream cheese:** Unless you enjoy arm workouts and lumpy layers in your otherwise smooth dessert, take it out of the fridge ahead of time.
- **Using regular pudding mix instead of instant:** Nope, nope, nope. Regular pudding needs to be cooked. **Instant is your best friend here** for a no-bake success.
- **Over-mixing the whipped topping into the cream cheese:** Fold gently! You want to keep that light, airy texture.
Alternatives & Substitutions
Feeling adventurous? Here are some ways to shake things up, because variety is the spice of life (and dessert!):
- **Crust Swaps:** Instead of Golden Oreos, try Nilla Wafers, shortbread cookies, or even pretzel crumbs for a sweet and salty twist.
- **Pudding Power-Up:** Swap the vanilla pudding for instant chocolate, banana, or even butterscotch pudding. Hello, Butterscotch Dream Lush!
- **Whipped Topping Upgrade:** If you’re feeling *really* fancy (and have an extra 5 minutes), make your own fresh whipped cream. Just beat heavy cream with a little powdered sugar and vanilla until stiff peaks form.
- **Add-ins & Toppings:** Sprinkle chocolate chips, mini M&M’s, toasted coconut, or chopped nuts on top. Drizzle with caramel or hot fudge. Or, layer sliced bananas or berries between the pudding and whipped topping for extra fruitiness. IMO, berries are always a good idea.
FAQ (Frequently Asked Questions)
Got questions? I’ve got (casual and humorous) answers!
- **Can I use sugar-free pudding or light cream cheese?** Absolutely! Go for it. It might alter the texture ever-so-slightly, but it’ll still be delicious.
- **How long does this dessert last in the fridge?** Generally, it’s best enjoyed within 3-4 days. After that, the crust might get a little soft, but it’ll still taste good if you don’t mind the texture.
- **Can I make it ahead of time for a party?** Heck yes! This dessert actually tastes even better the next day after all the flavors have had a chance to meld together. **FYI, it’s a make-ahead hero!**
- **What if I don’t have a 9×13 inch pan?** You can use a similar-sized dish, like a large trifle bowl for a more dramatic layered look, or even individual parfait glasses. Just adjust your chilling times!
- **My pudding didn’t set! What went wrong?** Usually, this is because the milk wasn’t cold enough, or you used regular pudding mix instead of instant. Also, make sure you’re using the correct amount of milk as per the pudding package (some packages vary slightly).
- **Can I add fruit into the layers?** Definitely! Just add delicate fruits like sliced bananas or berries right before serving to prevent them from getting mushy or watering down your layers.
Final Thoughts
See? I told you it was easy. Now you’ve got a dessert that looks like you hired a pastry chef but tastes like pure, unadulterated comfort. You’ve officially graduated from pudding-staring to pudding-master. Go forth and conquer, my friend! Now go impress someone—or yourself—with your new culinary skills. You’ve earned it!


