So you’ve decided to tackle a dessert that sounds super fancy but is secretly a breeze to make, huh? Excellent choice, my friend! We’re diving into the glorious world of Chocolate Mousse Cake with Fruit Toppings today. Prepare to impress everyone (including yourself) with minimal effort and maximum deliciousness.
Why This Recipe is Awesome
Let’s be real, who doesn’t love chocolate? And mousse? And cake? And fruit? This recipe combines all the best things in life into one ridiculously good package. It’s the kind of dessert that makes people go, “Wow, you *made* that?!” And you can just casually reply, “Oh, this? Just whipped it up,” while secretly high-fiving yourself.
Seriously, though, this isn’t one of those fussy, 20-step recipes that requires a culinary degree. **It’s practically idiot-proof, even I didn’t mess it up (and that’s saying something).** It’s perfect for impressing guests, making a birthday extra special, or just because you woke up craving chocolate and deserve a treat. Plus, the fruit topping adds that fresh, zesty kick that balances out all that rich chocolatey goodness. Win-win-win!
Ingredients You’ll Need
Gather your edible treasures, because it’s time to build a masterpiece!
- **For the Cookie Base:**
- **200g (about 1.5 cups) Chocolate Biscuits/Cookies:** Think Oreos (crushed, cream removed, unless you’re feeling extra decadent), chocolate digestives, or whatever chocolatey goodness your heart desires.
- **80g (about 1/3 cup) Unsalted Butter:** Melted, because everything’s better with butter.
- **For the Decadent Chocolate Mousse:**
- **300g (about 10.5 oz) Dark Chocolate:** Aim for 60-70% cocoa. This is where you don’t skimp; quality chocolate makes a huge difference! Chop it up nicely.
- **500ml (about 2 cups) Heavy Cream (or Double Cream):** Make sure it’s super chilled! This is your mousse magic.
- **50g (about 1/4 cup) Powdered Sugar (Icing Sugar):** Because granular sugar is just rude to mousse.
- **1 tsp Vanilla Extract:** A splash of happy.
- **Optional but Recommended for Stability: 1.5 tsp Gelatin Powder:** Plus 2 tbsp cold water. If you want your mousse to stand tall and proud, not flop like a sad puppy, this is your secret weapon.
- **For the Fabulous Fruit Topping:**
- **200-300g (about 1-1.5 cups) Mixed Berries:** Strawberries (hulled and sliced), raspberries, blueberries, blackberries – pick your vibrant faves!
- **Fresh Mint Leaves (optional):** For that “I’m a fancy chef” vibe and a pop of green.
Step-by-Step Instructions
Alright, apron on, game face ready! Let’s get this party started.
- **Crush Your Dreams (of plain cookies):** Grab those chocolate biscuits and crush ’em! A food processor is easiest, but a ziplock bag and a rolling pin work wonders for stress relief. Mix the crumbs with your melted butter until it looks like wet sand.
- **Build the Foundation:** Press this buttery crumb mixture evenly into the bottom of a 9-inch (23cm) springform pan. Use the back of a spoon or your clean hands to get it nice and compact. Pop it in the fridge for at least 30 minutes to firm up. **Patience, young grasshopper!**
- **Melt the Chocolatey Goodness:** While your base chills, gently melt your chopped dark chocolate. You can do this over a double boiler (a heatproof bowl over a pot of simmering water, don’t let the bowl touch the water!) or in short bursts in the microwave, stirring frequently. Let it cool slightly but keep it melted.
- **Whip It Good:** In a large, chilled bowl (seriously, a chilled bowl helps!), whip the cold heavy cream, powdered sugar, and vanilla extract until you get soft peaks. You want it fluffy, not stiff like butter. **Don’t over-whip, or you’ll have butter, not mousse!**
- **Gelatin Magic (if using):** If you’re using gelatin, sprinkle the powder over 2 tbsp cold water in a small microwave-safe bowl. Let it sit for 5 minutes to “bloom.” Then, microwave it for about 10-15 seconds until it’s completely dissolved and clear. Let it cool a tiny bit.
- **Assemble the Mousse:** Gently fold the slightly cooled melted chocolate into your whipped cream until just combined. Be gentle – you want to keep that airy texture! If using, fold in the dissolved gelatin mixture now too.
- **The Grand Pour:** Take your chilled cookie base out of the fridge. Pour the chocolate mousse mixture over the base and smooth the top with a spatula.
- **Chill Out (Literally):** Now comes the hardest part: waiting. Cover the cake loosely with plastic wrap and refrigerate for at least 4-6 hours, or even better, overnight. **This step is non-negotiable for a firm, sliceable mousse cake.**
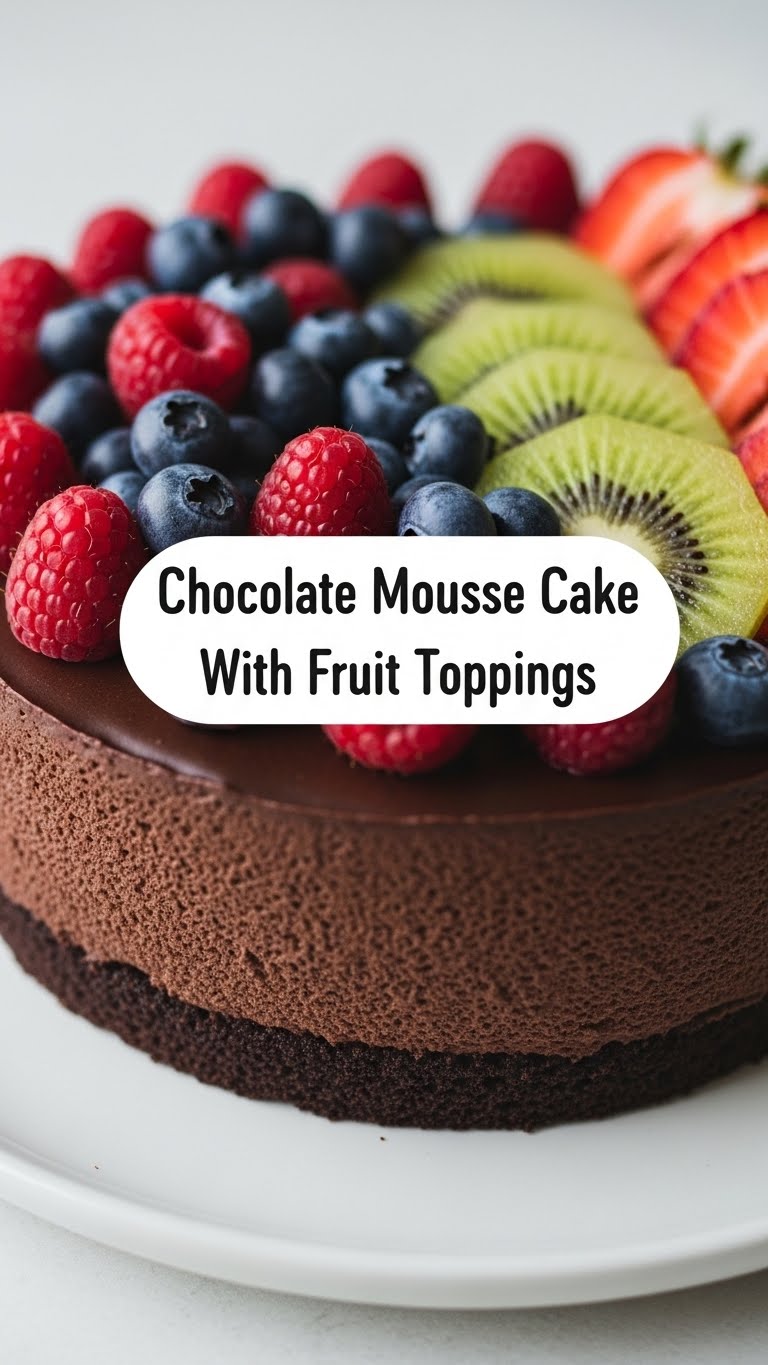
- **Fruity Finale:** Once your mousse cake is perfectly set, carefully remove it from the springform pan. Arrange your beautiful mixed berries on top. Add a few mint leaves for extra flair, if you’re feeling fancy.
Common Mistakes to Avoid
We all make mistakes; it’s part of the fun (and learning). But let’s try to dodge these common pitfalls, shall we?
- **Over-whipping the Cream:** Seriously, I mentioned it twice. You want soft, billowy peaks, not grainy, separated cream. Stop when it just holds its shape.
- **Warm Chocolate Meeting Cold Cream:** If your melted chocolate is too hot when you fold it into the whipped cream, it’ll melt the cream and your mousse will be runny. Let that chocolate cool a bit!
- **Not Chilling Enough:** Impatience is a dessert’s worst enemy. If you try to slice it too soon, it’ll be a glorious, chocolatey puddle. **Give it its full beauty sleep!**
- **Skimping on Chocolate Quality:** Trust me, using cheap chocolate will give you a cheap-tasting mousse. Invest in good dark chocolate; your tastebuds will thank you.
Alternatives & Substitutions
Feeling adventurous or missing an ingredient? No stress, we can totally adapt!
- **Biscuit Base Swap:** No chocolate biscuits? Graham crackers or plain digestive biscuits work great too. You can even add a tablespoon of cocoa powder to the crumbs for a chocolatey kick.
- **Chocolate Types:** If dark chocolate isn’t your jam, you can use milk chocolate, but be prepared for a sweeter cake. White chocolate mousse is also a thing and equally delicious, just a different flavor profile!
- **Fruit Frenzy:** While berries are classic, feel free to get creative with your toppings. Sliced mango, kiwi, cherries, or even passion fruit pulp can add a delicious twist. Fresh is always best, though.
- **No Gelatin? No Problem (kinda):** If you skip the gelatin, your mousse will be softer and more like a very rich pudding. It’ll still taste amazing, but it might not hold its shape as well, especially if it gets warm. It will still set, just be a bit more delicate.
FAQ (Frequently Asked Questions)
Got questions? I’ve got (casual) answers!
- **Can I make this chocolate mousse cake ahead of time?**
Absolutely! In fact, it’s encouraged. This cake gets even better after a full night in the fridge, allowing all those glorious flavors to meld. So go ahead, make it the day before your big event. You’re welcome.
- **What if I don’t have a springform pan?**
You can use a regular round cake pan, but you’ll need to line it carefully with parchment paper, leaving an overhang on the sides. This “sling” will help you lift the cake out once it’s set. It’s a bit trickier, but totally doable.
- **My mousse is too runny! What did I do wrong?**
Hmm, likely culprits: your cream wasn’t cold enough when you whipped it, or your melted chocolate was too hot when you folded it in. Also, did you skip the gelatin? Gelatin really helps with stability. **FYI, chilling is key!**
- **Can I use frozen fruit for the topping?**
Technically yes, but I wouldn’t recommend it unless you thaw and thoroughly drain it first. Frozen fruit tends to release a lot of water as it thaws, which can make your beautiful mousse topping soggy. Fresh is always best here!
- **Is this cake really as easy as you say? It looks so impressive!**
Seriously, yes! The hardest part is truly the waiting for it to chill. The steps themselves are super straightforward. It’s a high reward for low effort, IMO. Go on, give it a try!
Final Thoughts
See? Told ya! You just whipped up a dessert that looks like it came straight from a fancy patisserie, but only you know the secret. Now go on, grab a fork, pat yourself on the back, and enjoy the glorious fruit of your (minimal) labor. You’ve earned it! Go impress someone—or just yourself—with your new culinary skills. Happy baking (and eating)!


