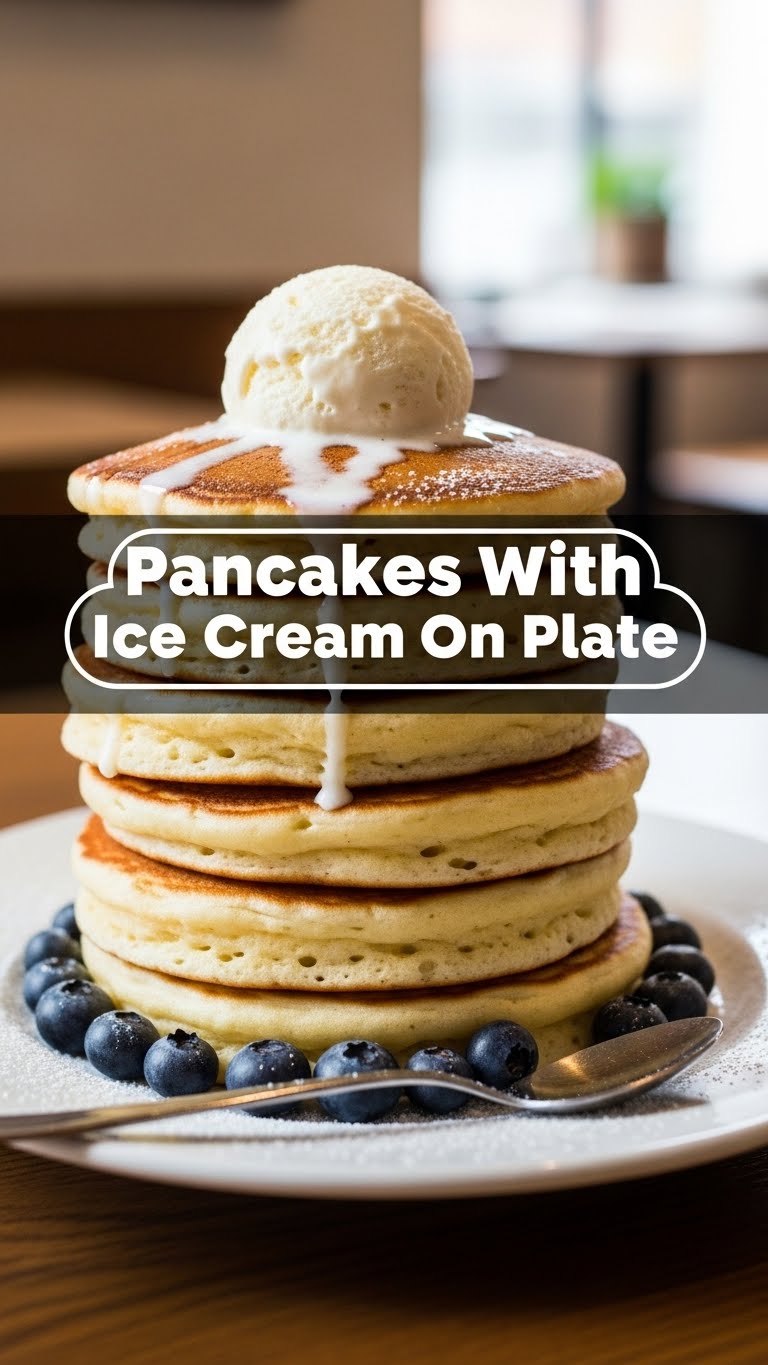
So, you’re staring into the abyss of your fridge, pondering what culinary masterpiece you can whip up without, you know, *actually* having to do much work? And then it hits you: that box of pancake mix has been giving you the side-eye. But plain pancakes? Nah, we can do better. We can do **pancakes with ICE CREAM.** Yes, you heard me. It’s like a warm hug met a cold, sweet kiss. And it’s ridiculously easy. You’re welcome.
Why This Recipe is Awesome
Because, my friend, sometimes you just need to treat yourself like the royalty you are, but without the pomp and circumstance (or the dishwashing pile of doom). This recipe is basically the culinary equivalent of wearing sweatpants to a fancy dinner – it looks impressive, but you’re secretly super comfortable and happy. It’s **idiot-proof**, seriously. I made it, and my track record with anything more complex than toast is… questionable. Plus, it combines two of life’s greatest joys: fluffy carbs and cold, creamy sugar. What’s not to love?
Ingredients You’ll Need
- **Pancake Mix:** Your go-to brand. Don’t overthink it. Unless you’re feeling fancy and want to make from scratch, then more power to you!
- **Milk:** Or a dairy-free alternative. Whatever makes your heart sing (and your pancakes moist).
- **Egg(s):** Usually one or two, depending on your mix. The binder of dreams.
- **Oil or Melted Butter:** For the batter and/or greasing the pan. We want golden perfection, not charcoal hockey pucks.
- **Your Favorite Ice Cream:** This is non-negotiable. Vanilla, chocolate, strawberry swirl, chunky monkey – you do you. This is where the magic happens, people!
- **Optional Toppings:** Maple syrup (classic!), chocolate sauce, fruit, whipped cream, sprinkles. Go wild! It’s a party on a plate.
Step-by-Step Instructions
**Whip Up That Batter:** Grab a bowl. Follow the instructions on your pancake mix (I know, revolutionary). Add the milk, eggs, and oil/butter. **Mix until just combined.** Lumps are your friend here, don’t overmix unless you want tough, chewy pancakes. And who wants that?
**Heat Your Pan:** Put a non-stick pan or griddle over **medium heat**. If you’re using butter or oil to grease, add a tiny bit now. You want it hot enough for a sizzle, but not smoking like a dragon. A good test: flick a tiny drop of water on it; it should dance and evaporate.
**Pour and Cook:** Ladle or pour about 1/4 to 1/3 cup of batter per pancake onto the hot pan. Let them cook for 2-3 minutes, or until you see little bubbles forming on the surface and the edges look set. This is your cue!
**Flip It Real Good:** Slide a spatula under a pancake and, with confidence (or a prayer), **flip it!** Cook for another 1-2 minutes on the other side until it’s beautifully golden brown. Repeat with the rest of your batter.
**Stack ‘Em High:** Pile those golden disks of deliciousness onto a plate. The more, the merrier, IMO.
**The Grand Finale – Ice Cream Time!** Now for the pièce de résistance! Scoop generous dollops of your chosen ice cream right on top of the warm pancakes. The slight melt is part of the charm, trust me. Add any other toppings your heart desires. Dive in immediately!
Common Mistakes to Avoid
- **Overmixing the Batter:** This is the cardinal sin of pancake making. You’ll activate too much gluten, resulting in dense, chewy pancakes instead of light, fluffy clouds. **Lumps are okay!** Embrace the lumps.
- **Impatient Pan Heating:** Slapping batter onto a cold pan? Rookie move. Your pancakes won’t cook evenly, and they’ll probably stick. **Always preheat your pan properly.**
- **Too Much Heat:** Scorched outside, raw inside. Not a good look. Keep it medium. If they’re browning too fast, your heat is too high.
- **Flipping Too Soon:** Don’t poke and prod. Wait for those glorious bubbles and set edges before you even think about flipping. Patience, young padawan.
- **Skimping on Ice Cream:** This is the whole point, people! Don’t be shy. Go big or go home (or just stay home and add more ice cream).
Alternatives & Substitutions
- **Gluten-Free Pancakes:** Easy peasy! Just grab a gluten-free pancake mix. They work just as wonderfully.
- **Dairy-Free Delight:** Use a plant-based milk (almond, soy, oat) for the batter, and find a dairy-free ice cream. Many brands are seriously delicious now, so you won’t feel like you’re missing out.
- **Different Flours:** If you’re making from scratch, experiment! Whole wheat, oat flour, even some cornmeal for a slight texture change. Just adjust liquids as needed.
- **Flavor Boosts:** Stir in some vanilla extract, a pinch of cinnamon, or even a tablespoon of cocoa powder into your batter for a flavor upgrade.
- **Mix-Ins (Batter Edition):** Before pouring, gently fold in chocolate chips, blueberries, or finely chopped nuts into the batter. FYI, blueberries tend to burst, which is a glorious mess!
- **Ice Cream Flavors:** This is your playground! Caramel pecan, cookie dough, mint chocolate chip – whatever your heart desires. Seriously, don’t limit yourself to vanilla.
- **Beyond Maple Syrup:** Try chocolate syrup, caramel sauce, fresh berries, sliced bananas, whipped cream, a sprinkle of nuts, or even a dusting of powdered sugar. Make it an art piece!
FAQ (Frequently Asked Questions)
- Can I make the batter ahead of time?
- Absolutely! You can whip up the batter and store it in an airtight container in the fridge for a day or two. Just give it a gentle stir before cooking, as it might thicken a bit. Perfect for a quick weekday treat!
- My first pancake always sucks. Is that normal?
- Yes, my friend, this is a universal truth. The “tester pancake” often absorbs too much oil or cooks unevenly as your pan finds its sweet spot. Don’t fret, the rest will be glorious. It’s just paving the way for perfection!
- What if I don’t have buttermilk?
- No buttermilk, no problem! You can easily make your own. Just add 1 tablespoon of white vinegar or lemon juice to a measuring cup, then fill the rest with regular milk until you reach the desired amount (usually 1 cup). Let it sit for 5-10 minutes until it curdles slightly. Voila! Instant buttermilk.
- How do I know when to flip?
- Look for the tell-tale signs: bubbles appearing all over the surface, and the edges starting to look dry and firm. Once you see those, you’re good to go. Don’t be a premature flipper!
- Can I use frozen fruit in the batter?
- You sure can! Just add them directly to the batter, no need to thaw. They might cool down your batter a bit, so you might need to cook the pancakes for an extra minute or so. They’ll also release more moisture, so the center might be a bit softer.
- What’s the best way to keep pancakes warm while I’m cooking the rest?
- Preheat your oven to its lowest setting (around 200°F or 90°C). Place a wire rack on a baking sheet and put your cooked pancakes on it in a single layer. This keeps them warm and prevents them from getting soggy. Smart, right?
Final Thoughts
And there you have it! A dessert (or breakfast, no judgment here) that feels indulgent, looks impressive, and took minimal effort. You’ve just elevated a simple pancake to a whole new level of awesome. Go on, pat yourself on the back. Now go impress someone – or just yourself, because you absolutely deserve it – with your new culinary superpowers. Enjoy every single, glorious bite!


