So, you’ve got this fancy ice cream maker sitting there, maybe even with some mysterious extra bits you haven’t touched? Or you’re eyeing one, dreaming of endless, creamy possibilities? Me too, friend, me too. Let’s ditch the store-bought stuff and make some magic, shall we? No weird chemicals, just pure, unadulterated frozen joy. Let’s make some ice cream – the easy, accessory-friendly way!
Why This “Recipe” (AKA Process) is Awesome
Okay, first off, it’s virtually impossible to mess up. Seriously. If I can do it without accidentally making a weird frozen soup, you’re golden. Plus, we’re talking about *customization*. Your ice cream, your rules! Want sprinkles? Add ’em. Craving chunks of cookie dough? Go wild! This isn’t just a recipe; it’s a license to unleash your inner dessert mad scientist, especially when you start playing with those cool accessories your machine came with. It’s truly idiot-proof, even I didn’t mess it up.
Ingredients You’ll Need
For a basic, divine vanilla base – your canvas for creativity!
- Heavy Cream (full-fat, please!): About 2 cups. Don’t even think about “light” cream here unless you want sadness. We’re going for rich, baby!
- Whole Milk: 1 cup. The creamy supporting actor to our superstar heavy cream.
- Granulated Sugar: ¾ cup. Sweetness, pure and simple. Adjust to your happy place.
- Vanilla Extract: 1-2 teaspoons. The OG flavor MVP. Or use a vanilla bean if you’re feeling fancy AF.
- Your Favorite Mix-ins (this is where accessories shine!): Chocolate chips, chopped cookies, fresh berries, swirl-ins – literally whatever makes your heart sing. This is where your machine’s ‘mix-in chute’ or dispenser becomes your best friend!
Step-by-Step Instructions
- Chill Out, Bowl: First, and I cannot stress this enough, make sure your ice cream maker’s freezer bowl has been chilling in the coldest part of your freezer for at least **24 hours**. No exceptions! This is non-negotiable for actual ice cream, not just cold soup.
- Whisk It Real Good: In a medium bowl, whisk together your heavy cream, whole milk, sugar, and vanilla. Whisk until the sugar is fully dissolved. You can taste it here and adjust sweetness, BTW. For **best results**, chill this mixture for an hour or two before churning.
- Pour & Churn: Attach the chilled freezer bowl and paddle (make sure you’re using the right one if your machine has different ‘accessories’ for ice cream vs. sorbet!) to your ice cream maker. Turn it on, then immediately pour in your mixture. Don’t pour and *then* turn on, or you’ll have instant ice cream around the paddle. Rookie mistake!
- Accessorize Your Way to Deliciousness: Let it churn for about 20-30 minutes, or until it reaches a soft-serve consistency. This is prime time for your accessories! If your machine has a **mix-in chute** or dispenser, now’s when you drop in those chocolate chips, cookie bits, or whatever crunchy/chewy goodness you desire. The machine will do the hard work of distributing them evenly. **Don’t dump a mountain in at once!** Little by little, friend.
- Harden Up (Optional): For firmer ice cream, transfer it to an airtight container. If your machine came with a special storage container or lid, use that! Press a piece of parchment paper directly onto the surface to prevent ice crystals, then freeze for at least 2-4 hours. Patience, young grasshopper.
Common Mistakes to Avoid
- Impatience with the Freezer Bowl: Thinking “12 hours is probably fine, right?” No. **24 hours, minimum.** Otherwise, you get sad, soupy ice cream that won’t churn properly.
- Overfilling the Bowl: Your mix will expand as it churns. Check your manual, but usually, don’t fill past two-thirds. Less is more, unless you like frozen overflow all over your counter.
- Adding Mix-ins Too Early: Throwing in fragile mix-ins (like delicate cookies or fresh berries) at the very start? They’ll turn to mush. Wait until the last 5-10 minutes of churning, especially when using your machine’s **mix-in dispenser**.
- Not Chilling the Base: While not strictly necessary for some machines, a pre-chilled base helps churn faster and results in a creamier texture. FYI.
Alternatives & Substitutions
- Dairy-Free Dream: Swap out dairy milk and cream for full-fat coconut milk and plant-based cream alternatives (almond, oat, soy). The texture might be a *tad* different, but still delish. You might even have a **sorbet paddle** accessory that works great for this texture!
- Flavor Fiesta: Vanilla is great, but don’t stop there! Add cocoa powder for chocolate, strong coffee for coffee ice cream, or fruit purees for a lighter, fruitier vibe. Your accessories might even include different **flavor extract droppers** if you got a super fancy kit!
- Sweetener Swaps: Granulated sugar is classic, but you can experiment with maple syrup or honey. Just be aware they can change the freezing point slightly, so your ice cream might be softer.
FAQ (Frequently Asked Questions)
- “How long does the churning take?” Usually 20-30 minutes, but it totally depends on your machine, the ambient temperature, and how cold your bowl is. Just watch for that glorious soft-serve consistency.
- “Can I make sorbet with this?” Absolutely! Most machines, especially those *with accessories*, often come with a specific **sorbet paddle** or a guide on how to adjust ingredients for sorbet. Just swap out dairy for fruit puree and water/sugar syrup.
- “My ice cream is too hard after freezing, what gives?” A couple of things: too much sugar can make it softer, or not enough fat. Also, make sure it’s in an airtight container. Let it sit out for 5-10 minutes before scooping. And yes, some machines *do* come with special **scoops** that are extra sturdy for this!
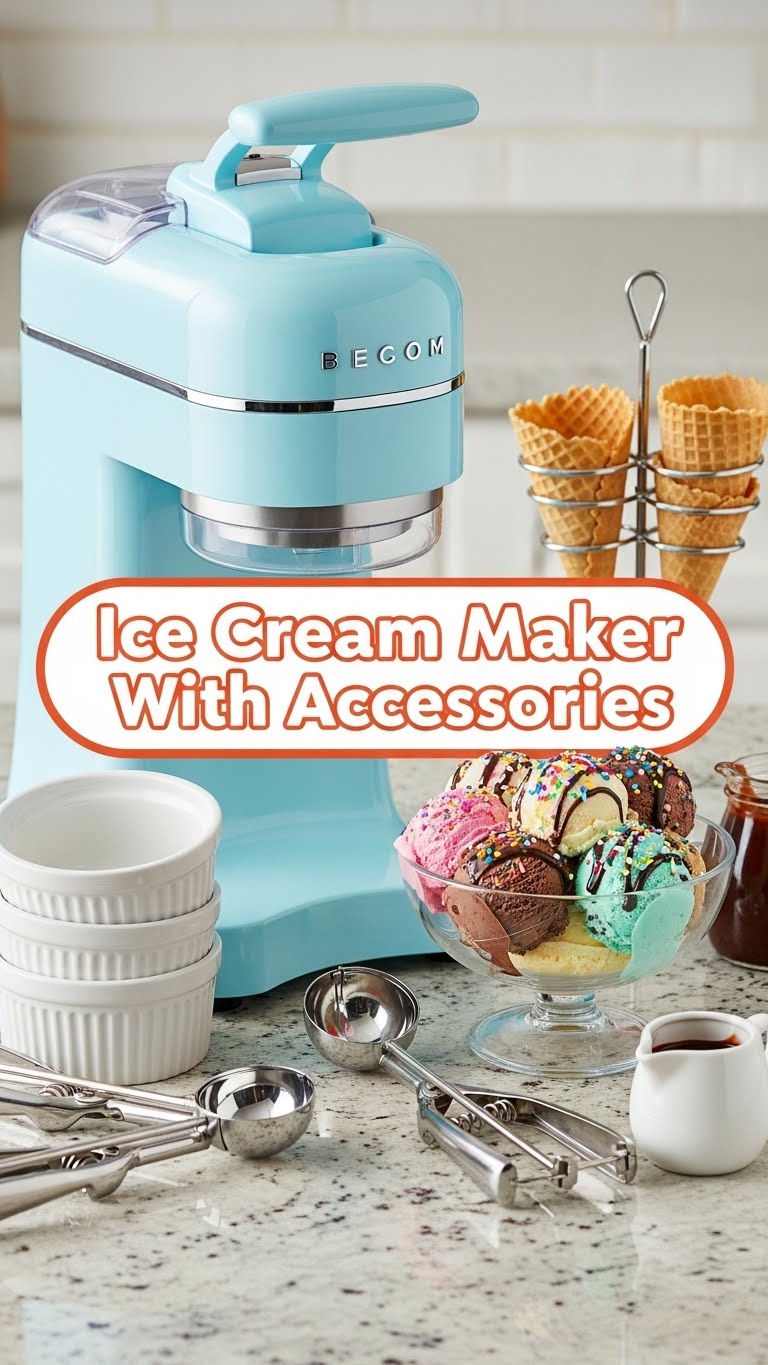
- “What kind of ‘accessories’ are we even talking about?” Great question! We’re talking about things like dedicated **mix-in chutes**, different **paddles** for ice cream vs. gelato vs. sorbet, extra **freezer bowls** so you can make multiple batches, special **storage containers** with lids, and even sturdy **scoops** or **recipe books** tailored to your machine. They’re designed to make your ice cream journey smoother and more versatile!
- “Can I use less sugar?” You can, but sugar isn’t just for sweetness; it also helps prevent your ice cream from freezing into a solid block of ice. Less sugar might mean a harder final product.
Final Thoughts
There you have it, future ice cream guru! You’ve officially conquered your ice cream maker and those mysterious accessories. Now go impress someone – or yourself – with your new culinary superpowers. And hey, sharing is caring, but if you want to keep this batch all to yourself, I won’t judge. You’ve earned every delicious, customized scoop!


