So you’re craving something tasty but too lazy to spend forever in the kitchen, huh? Same. As in, “Did I just spend 15 minutes trying to decide if I should make toast?” same. But fear not, my friend! I’ve stumbled upon a culinary revelation that’s so simple, so refreshing, and so utterly delicious, you’ll wonder why you ever bought those mystery-flavor ice pops from the store. We’re diving headfirst into the glorious world of homemade whole fruit popsicles!
Why This Recipe is Awesome
Okay, let’s be real. In a world full of complex recipes demanding obscure ingredients and a culinary degree, this one is a breath of fresh air. It’s basically idiot-proof; even I didn’t mess it up, and my kitchen skills are… “enthusiastic.” We’re talking whole fruit goodness, zero weird dyes, and you get to control exactly what goes into your frozen treat. Plus, it’s summer (or wish-it-was-summer), and nothing screams “chill vibes” like a perfectly ripe, naturally sweet popsicle. It’s healthy, it’s refreshing, and it requires minimal effort. Win-win-win, if you ask me!
Ingredients You’ll Need
Get ready for the shortest shopping list of your life. Seriously, it’s almost embarrassing how simple this is.
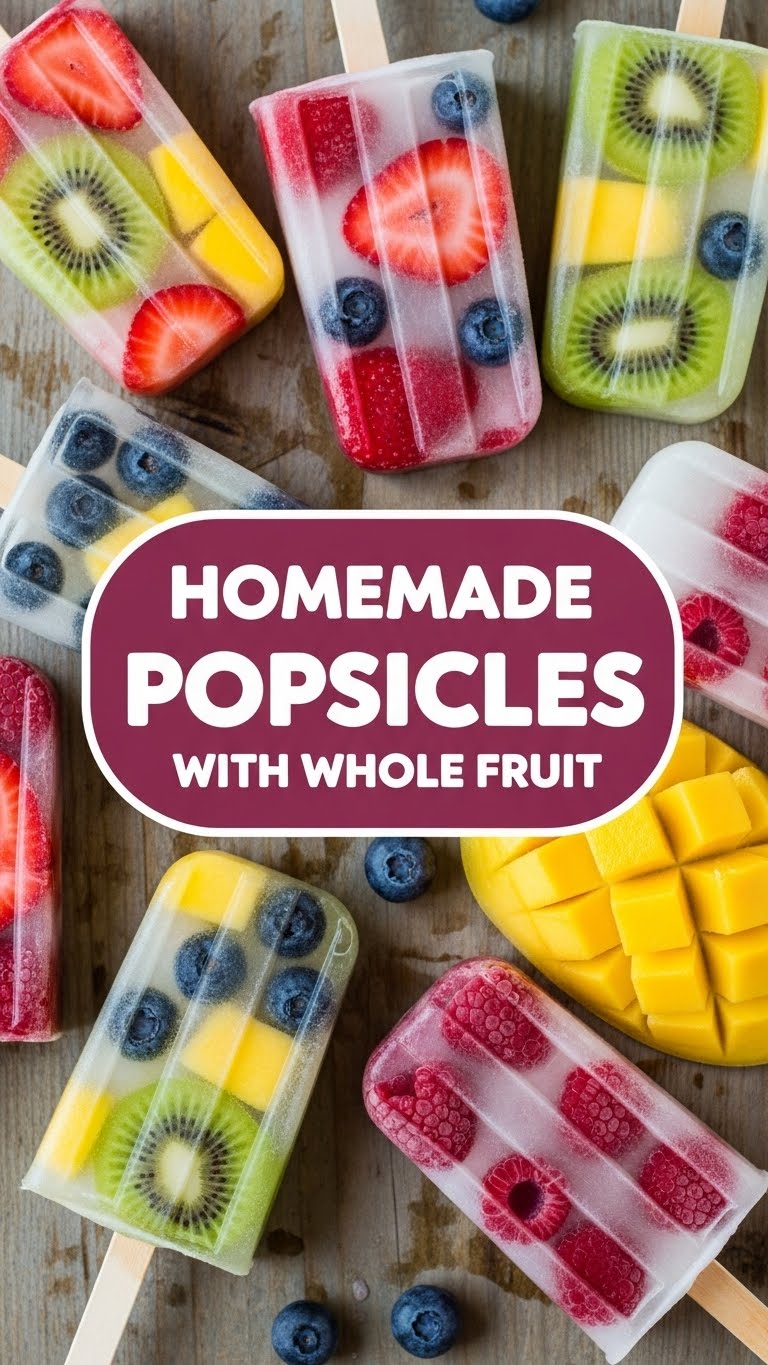
- Your Favorite Whole Fruit (about 2-3 cups): This is where the magic happens! Think berries (strawberries, blueberries, raspberries), mango, pineapple, kiwi, peaches, watermelon… whatever looks bright and happy at the store. Got some slightly-past-their-prime fruits lurking in the back of the fridge? Perfect! They’re about to have a glow-up.
- Liquid (1/4 to 1/2 cup): Water, coconut water, fruit juice (like apple or orange, but go for 100% juice, please!), or even a splash of unsweetened almond milk. This just helps things blend.
- Sweetener (Optional, to taste): A tablespoon or two of honey, maple syrup, agave, or even a few pitted dates. Only if your fruit isn’t quite sweet enough or you’re feeling fancy. Taste your fruit first! Sometimes nature just nails it.
- Popsicle Molds & Sticks: Obviously. You can find these practically everywhere. No molds? Small paper cups and wooden sticks work just as well.
Step-by-Step Instructions
Alright, put on your imaginary chef’s hat (or don’t, I won’t judge). Let’s do this!
- Prep Your Fruit: Wash, peel (if needed), and chop your fruit into chunks. The smaller the chunks, the easier they’ll blend. If you’re using berries, a quick rinse is all you need. Remove any pits or tough cores – nobody wants a surprise when they bite into a popsicle!
- Blend It Up: Toss all your prepared fruit into a blender. Add your chosen liquid (start with 1/4 cup and add more only if needed) and your optional sweetener. Blend until smooth. Seriously, get it super smooth unless you’re into chunky popsicles (which is also totally fine, no judgment here!). Give it a quick taste test – adjust sweetness if necessary.
- Pour & Insert: Carefully pour your fruity concoction into your popsicle molds. Don’t overfill! Leave a little space at the top as liquids expand when frozen. Insert your popsicle sticks. If you’re using paper cups, pour first, then gently insert the stick once it’s about halfway frozen so it stands upright.
- Freeze Away: Transfer your filled molds to the freezer. Now comes the hard part: waiting. Leave them in there for at least 4-6 hours, or ideally, overnight. Patience is key for perfectly solid popsicles.
- Enjoy! Once they’re rock solid, run the molds under warm water for a few seconds to loosen them up. Pop ’em out and enjoy your glorious, homemade, whole fruit popsicle!
Common Mistakes to Avoid
We’ve all been there, trust me. Learn from my culinary mishaps!
- Overfilling the Molds: Rookie mistake! Your popsicles will expand, overflow, and create a sticky mess in your freezer. Not fun to clean up. Leave a little room!
- Not Blending Enough: Unless you *want* huge chunks, make sure your fruit is super smooth. Lumpy popsicles are just… less aesthetically pleasing, IMO.
- Not Enough Freezing Time: Trying to pull out a popsicle after an hour? That’s just a sad, fruity slushie on a stick. Give it the time it deserves, usually at least 4-6 hours or overnight for best results.
- Too Much Liquid: If you add too much water/juice relative to your fruit, your popsicles might end up icy instead of creamy. Start with less liquid and add only as needed.
Alternatives & Substitutions
Feeling adventurous? Here are some ways to shake things up:
- Creamy Dreamy Pops: Swap some of the liquid for full-fat coconut milk or Greek yogurt. This creates a wonderfully creamy, almost sorbet-like texture. Mango-coconut? Yes, please!
- Hidden Veggies: Want to sneak in some greens? A handful of spinach or kale blends seamlessly into dark fruit pops (like berry or cherry) without affecting the taste much. Don’t tell anyone, it’s our secret.
- Spice It Up: A tiny pinch of ginger, cinnamon, or even a dash of vanilla extract can elevate your fruit flavors. Try mango with a little ginger, or peaches with vanilla.
- Adults Only: For a grown-up treat, add a splash of your favorite liquor (rum, vodka, prosecco) to the mix. Just know that alcohol lowers the freezing point, so they might be a bit softer. Enjoy responsibly, obvs.
- Textural Surprises: After blending, stir in some small whole fruit pieces (like blueberries or finely chopped strawberries) for a fun texture contrast.
FAQ (Frequently Asked Questions)
Got questions? I’ve got answers (mostly humorous, definitely helpful).
- “Can I use frozen fruit?” Absolutely! In fact, sometimes it makes the blend even smoother and colder from the start. Just make sure to adjust liquid if needed, as frozen fruit might require a tiny bit more.
- “How long do these last in the freezer?” If they even make it past day one, I’d say they’re good for about 2-3 weeks in an airtight container. But honestly, they never last that long in my house.
- “My popsicles are too hard/icy, what gives?” Sounds like you went a bit heavy on the water, my friend. Next time, try more fruit, less liquid, or even a dash of full-fat coconut milk for creaminess.
- “What if I don’t have popsicle molds?” No biggie! Small paper cups (like Dixie cups) work perfectly. Once they’re halfway frozen, stick a wooden craft stick or even a spoon in. Just peel the paper cup off when you’re ready to eat.
- “Can I mix different fruits?” Heck yes! That’s half the fun. Strawberry-banana, pineapple-mango, mixed berry – go wild with your combinations. It’s your popsicle, you’re the boss.
- “Do I *really* need to add sweetener?” Nope! If your fruit is perfectly ripe and sweet, skip it. Always taste your blend first. You might be surprised by nature’s candy!
Final Thoughts
There you have it! Homemade whole fruit popsicles, ready to cool you down and put a smile on your face without breaking a sweat (or the bank). You’ve basically just become a popsicle pro. Now go impress someone—or yourself—with your new culinary skills. You’ve earned it! Seriously, go make some. Your future self on a hot day will thank you.


