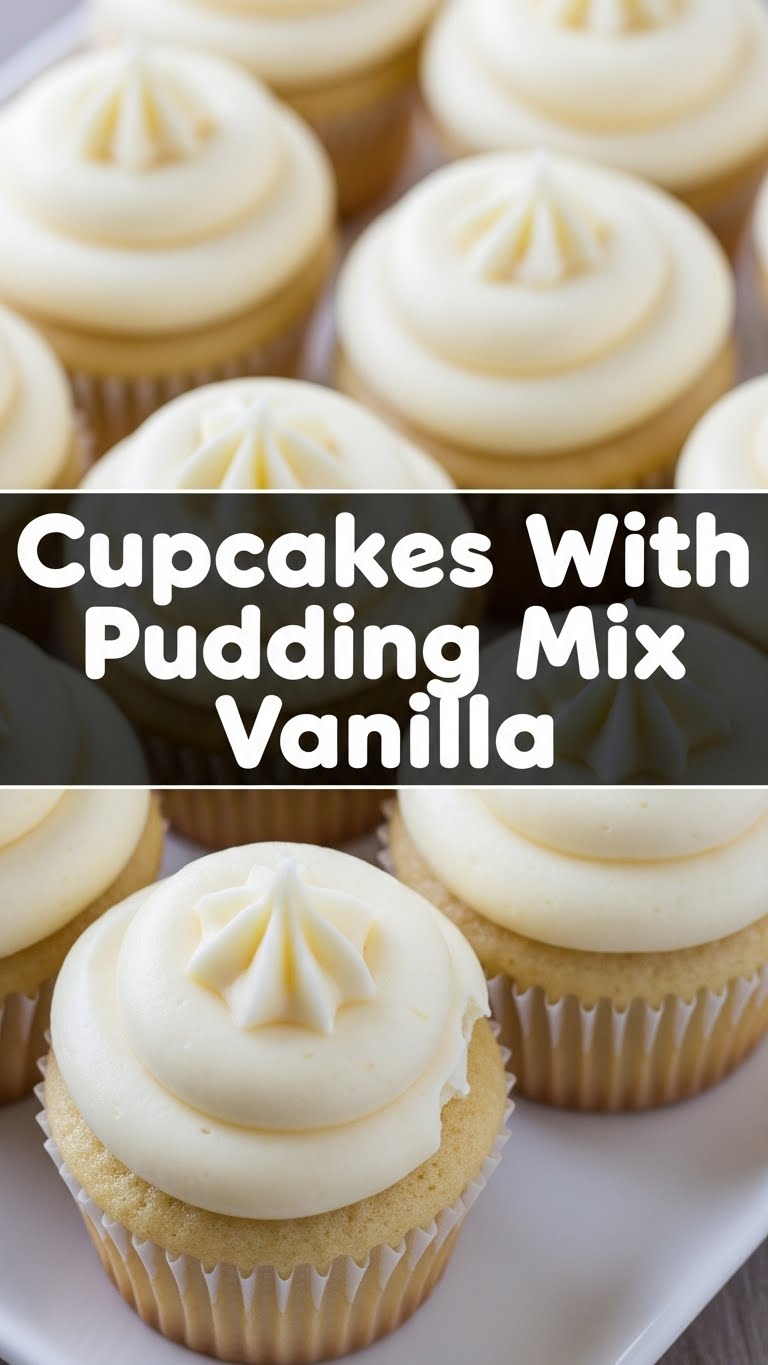
So you’re craving something tasty but too lazy to spend forever in the kitchen, huh? Same. What if I told you there’s a magical way to make cupcakes that are so moist, so fluffy, they practically melt in your mouth, and require minimal brain power? Yep, we’re diving into the glorious world of vanilla cupcakes with a secret weapon: pudding mix! Get ready to impress everyone (including yourself) with minimal effort.
Why This Recipe is Awesome
Let’s be real, sometimes you just need a win in the kitchen without a culinary degree. This recipe is your cheat code! It uses a boxed cake mix, which, FYI, is nothing to be ashamed of. The secret ingredient – instant vanilla pudding mix – transforms those humble box-mix cupcakes into something unbelievably tender, moist, and utterly irresistible. It’s idiot-proof; even I didn’t mess it up! Seriously, if you can stir, you can make these. Prepare for rave reviews and people begging for your “secret” recipe.
Ingredients You’ll Need
Gather your troops! Here’s what you’ll need for these magical treats:
- 1 (15.25 oz) box Vanilla Cake Mix: Yeah, we’re not reinventing the wheel here. Embrace the convenience!
- 1 (3.4 oz) box Instant Vanilla Pudding Mix: The real MVP! Make sure it’s *instant*, not cook-and-serve, unless you enjoy chaos.
- 4 Large Eggs: Give ’em a good crack!
- 1 cup Milk: Any kind, really. Whole milk makes them extra rich, but skim works if you’re pretending to be healthy.
- 1/2 cup Vegetable Oil: Or canola oil. Nothing fancy. We’re not making gourmet salad dressing.
- 1 teaspoon Vanilla Extract (optional, but highly recommended): Because you can never have too much vanilla, IMO.
- Water (if your cake mix calls for it): Check your box! Don’t fight the system.
- Your favorite Vanilla Frosting: Store-bought is perfectly acceptable. Or homemade, if you’re feeling extra fancy.
- Cupcake liners: Don’t skip these unless you enjoy scraping your muffin tin for eternity.
Step-by-Step Instructions
- Preheat & Prep: First things first, preheat your oven to 350°F (175°C). Line a standard 12-cup muffin tin with cupcake liners. You don’t want your beautiful creations sticking, trust me.
- Combine Dry: In a large mixing bowl, whisk together the boxed cake mix and the instant vanilla pudding mix until they’re thoroughly combined. Get all those lumps out!
- Add Wet: Pour in the eggs, milk, and oil (and water, if your particular cake mix demands it). Mix on low speed with an electric mixer until just combined, then crank it up to medium speed for about 2 minutes. Do not overmix! That’s how you get tough cupcakes.
- Fill ’em Up: Scoop your glorious batter into the prepared cupcake liners, filling each one about two-thirds full. Don’t be greedy; they need room to rise and get all fluffy!
- Bake Time: Pop ’em in the preheated oven for 18-22 minutes. You’ll know they’re ready when a toothpick inserted into the center of a cupcake comes out clean.
- Cool Down: Let them cool in the muffin tin for about 5 minutes. Seriously, don’t rush this part! Then, carefully transfer them to a wire rack to cool completely before even thinking about frosting. Patience, young padawan.
- Frost ’em (or not): Once they’re completely cool, frost them with your favorite vanilla frosting. Add sprinkles if you’re feeling extra celebratory! Or just eat them plain. No judgment here.
Common Mistakes to Avoid
Nobody’s perfect, but we can definitely avoid these common cupcake pitfalls:
- Not preheating the oven: Thinking you don’t need to preheat—rookie mistake. Your cupcakes will be sad, uneven, and take forever to bake.
- Overmixing the batter: Mixing until your arm falls off. It makes them tough, like tiny hockey pucks instead of fluffy clouds. Just mix until combined, then 2 minutes on medium.
- Overfilling the liners: You’ll end up with mushroom-top cupcakes that spill everywhere and make a huge mess. Stick to two-thirds full.
- Using cook-and-serve pudding: Grabbing the wrong pudding mix. It HAS to be *instant*, folks! Cook-and-serve will just… not work.
- Frosting warm cupcakes: Everything will melt into a sticky, sad mess. I repeat: let them cool completely!
Alternatives & Substitutions
Feeling adventurous? Here are some ways to shake things up:
- Pudding Flavor Swap: Want to get wild? Swap vanilla pudding for chocolate, lemon, or even cheesecake pudding mix for a fun twist! Be brave!
- Cake Mix Match-Up: Chocolate cake mix with vanilla pudding? Yes, please! Strawberry cake mix with banana pudding? Why not? The world is your oyster!
- Milk Alternatives: Almond milk, oat milk, whatever milk you got. It’ll work, though whole milk typically gives the richest texture.
- Oil for Butter: Melted butter works beautifully instead of oil for an extra buttery flavor. Just make sure it’s melted and cooled slightly.
- Fun Add-ins: Fold in some chocolate chips, sprinkles, or a little lemon zest into the batter before baking. Get creative!
FAQ (Frequently Asked Questions)
- Can I use sugar-free pudding mix? Yep, totally! Just keep in mind it might alter the texture slightly, but it still works.
- My cupcakes are flat! What happened? Probably overmixed, or your leavening agent (in the cake mix) was old. Fresh ingredients are key!
- Can I make these into a cake instead of cupcakes? Absolutely! Just follow the original cake mix instructions for pan size and bake time, adding the pudding mix and other ingredients as directed here.
- How long do these delicious cupcakes last? In an airtight container, they’ll stay moist and delicious for about 3-4 days at room temperature. If they even last that long!
- Do I really need to add extra vanilla extract? Not strictly necessary since the cake and pudding mixes have vanilla, but it truly amps up that vanilla flavor. Do it, you won’t regret it!
- Can I use margarine instead of oil? Well, technically yes, but why hurt your soul like that? Stick to oil for max moisture, or melted butter for a richer flavor.
Final Thoughts
See? That wasn’t so hard, was it? You just whipped up a batch of ridiculously delicious, super moist vanilla cupcakes, all thanks to a little box of pudding mix and your awesome self. Now go impress someone—or yourself—with your new culinary skills. You’ve earned it! Maybe share one… or five. 😉 Happy baking!

