So you’re craving something sweet, but your energy levels are currently stuck in “sloth mode,” huh? Been there, bought the T-shirt. Good news: I’ve got a dessert for you that’s ridiculously easy, super satisfying, and basically screams “I tried… minimally!” Get ready to impress yourself (and maybe your roommate) with a dessert that’s all about that creamy, dreamy vanilla pudding magic without making you sweat in the kitchen.
Why This Recipe is Awesome
Let’s be real, who needs stress when you’re just trying to get a sugar fix? This recipe is a hero for several reasons:
- It’s **no-bake**, meaning your oven can take a well-deserved nap.
- Minimal dishes? Hallelujah! You’ll barely break a sweat washing up.
- It tastes fancy, but it’s totally not. You’re basically a dessert ninja, tricking everyone into thinking you’re a culinary genius.
- Seriously, it’s pretty much **idiot-proof**. Even I didn’t mess it up, and my kitchen adventures often end in… unexpected results.
Ingredients You’ll Need
Gather ’round, my sweet-toothed friend! Here’s what you’ll need for this masterpiece. Don’t worry, it’s all easy-peasy stuff you probably have or can grab in one quick grocery run.
- **1 (3.4 oz) box instant vanilla pudding mix:** Yep, instant. We’re not cooking fancy custards today, unless you *want* to work harder.
- **2 cups cold milk:** Full-fat milk usually gives the creamiest results, but use whatever you typically keep in the fridge. (Almond or oat milk works too if you’re going dairy-free!)
- **1 (8 oz) tub whipped topping, thawed:** Think Cool Whip. It lightens everything up and makes it extra fluffy. Don’t skimp on the fluff!
- **1 pack graham crackers:** These are the unsung heroes, providing that perfect base and a little crunch.
- **Optional: Chocolate syrup or cocoa powder:** For drizzling, dusting, or just making it look extra ‘gram-worthy. Because why not?
Step-by-Step Instructions
Ready? Let’s make some magic. These steps are so easy, you could probably do them in your sleep (but please don’t; sticky pajamas are no fun).
- First things first: Grab a medium-sized bowl. **Whisk the instant vanilla pudding mix and cold milk together** for about 2 minutes, until it starts to thicken up nicely. Don’t over-whisk, or it might get too stiff. We’re aiming for creamy, not concrete.
- Once your pudding is looking thick and dreamy, gently **fold in about half of your thawed whipped topping**. This step is crucial for that light, airy texture. Use a spatula and go easy; we want to keep all that beautiful air in there.
- Now for the layering fun! Get a square or rectangular dish (8×8 or 9×13 works great). **Place a single layer of graham crackers** on the bottom, breaking them as needed to fit. Don’t be shy; get those edges covered!
- **Spread half of your vanilla pudding mixture** evenly over the graham cracker layer. Use the back of a spoon or a spatula to get it nice and smooth.
- **Repeat the layers!** Add another layer of graham crackers, then the remaining pudding mixture.
- Finally, top it all off with the **rest of your whipped topping**. Spread it from edge to edge like you’re frosting a tiny, delicious cloud.
- Here’s the most crucial step (and the hardest part: patience!): **Cover the dish and refrigerate for at least 4 hours**, or ideally overnight. This lets the graham crackers soften and everything meld into a harmonious dessert symphony.
- Just before serving, get fancy! **Drizzle with chocolate syrup** or dust with cocoa powder if you’re feeling extra. Slice it up, serve, and bask in the glory!
Common Mistakes to Avoid
We all make mistakes, but some are just avoidable with a little heads-up. Learn from my past dessert misadventures!
- **Not chilling long enough:** This is probably the biggest rookie mistake. If you cut into it too soon, it’ll be a sad, soupy mess. **Patience is a virtue, especially with pudding desserts!**
- **Using *cooked* pudding mix by mistake:** Unless you’re specifically going for that, instant means instant. Cooked pudding requires extra steps and cooling, which defeats our “easy-peasy” vibe. Read the box!
- **Skipping the whipped topping (or not folding it in):** The whipped topping isn’t just for decoration; it lightens the pudding and gives it that melt-in-your-mouth texture. Don’t skip the dream! Also, *fold* it in gently, don’t beat it like you’re mad at it.
- **Thinking you don’t need a single layer of crackers:** That first layer provides the foundation. If it’s patchy, your dessert might be structurally unsound.
Alternatives & Substitutions
Feeling creative? This recipe is super flexible! Here are some ideas to mix things up:
- **Cookie Swap:** Not a fan of graham crackers? Try Nilla Wafers, shortbread cookies, or even crushed Oreos for a different base. Seriously, crushed Oreos with vanilla pudding? Game changer!
- **Pudding Flavor Frenzy:** Vanilla is classic, but why stop there? Chocolate, banana, butterscotch, or even pistachio pudding mixes work beautifully. Your dessert, your flavor adventure!
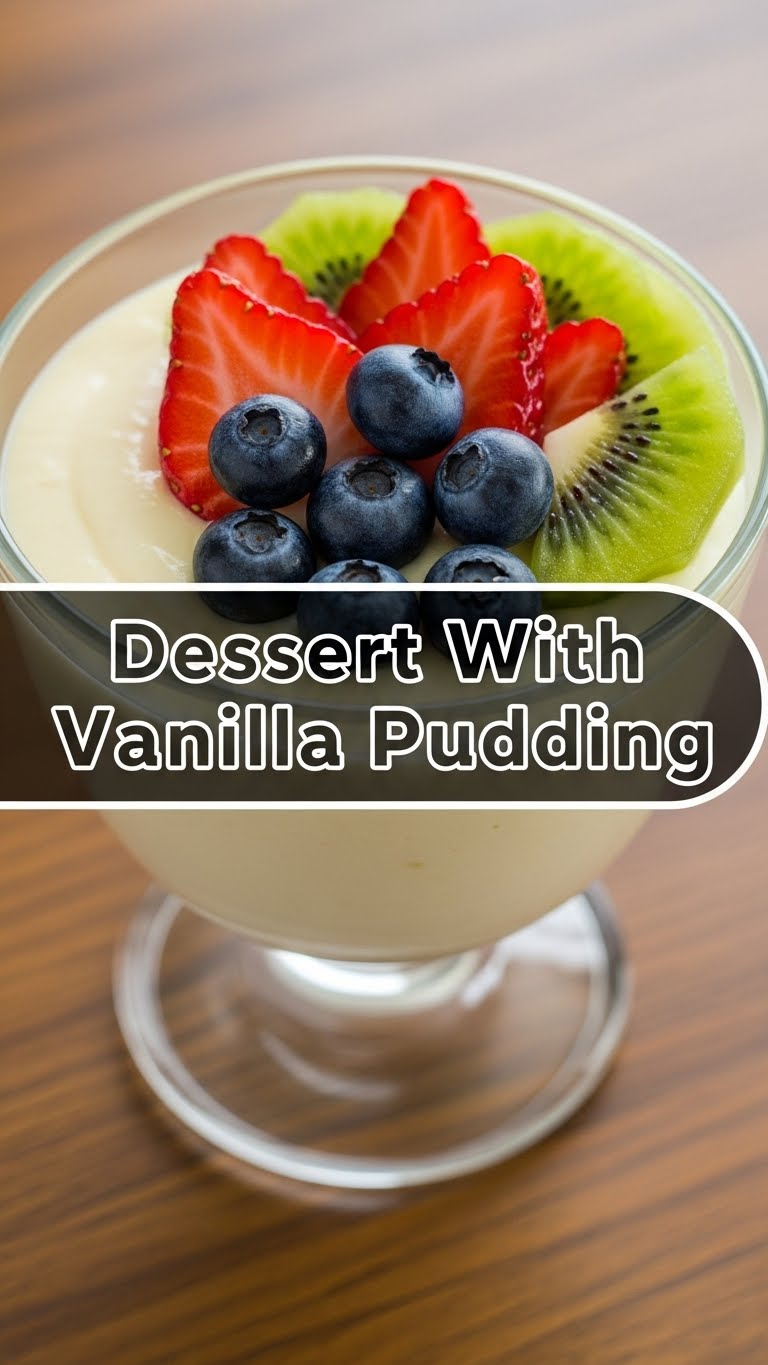
- **Topping Power-Ups:** Besides chocolate, try fresh fruit (sliced bananas, strawberries, or berries are amazing!), sprinkles for a party vibe, crushed nuts for crunch, or a sprinkle of flaky sea salt for a sophisticated touch.
- **Dairy-Free Delight:** Use almond milk, oat milk, or soy milk, and make sure your pudding mix is dairy-free (most instant ones are, but always check!). Use a dairy-free whipped topping too. Easy peasy lemon squeezy!
FAQ (Frequently Asked Questions)
Got questions? I’ve got (casual and hopefully helpful) answers!
- **Can I use sugar-free pudding?** Absolutely! Your dessert, your rules (and your sugar intake). It works just as well.
- **How long does this masterpiece last in the fridge?** Realistically, about 3-4 days. But let’s be honest, it probably won’t last that long. It’s too delicious.
- **Do I *have* to chill it for 4 hours? That feels like forever!** Yes, you really do. Unless you like warm, gooey, collapsing desserts that taste a bit off. (Spoiler: you don’t.) Patience, young grasshopper.
- **Can I add fruit into the layers?** **OMG, YES!** Sliced bananas, fresh berries… it’s like a health food now, right? Adds a lovely fresh contrast.
- **What if my pudding is too thick/thin?** Too thick? Whisk in a tiny bit more milk until it’s the right consistency. Too thin? You might have used too much milk or not whisked enough. Give it extra time in the fridge to firm up, it often just needs more chill time.
- **Can I make this in individual cups instead of one big dish?** Brilliant idea! Perfect for portion control (or convincing yourself you’re only having one). Just layer in small jars or glasses.
Final Thoughts
See? Told you it was easy. You just whipped up a dessert that tastes like a dream, with minimal effort. You’re basically a dessert wizard now, conjuring deliciousness out of thin air (and a few pantry staples). Now go forth and conquer your sweet cravings! You’ve earned this moment of delicious, effortless glory. Don’t forget to send me a pic, or better yet, a slice!


