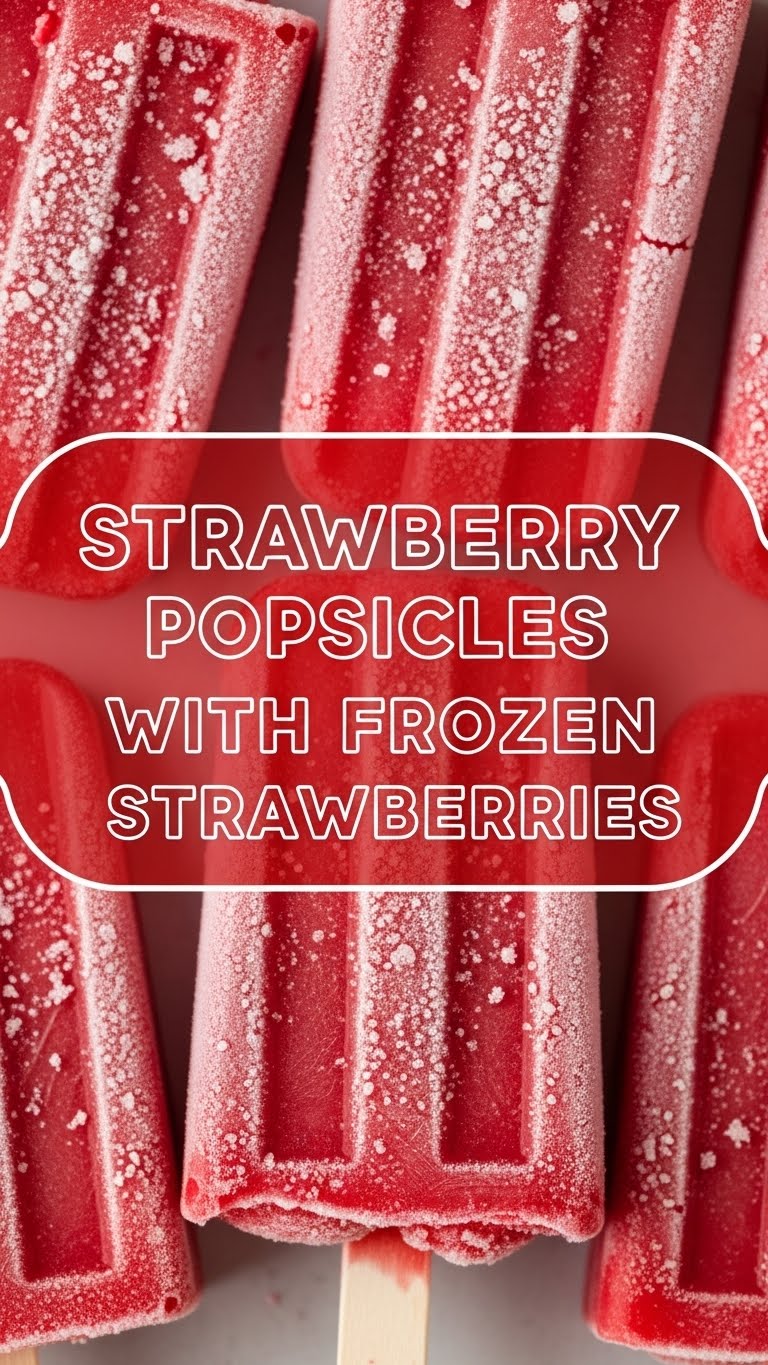
So you’re craving something tasty but too lazy to spend forever in the kitchen, huh? Same. And it’s hot out, isn’t it? My brain cells are melting faster than an ice cube in a sauna. Solution? **Frozen strawberry popsicles!** Yeah, the kind that taste like summer threw up happiness, but without all the *effort*.
Why This Recipe is Awesome
Okay, first off, it’s literally **two ingredients**. TWO! If you can’t handle two ingredients, maybe cooking isn’t your thing, and that’s okay, we can still be friends. But seriously, this recipe is so idiot-proof, my cat probably could make it if she had opposable thumbs. Plus, it’s healthy-ish, super refreshing, and makes you look like a domestic goddess/god without actually having to *do* much. Winning!
Ingredients You’ll Need
- Frozen Strawberries: A big bag (about 16 oz or 450g). The star of our show! Make sure they’re actually frozen, or you’re just making a smoothie pre-game.
- A tiny splash of water or fruit juice: Just enough to get things moving. Think of it as lubrication for your blender. Or, if you’re feeling fancy, a little orange juice or apple juice for an extra zing.
- Optional (but recommended) Sweetener: Maple syrup, honey, or a touch of agave. Only if your strawberries are a bit tart or your sweet tooth is demanding attention. We’re not judging here.
- Popsicle molds & sticks: Duh. Or small paper cups and chopsticks if you’re improvising. Get creative!
Step-by-Step Instructions
- Prep Time! (5 minutes max): Grab your frozen strawberries. Don’t let them thaw too much; we want that icy goodness. Throw them into your trusty blender or food processor.
- Add a Little Liquid: Pour in a *tiny* splash of water or juice. Start with like, a tablespoon. You want just enough to help the blades do their thing, not turn it into a watery mess. **Less is more here, friend!**
- Blend Away!: Pulse, blend, whiz! Scrape down the sides if needed. Keep going until you have a thick, sorbet-like consistency. It should be smooth but still pretty solid. If it’s too thick, add another *teaspoon* of liquid.
- Sweeten It Up (Optional): Give it a taste. If it needs more sweetness, now’s the time. Add your preferred sweetener, blend again quickly to combine.
- Into the Molds!: Spoon the strawberry goodness into your popsicle molds. Don’t overfill them, unless you enjoy sticky freezer adventures. Insert your sticks.
- The Hard Part: Waiting: Pop those babies into the freezer. **Patience is a virtue here, my friend.** Give them at least 4-6 hours, or ideally, overnight. Seriously, don’t peek every five minutes; they won’t freeze faster.
- Enjoy!: Once solid, run the molds under warm water for a few seconds to release them easily. Then, devour! You’ve earned it.
Common Mistakes to Avoid
- Too Much Liquid: This isn’t a smoothie competition. Adding too much water or juice will make your popsicles icy and bland. You want a thick, almost paste-like consistency.
- Impatience: Trying to unmold them before they’re fully frozen? Rookie mistake! You’ll end up with a sad, broken, strawberry-flavored mess on your kitchen counter. Don’t be that person.
- Forgetting to Taste Test: Your strawberries might be super sweet or super tart. **Always taste before freezing!** It’s your last chance to adjust the flavor.
- Using Fresh Strawberries (for this recipe): We specified *frozen* for a reason, my friend. Fresh strawberries will just make a watery puree. We want that instant icy magic!
Alternatives & Substitutions
- Different Fruits: Don’t have strawberries? **Frozen mango, mixed berries, or even peaches** work wonderfully! Just stick to the ‘frozen’ part.
- Add-ins: Feeling wild? A tiny bit of Greek yogurt for a creamier texture, or even a few basil leaves for a fancy twist. (Don’t knock it till you try it, seriously.) A squeeze of lime juice can also brighten things up.
- No Popsicle Molds?: Small paper cups and wooden craft sticks (or even plastic spoons!) are your best friends. Just remember to cut the paper cup away once frozen.
FAQ (Frequently Asked Questions)
“Can I use fresh strawberries?” Well, you *can*, but it won’t be the same! You’d need to freeze them first, or add ice, which could dilute the flavor. Stick to the pre-frozen goodness for this recipe, trust me.
“My blender is struggling, help!” Ah, the frozen fruit struggle is real! Try adding *one extra teaspoon* of liquid at a time and using the pulse function. Also, make sure your blender is up for the task – a powerful one helps, but patience and scraping down the sides are key. **FYI**, some blenders just aren’t built for this thick stuff!
“How long do they last in the freezer?” If they even *last* that long, you’re doing better than me! But seriously, tightly wrapped, they should be good for a couple of weeks. After that, they might start getting a bit icy.
“Can I make them sweeter without sugar?” Absolutely! Ripe bananas (frozen, of course!) can add natural sweetness and creaminess. A few dates blended in also work a treat. Just remember to adjust liquid if adding extra fruit.
“My popsicles are too hard to eat!” Give them a minute or two out of the freezer before attacking them. If they’re *really* rock hard, you might have too little liquid or too much ice in your original blend. A slight thaw helps.
Final Thoughts
See? I told you it was easy! Now you’ve got a batch of delicious, refreshing, and guilt-free strawberry popsicles ready to rescue you from the heat or just satisfy a random craving. Go on, pat yourself on the back. You’ve earned it! Now go impress someone—or yourself—with your new culinary skills. You’ve earned it! **Summer (or anytime) snacking, elevated. You’re basically a chef now. 😉**


