So you’re craving something tasty but too lazy to spend forever in the kitchen, huh? Same. And let’s be real, sometimes a spoon straight to the ice cream tub just doesn’t cut it, especially when you’re aiming for that ‘I put effort into this’ vibe without, well, actually putting *that* much effort in. Enter: your new favorite dessert hack.
Why This Recipe is Awesome
Because it’s quite possibly the cutest, easiest dessert you’ll ever make, and it screams “I love you” (or “I love myself and dessert”) without you having to bake anything. Seriously, it’s so simple, your pet hamster could probably make it if hamsters had opposable thumbs and a sweet tooth. Plus, it’s the ultimate pick-me-up on a gloomy Tuesday, or the perfect little something-something to impress your boo. It’s virtually impossible to mess up, even for the most culinarily challenged among us.
Ingredients You’ll Need
- Your favorite flavor of ice cream: This is non-negotiable. Don’t cheap out here; your taste buds will judge you. Vanilla is classic, chocolate is divine, strawberry is pretty. You do you!
- Sprinkles: The more obnoxious, the better. Rainbows are a go-to, but chocolate, star, or even glitter sprinkles work if you’re feeling extra fancy. No one ever said “too many sprinkles.”
- A heart-shaped cookie cutter: The star of the show! Or any fun shape, if hearts aren’t your jam. But, you know, this *is* heart-shaped ice cream.
- A small baking sheet or plate: Preferably one that fits in your freezer. Revolutionary, I know.
- Parchment paper: Your non-stick magic! Don’t skip this, trust me.
- A spoon or spatula: For scooping and spreading, not for eating *all* the ice cream before you start (we’ve all been there).
Step-by-Step Instructions
- Soften the Ice Cream: Take your chosen ice cream out of the freezer and let it sit on the counter for about 5-10 minutes. We’re going for “spreadable but not soup” here. It should be pliable but still mostly frozen.
- Prep Your Canvas: Line your small baking sheet or plate with parchment paper. Make sure it’s a piece large enough to cover the surface where your ice cream will be spread.
- Spread it Out: Scoop the slightly softened ice cream onto the parchment paper. Use your spoon or spatula to spread it evenly, about 1/2 to 3/4 inch thick. Aim for smooth, but a few charming lumps add character, right?
- Freeze Time!: Pop the entire sheet, ice cream and all, into the freezer for at least 30-60 minutes. We need it firm enough to cut without turning into a melty, sad puddle. Patience is key here!
- Cut Out the Love: Once the ice cream is nice and firm, grab your heart-shaped cookie cutter. Press it firmly into the frozen ice cream. You might need to wiggle it a bit to get a clean cut.
- Release the Hearts: Gently push out your heart-shaped ice cream. A small offset spatula or even a butter knife can help if it’s being stubborn. Pro tip: if the ice cream starts getting too soft, pop the whole tray back in the freezer for a few minutes!
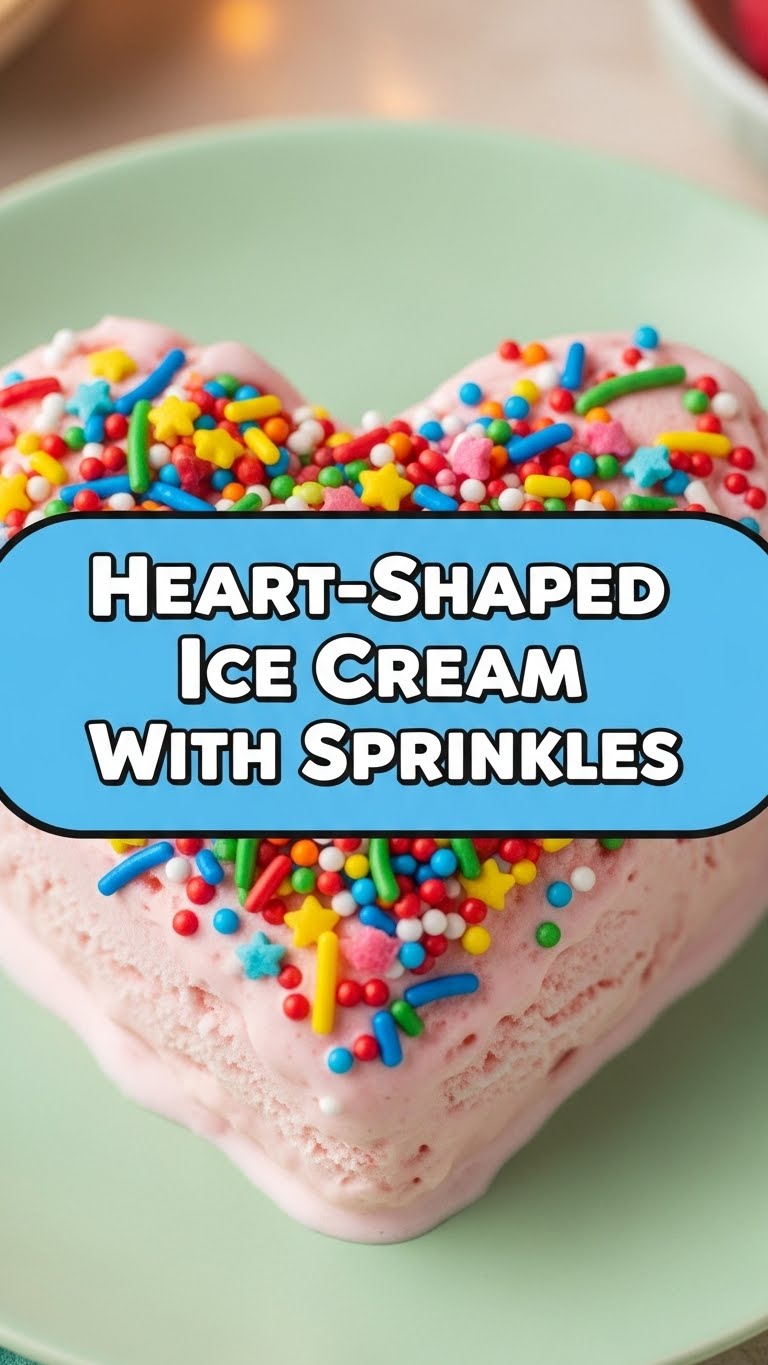
- Sprinkle with Joy: Place your beautiful ice cream hearts on a serving plate (or eat them immediately, no judgment here). Shower them generously with sprinkles. Like, really go for it.
- Serve (or Hoard): Enjoy your adorable, delicious creation! These are best eaten fresh, but you can pop any leftovers back into the freezer in an airtight container. Photos for Instagram are optional but highly encouraged.
Common Mistakes to Avoid
- Not Softening the Ice Cream Enough: Trying to cut rock-hard ice cream? Good luck with that. You’ll bend your cookie cutter and probably chip a tooth.
- Letting it Get Too Soft: On the flip side, soup-consistency ice cream means messy, shapeless blobs. We’re aiming for hearts, not puddles, people!
- Forgetting the Parchment Paper: Oh, you sweet summer child. Your beautiful hearts will stick to the tray like glue, leaving you with a sticky mess and zero cute desserts. Don’t say I didn’t warn you.
- Skimping on Sprinkles: This is a crime, frankly. More sprinkles = more joy. It’s a scientific fact.
Alternatives & Substitutions
- Different Shapes: No heart cutter? No problem! Stars, circles, or even just using a knife to cut squares works. It’s about the spirit of the cute dessert, people.
- Toppings Galore: Feel free to go wild! Drizzle with chocolate syrup, caramel, whipped cream, crushed cookies, chopped nuts, or even fresh fruit slices. The world is your oyster (or, rather, your ice cream).
- Flavor Fun: Mix and match! Try vanilla hearts with chocolate syrup, or strawberry hearts with white chocolate chips. You could even do layers of different ice cream flavors for a truly epic heart. Get wild!
FAQ (Frequently Asked Questions)
- “Can I use store-brand ice cream?” Absolutely! Your wallet, your rules. Just make sure it’s a flavor you actually enjoy.
- “How long do these hearts last in the freezer?” Uh, probably not long if you live with me. Kidding (mostly)! They’ll keep in an airtight container for a week or two, but they’re definitely best enjoyed fresh.
- “What if I don’t have a cookie cutter?” Improvise! A sharp knife can cut squares, or you can just use a spoon to shape freehand blobs. We’re not Michelin star chefs here; creativity is admired!
- “Can I add food coloring to white ice cream?” You *could*, but it might affect the texture slightly and could get messy during the mixing process. Probably easier to just buy a fun colored ice cream if that’s what you’re after.
- “Is it okay to eat the ‘scraps’ after cutting?” Is that even a question? YES. That’s the chef’s treat, IMO. Consider it quality control.
Final Thoughts
See? I told you it was easy. Now you’ve got adorable, delicious ice cream hearts that look way more impressive than the actual effort involved. Go ahead, bask in the glory! Whether you’re making them for a special someone, a party, or just for your fabulous self, these are guaranteed to bring a smile.
So go on, get scooping and sprinkling. You’ve earned this little moment of sweet joy!


