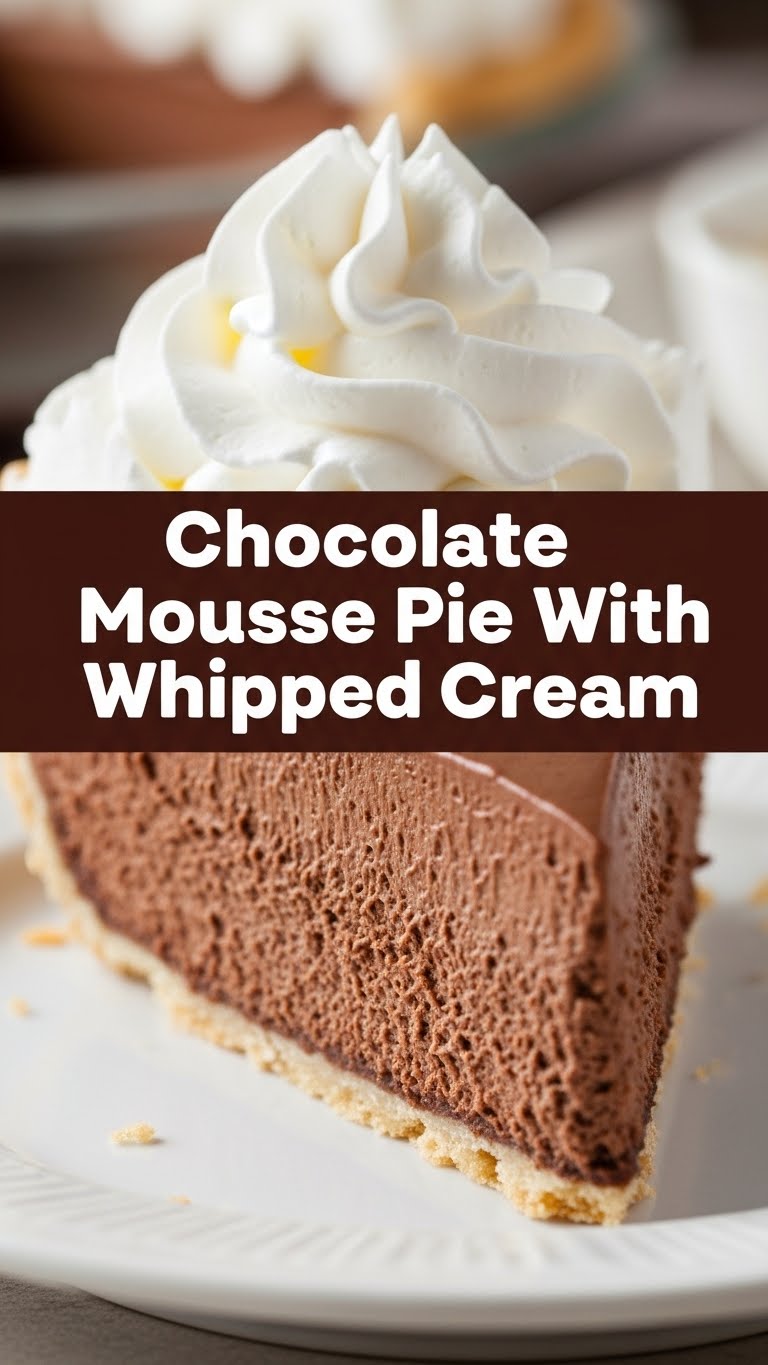
So you’re craving something tasty but too lazy to spend forever in the kitchen, huh? Same, friend, same. You want that ‘wow’ factor without the ‘what am I doing with my life?’ kitchen meltdown. Good news! Today, we’re diving headfirst into the creamy, dreamy world of Chocolate Mousse Pie with Whipped Cream. It’s the kind of dessert that looks fancy but secretly involves minimal effort. Your secret’s safe with me!
Why This Recipe is Awesome
Let’s be real, some recipes are just… too much. This one? Not so much! This Chocolate Mousse Pie is basically your culinary superhero. It’s mostly no-bake, meaning your oven can take a well-deserved nap. It’s incredibly forgiving, so even if you’re a self-proclaimed kitchen disaster (raises hand!), you’ll likely nail it. Plus, it uses chocolate, and frankly, anything with chocolate is inherently awesome. It’s idiot-proof, even I didn’t mess it up, and that’s saying something! Prepare to impress everyone with your newfound ‘baking’ prowess without actually doing much baking. Pretty sweet deal, right?
Ingredients You’ll Need
Gather ’round, my little culinary ninjas! Here’s your treasure map to deliciousness. No obscure ingredients, just the good stuff.
- For the Crust:
- 24 chocolate sandwich cookies (like Oreos, filling and all!) – because crushing things is therapeutic.
- 1/2 cup (1 stick) unsalted butter, melted – adds that delightful richness. Don’t skimp, your pie crust deserves it.
- For the Mousse Filling:
- 1 1/2 cups (about 9 oz) good quality semi-sweet or dark chocolate chips/chopped chocolate – this is the star, so treat it right!
- 2 cups heavy cream, divided – we’ll use one cup for the ganache and one for whipping. Two jobs, one ingredient. Impressive.
- 1/4 cup granulated sugar – just a touch to sweeten things up without being sickly.
- 1 teaspoon vanilla extract – because vanilla makes everything better. It’s science.
- Pinch of salt – seriously, it makes the chocolate taste chocolatier. Trust me on this.
- For the Whipped Cream Topping:
- 1 cup cold heavy cream – gotta be cold, folks, or it won’t whip!
- 2 tablespoons powdered sugar – for that fluffy, sweet cloud on top.
- 1/2 teaspoon vanilla extract – extra vanilla, because you can never have too much.
Step-by-Step Instructions
- Crush the Cookies: Grab those chocolate sandwich cookies and smash ’em! You can use a food processor for speed (my preferred method) or put them in a zip-top bag and attack them with a rolling pin (excellent for stress relief). You want fine crumbs.
- Make the Crust: In a medium bowl, combine your crushed cookie crumbs with the melted butter. Mix until it resembles wet sand. Press this mixture firmly into the bottom and up the sides of a 9-inch pie plate. Pro tip: Use the bottom of a glass or a measuring cup to get a really compact crust. Pop it in the fridge while you do the next step.
- Melt the Chocolate: Place your chocolate chips or chopped chocolate in a heatproof bowl. In a small saucepan, heat 1 cup of the heavy cream and the pinch of salt over medium heat until it just begins to simmer. Don’t boil it, just get it warm enough to melt chocolate dreams.
- Create Ganache: Pour the hot cream over the chocolate. Let it sit for about 5 minutes to let the chocolate melt. Then, whisk until it’s super smooth, glossy, and utterly irresistible. Whisk in the vanilla extract. Set this aside to cool slightly, but don’t let it get completely cold and firm.
- Whip the Cream (for Mousse): In a separate, large bowl, whip the remaining 1 cup of cold heavy cream with the granulated sugar until medium peaks form. You want it fluffy, but not stiff and clumpy. Be careful not to over-whip!
- Fold in the Chocolate: Gently fold about a third of the whipped cream into your slightly cooled chocolate ganache. This lightens the chocolate. Then, add the rest of the whipped cream and fold until just combined. Don’t overmix, or you’ll lose that airy mousse texture.
- Assemble the Pie: Pour your glorious chocolate mousse filling into your chilled cookie crust. Smooth the top with a spatula. Now, the hardest part: chilling! Cover loosely and refrigerate for at least 4-6 hours, or preferably overnight, to let it firm up properly. Patience, young padawan!
- Whip the Topping: Just before serving, whip the cold heavy cream with the powdered sugar and vanilla extract until stiff peaks form. Pile it high on your chocolate mousse pie or pipe it decoratively. Slice, serve, and bask in the glory!
Common Mistakes to Avoid
We all make mistakes, that’s how we learn! But here are a few to sidestep on your path to pie perfection:
- Not Chilling Enough: This isn’t a suggestion, it’s a command! Trying to cut into your pie after only an hour is a rookie mistake. It will be a sad, soupy mess. Give it time, people!
- Over-whipping the Cream: If you whip the cream for the mousse too long, it’ll turn grainy and lose its airy texture. Think fluffy clouds, not cottage cheese.
- Using Low-Quality Chocolate: Remember that “good quality” part? It matters. Cheap chocolate can give your mousse a weird texture or not-so-great flavor. Your taste buds (and your friends) deserve better.
- Skipping the Salt: A tiny pinch of salt in sweet recipes isn’t just a suggestion; it enhances all the other flavors, especially chocolate. Don’t be a hero, just add it!
Alternatives & Substitutions
Feeling a bit adventurous? Or maybe you just ran out of something. No worries, I’ve got you covered!
- Crust Variations: Not an Oreo fan? (Gasp! But okay.) You can use graham cracker crumbs, digestive biscuits, or even shortbread cookies. Just follow the same ratio of crumbs to melted butter. For a gluten-free option, use gluten-free chocolate cookies.
- Chocolate Choices: If you love really intense chocolate, go for a higher percentage dark chocolate (70% or more). For a sweeter, milder flavor, milk chocolate can be used, but you might want to reduce the added sugar slightly. FYI, white chocolate could work too, but that’s a whole different vibe, IMO.
- Flavor Boosts: Want to get fancy? Add a splash of espresso powder to the chocolate ganache to intensify the chocolate flavor, or a tablespoon of your favorite liqueur (like Kahlua, Bailey’s, or rum) for an adult twist. A little orange zest wouldn’t hurt either!
- Non-Dairy Option: For a dairy-free version, use dairy-free chocolate and coconut cream (the thick part from a can of full-fat coconut milk, chilled overnight) instead of heavy cream. It works surprisingly well!
FAQ (Frequently Asked Questions)
- Can I make this pie ahead of time?
- Absolutely! In fact, it’s encouraged. This pie is even better the next day after it’s had plenty of time to chill and for the flavors to meld. Just make the whipped cream topping fresh right before serving.
- How long does chocolate mousse pie last?
- Stored in the fridge, covered, it’ll happily last for about 3-4 days. If it makes it that long, you’re doing better than me!
- Can I freeze this pie?
- You sure can! Wrap it tightly (without the whipped cream topping, add that fresh) and freeze for up to a month. Thaw in the fridge overnight before serving.
- My mousse isn’t setting, what went wrong?
- Likely not enough chilling time, or your chocolate ganache wasn’t cool enough when you folded in the whipped cream. Hot ganache melts the airy cream, preventing it from setting firm. Next time, let that ganache cool more!
- Can I use margarine instead of butter?
- Well, technically yes, but why hurt your soul (and your pie) like that? Butter just tastes better and gives a superior crust. IMO, stick to butter for the best results.
- Do I really need good quality chocolate?
- Do you need good quality sleep? Good quality friends? Yes! The chocolate is the star here. Using cheap chocolate will result in a less rich, less smooth, and potentially waxy-tasting mousse. Invest a little; it’s worth it!
Final Thoughts
There you have it, folks! A chocolate mousse pie that’s ridiculously easy, utterly delicious, and sure to make you look like a culinary genius. It’s the perfect dessert for when you want to impress without breaking a sweat (or your kitchen). So, go forth and create! Now go impress someone—or yourself—with your new culinary skills. You’ve earned it! And don’t forget to grab a slice for yourself before it all disappears. LOL.


