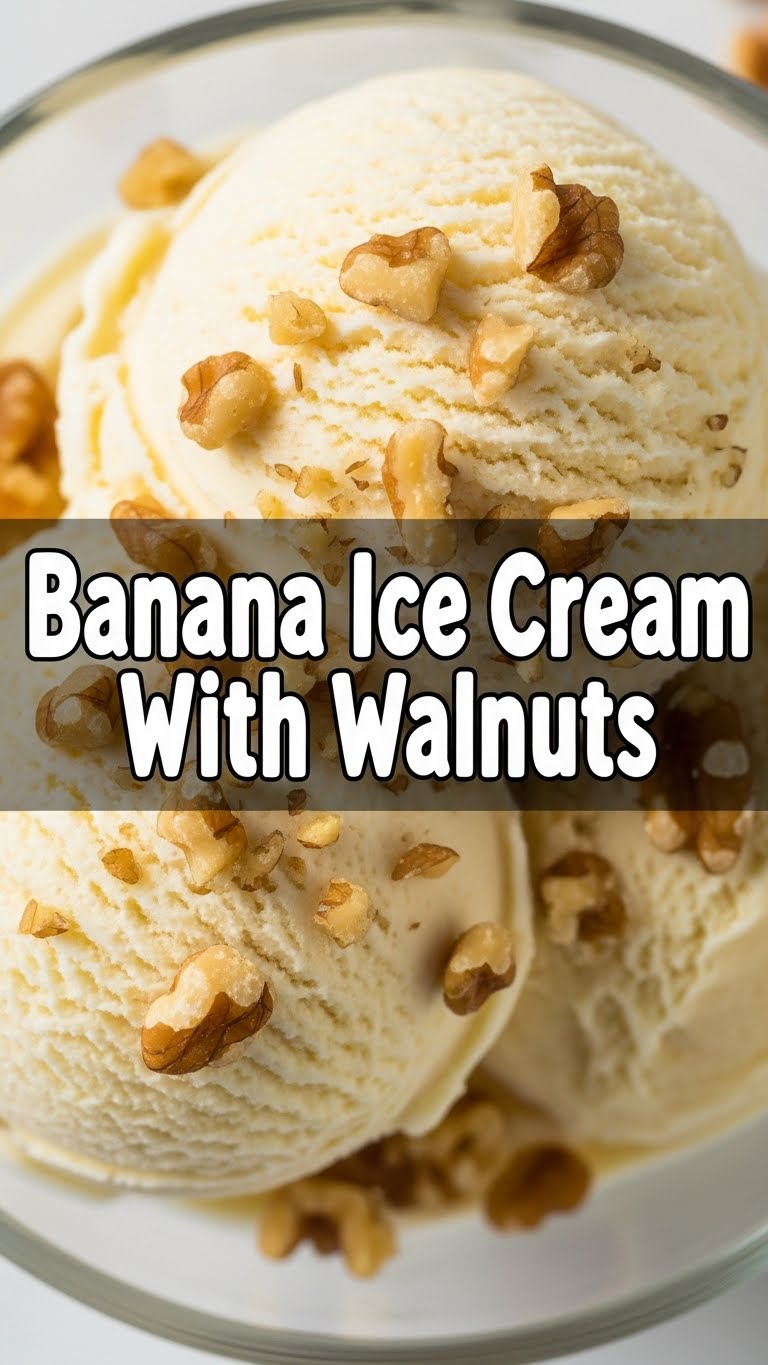
So you’re staring into the abyss of your fridge, contemplating a sad, defrosted pizza, but secretly wishing for something *actually* good and *actually* easy? My friend, you’ve come to the right place. Let’s talk about banana ice cream with walnuts – the “I’m a genius and didn’t even try” dessert. Get ready to have your mind (and taste buds) blown!
Why This Recipe is Awesome
Seriously, this recipe is so easy, a sloth could make it. We’re talking minimal effort, maximum deliciousness. No fancy ice cream maker needed, just a blender and some chill vibes (literally!). It’s healthy-ish, so you can pretend you’re making good life choices while devouring a whole pint. Plus, bananas are basically nature’s candy, and walnuts add that *chef’s kiss* texture and a touch of sophistication. It’s also **naturally dairy-free**, if that’s your jam. What’s not to love?
Ingredients You’ll Need
- 3-4 Ripe Bananas: Like, *really* ripe. We’re talking “leopard print” spots, not “still green and planning its escape” green. The riper, the sweeter, the better your ice cream will be.
- 1/2 cup Walnuts: Chopped, whole, whatever floats your boat. Just make sure they exist. These add that delightful crunch!
- A splash of milk (optional, 1-2 tablespoons): Any kind! Dairy, almond, oat – for when your blender needs a little persuasion.
- A touch of honey or maple syrup (optional, 1-2 teaspoons): If your bananas aren’t sweet enough, or you just live life on the sweeter side.
- 1/2 teaspoon Vanilla extract (optional but highly recommended): Because vanilla makes everything feel fancy and rounds out the flavor.
Step-by-Step Instructions
- Prep the Bananas: Peel those spotted beauties and slice them into coin-sized pieces. The smaller the pieces, the faster they’ll freeze and blend.
- Freeze ‘Em Solid: Lay the banana slices in a single layer on a baking sheet lined with parchment paper. **Don’t skip the parchment, unless you enjoy chiseling fruit off metal.** Freeze for at least 2-3 hours, or until they’re rock-solid. This is key for that creamy texture.
- Blend Time: Toss the frozen banana slices into your blender or a sturdy food processor. Add a splash (start with just one tablespoon!) of milk if your machine is looking like it’s about to quit on you.
- Process Until Creamy: Blend, scrape down the sides, blend again. It’ll go from crumbly, to chunky, to eventually a thick, soft-serve consistency. Be patient, it’s a transformation worth waiting for!
- Add Walnuts: Once it’s smooth and perfectly creamy, gently stir in your chopped walnuts. A quick pulse or a mix by hand works perfectly to incorporate them.
- Serve or Freeze: Dig in immediately for a soft-serve vibe, or transfer it to an airtight, freezer-safe container for another 1-2 hours for a firmer, scoopable ice cream.
Common Mistakes to Avoid
- Using unripe bananas: This isn’t a race, friend. Let those bananas ripen. Otherwise, your ice cream will be bland, icy, and seriously lacking that natural sweetness. Ugh.
- Not freezing them long enough: Patience, grasshopper! Partially frozen bananas just make banana mush when blended. We want ice cream, not a sad smoothie. Make sure they’re completely solid.
- Adding too much liquid: Start with just a tablespoon of milk, then add more *only* if your blender is on strike. Too much makes a runny smoothie, not the glorious, thick ice cream we’re aiming for.
- Forgetting the walnuts: Okay, it’ll still be good banana ice cream, but you’re missing out on that satisfying crunchy goodness. Don’t be that person who skips the best part!
Alternatives & Substitutions
Feeling adventurous? This recipe is super flexible!
- Nut swap: Not a walnut fan? **Pecans, almonds, or even a sprinkle of chopped peanuts** would be absolutely delish. Or skip nuts entirely if you’re feeling rebellious or have an allergy.
- Flavor boosters: Feeling fancy? A pinch of cinnamon, a tablespoon of cocoa powder for a chocolatey twist, or even a spoon of peanut butter will elevate this to new heights. **Chocolate chips are never a bad idea, just sayin’.**
- Sweetener switch: If your bananas aren’t super ripe, or you just like things extra sweet, feel free to use agave, dates (blended with the bananas), or even a tiny bit of brown sugar. Your call!
FAQ (Frequently Asked Questions)
Got questions? I’ve got answers, mostly.
- “Can I use fresh (unfrozen) bananas?” Sure, if you want a banana milkshake. But for ice cream, **freezing is non-negotiable**. Trust me on this one; it’s the secret to the texture!
- “My blender is struggling, what do I do?” This is a common one! Add a *tiny* splash of milk, scrape down the sides, and keep pulsing. Sometimes giving your blender a 30-second break helps too. It’s a workout for your machine, but it’ll get there!
- “How long does it last in the freezer?” Honestly? Probably not long enough for you to worry about it expiring. But technically, about **2 weeks** in an airtight container. After that, it might get a bit icy.
- “Can I add other fruits?” Absolutely! A handful of frozen berries, mango, or pineapple can be blended in with the bananas. Just be aware it might change the flavor and color a bit. FYI, mango-banana is divine.
- “Is this *really* healthy?” Well, it’s bananas and nuts, which are generally good for you. Compared to store-bought ice cream loaded with refined sugars and who-knows-what, it’s definitely the healthier cousin. So, yes, pat yourself on the back!
Final Thoughts
There you have it! A dessert so simple, so delicious, you’ll wonder why you ever bought those overpriced pints from the store. This banana ice cream with walnuts is your new go-to for a quick, satisfying, and relatively guilt-free treat. Now go impress someone—or yourself—with your new culinary skills. You’ve earned it, you magnificent banana whisperer! Enjoy!

