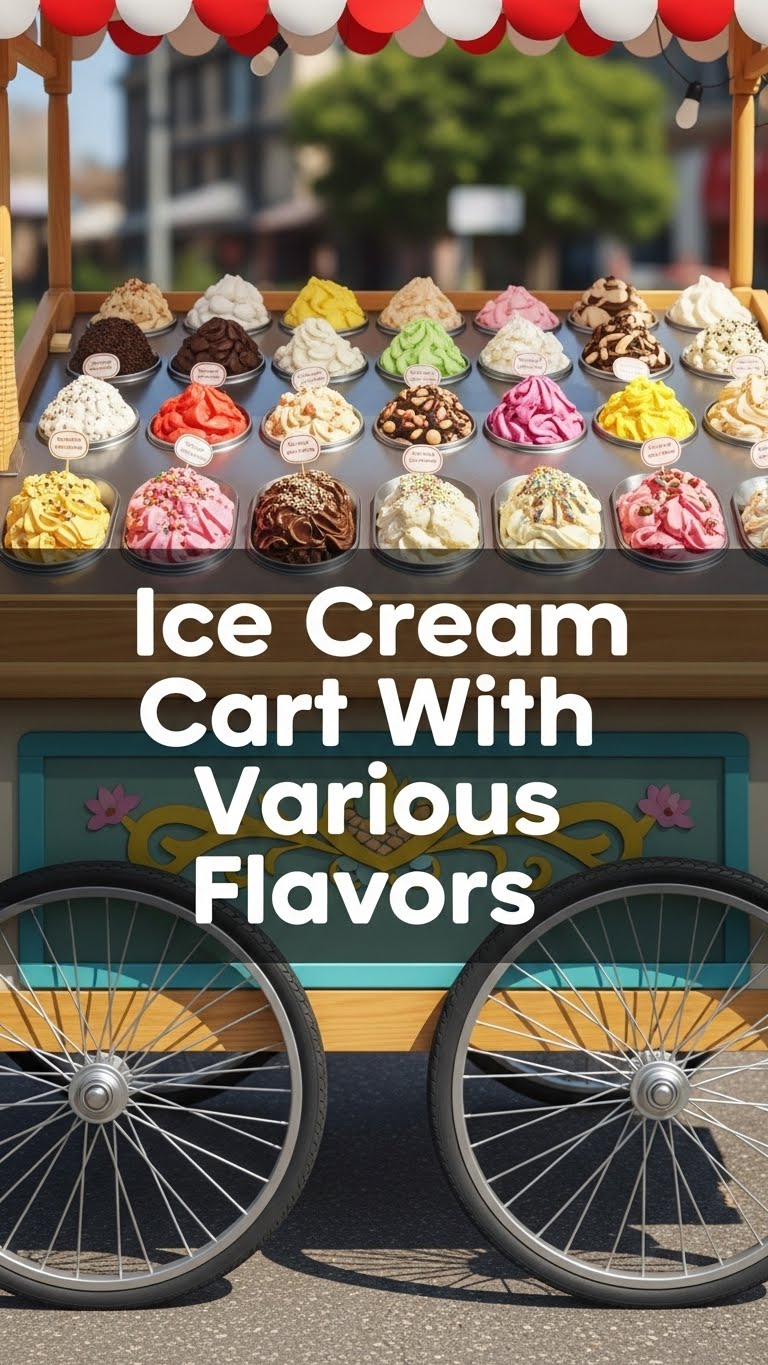
So you’re craving something tasty but too lazy to spend forever in the kitchen, huh? Same. As in, same energy, same life goals, same desire for immediate gratification via deliciousness. Well, buckle up, buttercup, because we’re about to dive into the magical world of no-churn ice cream. And not just any ice cream, but a whole *cart* of flavors, because why pick just one when you can have a full-blown flavor party in your freezer?
Why This Recipe is Awesome
Let’s be real: most ice cream recipes involve fancy machines, obscure ingredients, or a PhD in culinary chemistry. Not this one. This recipe is your new best friend for several reasons:
- It’s **idiot-proof**. Seriously, even I, a person who once set off the fire alarm microwaving popcorn, can ace this.
- **No special equipment needed!** Ditch the ice cream maker. All you need is a mixer (hand or stand, your call) and some arm strength.
- It’s ridiculously **customizable**. Think of it as a blank canvas for your wildest dessert dreams. Want rainbow sprinkles *and* hot fudge? Go for it!
- Minimal clean-up. Less dishes, more devouring. That’s a win in my book, **IMO**.
Ingredients You’ll Need
Get ready for a short, sweet, and to-the-point shopping list. You’re basically building a flavor empire with just a few core components.
- 2 cups (about 475ml) Heavy Cream: This is where the magic happens. Make sure it’s cold, like, “just came out of the fridge” cold. No skimping here; we need the fat for that dreamy texture.
- 1 (14-ounce/397g) can Sweetened Condensed Milk: The glorious, sticky, sweet backbone of our no-churn masterpiece. Don’t confuse it with evaporated milk, rookie mistake!
- 1 teaspoon Vanilla Extract: Because even plain vanilla is fancy when it’s homemade.
- For Your Flavor Cart: Get creative! Here are some ideas:
- Chocolate Lover’s Dream: 1/2 cup cocoa powder + chocolate chips.
- Cookies ‘n’ Cream: 1 cup crushed Oreos (or any cookies, really).
- Fruity Fun: 1/2 cup fruit puree (berries, mango, peach – whatever!) + a squeeze of lemon juice.
- Caramel Swirl: 1/4 cup caramel sauce + a pinch of sea salt.
- Sprinkle Party: 1/4 cup sprinkles (the good ones that don’t bleed color).
Step-by-Step Instructions
Alright, superstar, let’s turn these simple ingredients into frozen works of art. Follow these steps, and you’ll be chilling (literally) in no time.
- **Prep Your Bowl:** Grab a large mixing bowl and your whisk attachment (if using a stand mixer) and stick them in the freezer for about 10-15 minutes. A cold bowl helps the cream whip up faster and fluffier. Trust me on this one.
- **Whip It Good:** Pour your super-cold heavy cream into the chilled bowl. Start beating on medium-low speed, gradually increasing to high. Keep going until you have lovely, **stiff peaks**. This means when you lift the whisk, the peaks stand up proudly without flopping over. This usually takes 3-5 minutes.
- **Fold in the Sweet Stuff:** Gently, oh so gently, fold in the sweetened condensed milk and vanilla extract into your whipped cream. Use a spatula and an upward motion to keep that airy texture intact. Don’t overmix; we want light and fluffy!
- **Divide and Conquer:** Now for the fun part! Divide your base ice cream mixture into several smaller containers or bowls, one for each flavor you plan to make. Think of them as individual ice cream cart compartments.
- **Flavor Frenzy!** To each container, add your chosen flavorings. For example, stir crushed Oreos into one, cocoa powder and chocolate chips into another, and swirl fruit puree into a third. **Mix just enough to combine**, don’t go crazy, or you’ll deflate all that lovely air.
- **Freeze for Glory:** Transfer your flavored mixtures into freezer-safe containers. Press a piece of plastic wrap directly onto the surface of each ice cream to prevent ice crystals. Freeze for at least 6 hours, but preferably overnight, for the best results.
Common Mistakes to Avoid
We all make mistakes, even in the kitchen. But with a little heads-up, you can dodge these common ice cream blunders like a pro.
- **Over-whipping the cream:** Go too far, and you’ll end up with butter. While delicious, it’s not ice cream. Keep an eye on those peaks!
- **Not chilling your bowl:** It might seem like a trivial step, but a warm bowl equals sad, flat cream. Patience, young padawan, patience.
- **Using the wrong milk:** Sweetened condensed milk is *not* the same as evaporated milk or regular milk. Using the wrong one will lead to a flavor and texture catastrophe.
- **Being shy with the freezing time:** Don’t rush it. Rushing leads to soupy ice cream, and no one wants that. Give it a good 6+ hours.
- **Forgetting the plastic wrap:** This is your shield against dreaded ice crystals. Don’t skip it unless you like crunchy ice cream (said no one ever).
Alternatives & Substitutions
Feel free to get wild with this! This recipe is incredibly forgiving, and frankly, some of the best inventions come from experimentation.
- **Dairy-Free Dream?** You absolutely can! Substitute the heavy cream with full-fat canned coconut cream (make sure it’s chilled and scoop out only the thick cream part). The texture will be slightly different, but still incredibly creamy and delicious.
- **Sweetener Swap?** If you’re not a fan of condensed milk, you can try using a homemade simple syrup (sugar dissolved in water) mixed with powdered sugar, but you’ll need to adjust for thickness and sweetness. Honestly, though, the condensed milk is key to that no-churn magic.
- **Boozy Boost?** A tablespoon or two of alcohol (like Kahlua for coffee ice cream or rum for a tropical vibe) can add depth and actually helps keep the ice cream softer. Just don’t go overboard, or it won’t freeze properly.
- **Flavor Palooza:** Literally anything goes! Crushed pretzels for salty crunch, peanut butter swirls, chai spice mix, matcha powder, espresso powder… your imagination is the limit.
FAQ (Frequently Asked Questions)
Got questions? I’ve got answers! (Mostly.)
- **Do I *really* need to whip the cream till it’s stiff? Like, really really?** Yes, really really! Stiff peaks mean maximum air, which translates to light and fluffy ice cream. If it’s too soft, your ice cream will be dense and icy.
- **Can I add less sugar? I’m watching my waistline.** Well, technically you could, but the sweetened condensed milk is doing double duty here: sweetening and providing that crucial creamy texture that prevents ice crystals. Cutting back too much might give you something a bit icier and less satisfying. **FYI**, it’s ice cream, not a health food. Enjoy it!
- **How long does it last in the freezer?** If stored correctly (plastic wrap, airtight container), it’ll last about 2-3 weeks for optimal freshness. After that, it might start to get a bit icy, but it’ll still be edible.
- **My ice cream is too hard. Help!** A few things could be happening: too little fat, not enough air whipped into the cream, or over-freezing. Let it sit out on the counter for 5-10 minutes before scooping to soften it up.
- **Can I use regular milk instead of condensed milk?** Oh, honey, no. Regular milk does not have the sugar content or the thick, syrupy consistency of condensed milk. It’s a completely different product and will not yield the same creamy, no-churn results.
- **My flavors are sinking to the bottom! What gives?** If your mix-ins are heavy, they might sink a bit before freezing solid. Try to fold them in just before freezing, and if they’re particularly chunky, give the mixture a gentle stir halfway through the initial freeze time (after about 2-3 hours).
Final Thoughts
You just made an entire ice cream cart, you culinary genius! Take a bow. Or, better yet, grab a spoon and dig in. Whether you’re impressing friends, making a special treat for yourself, or just looking for a delicious way to escape the mundane, you’ve totally nailed it. Now go forth and conquer that craving. You’ve earned those scoops!


