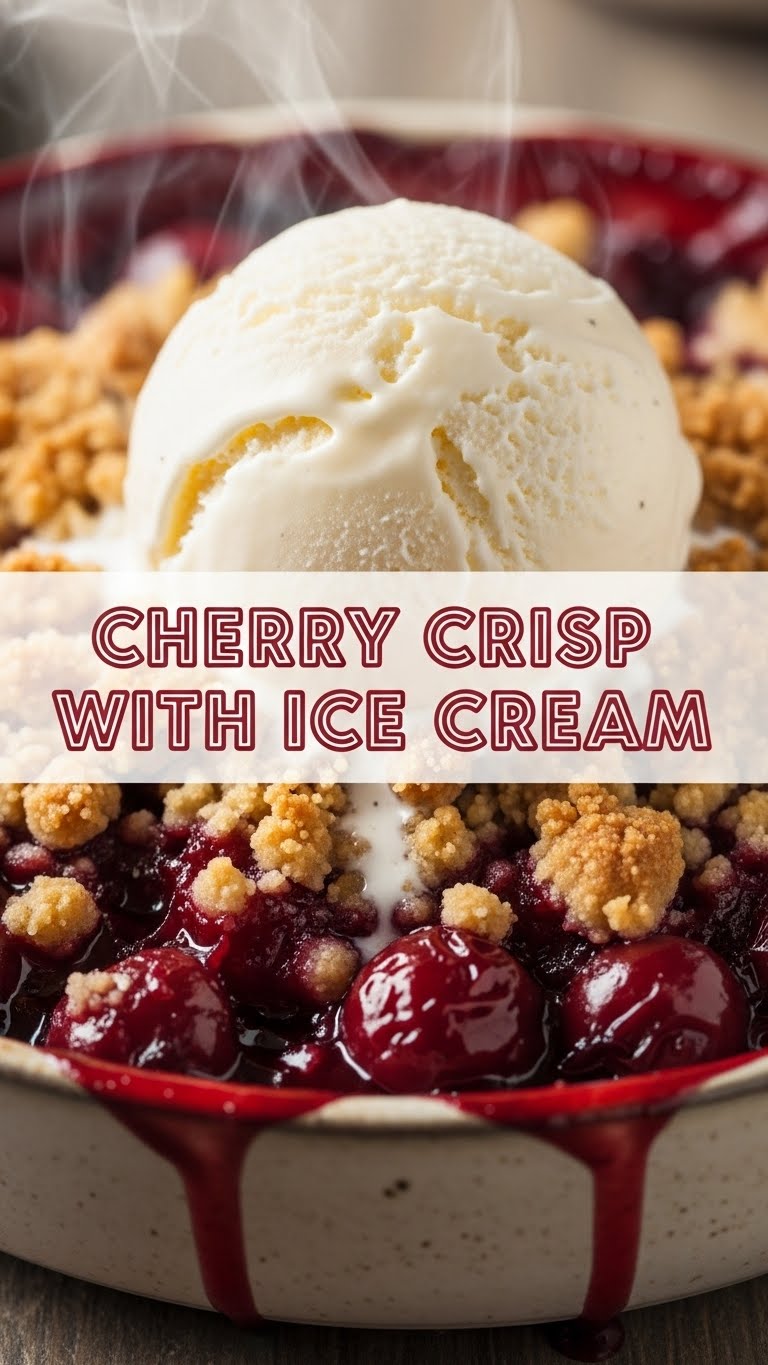
So, you’re looking for a dessert that screams “I’m fancy and have my life together!” but whispers “I just pulled this off in under an hour and barely broke a sweat,” right? My friend, you’ve stumbled into the right digital kitchen. Get ready to meet your new favorite, ridiculously easy, and utterly delicious Cherry Crisp. With ice cream, obvs.
Why This Recipe is Awesome
Let’s be real: sometimes you just want something warm, gooey, fruity, and topped with crunchy, buttery goodness without feeling like you’ve just wrestled an octopus in a flour sack. This cherry crisp? It’s your culinary superhero. It’s **idiot-proof**, I swear. Even if your current baking superpower is burning toast, you can nail this. It’s the kind of dessert that makes people think you spent hours slaving away, when in reality, you were probably just binging another season of that show you love. Plus, it pairs perfectly with ice cream, which, let’s face it, makes everything better. It’s a warm hug for your taste buds, with a crispy, cool sidekick. Perfection, IMO.
Ingredients You’ll Need
Gather ’round, my fellow lazy gourmands. Here’s your shopping list. Keep it simple, keep it fun!
- For the Juicy Cherry Filling:
- 6 cups fresh or frozen pitted cherries: If using fresh, make sure they’re pitted unless you want an unexpected dental bill. Frozen? Don’t even bother thawing, just toss ’em in!
- 1/2 cup granulated sugar: Sweetness, baby! Adjust to your cherry’s tartness.
- 2 tablespoons all-purpose flour: Our little thickening agent. Keeps things from getting too soupy.
- 1 tablespoon lemon juice: A little zest to make those cherries sing! Seriously, it brightens everything up.
- 1/4 teaspoon almond extract (optional): Trust me on this one. It’s like a secret handshake with the cherries.
- A pinch of salt: Balances the sweetness. Don’t skip it!
- For the Glorious Crisp Topping:
- 1 cup all-purpose flour: The backbone of your crumble.
- 1/2 cup packed light brown sugar: Adds a lovely caramel note and chewiness.
- 1/2 cup rolled oats: For that classic crisp texture. **Don’t use instant oats**, they’ll turn to mush.
- 1/2 cup (1 stick) cold unsalted butter: Cut into small cubes. Cold is key for that perfect crumbly goodness!
- 1 teaspoon ground cinnamon (optional, but highly recommended): Because cinnamon makes everything cozier.
- A tiny pinch of salt: Again, for balance.
- For the Grand Finale:
- Vanilla ice cream: Non-negotiable. The cooler, creamier yin to your warm, crisp yang.
Step-by-Step Instructions
- First things first, preheat that oven to a cozy 375°F (190°C). Lightly grease a 9×13-inch baking dish. We don’t want anything sticking around here.
- In a large bowl, toss your cherries with the granulated sugar, flour, lemon juice, almond extract (if using), and that tiny pinch of salt. Mix it all up until the cherries are nicely coated.
- Pour the cherry mixture into your prepared baking dish. Spread them out evenly. They’re about to have a party in there!
- Now, for the magic topping! In another bowl, combine the flour, brown sugar, rolled oats, cinnamon (if using), and that other tiny pinch of salt. Give it a quick whisk to mix.
- Add your cold, cubed butter to the dry ingredients. Use your fingers (the best tools, honestly), a pastry blender, or even two knives to cut the butter into the flour mixture. You’re aiming for a coarse, crumbly texture, with some pea-sized butter bits still visible. **Don’t overmix!**
- Sprinkle this glorious crumbly topping evenly over your cherries. Make sure every cherry gets a little love.
- Bake for 35-45 minutes, or until the topping is beautifully golden brown and the cherry filling is bubbling enthusiastically around the edges. You’ll know it’s done when your kitchen smells like heaven.
- Remove from the oven and let it cool for about 10-15 minutes. It’s hot, people! Give it a sec, you don’t want to burn your tongue and miss out on the deliciousness.
- Serve warm with a generous scoop (or three) of vanilla ice cream. Watch it melt into all those warm, cherry crevices. Sigh.
Common Mistakes to Avoid
- Forgetting to Pit the Cherries: Unless you enjoy playing dental roulette, please pit them. Seriously, it’s a game-changer for your teeth.
- Overmixing the Topping: You want a crumbly crisp, not a tough cookie! Once the butter is incorporated and it looks like coarse crumbs, step away from the bowl.
- Not Preheating the Oven: Rookie mistake! Preheating ensures even baking and that perfect golden crust. Don’t be impatient.
- Using Instant Oats: No, no, no. They’ll just turn to mush. Stick to rolled oats for that lovely chewy texture.
- Serving Without Ice Cream: Is it a mistake? Technically, no. Is it a crime against humanity? Probably. **Always serve with ice cream.**
Alternatives & Substitutions
Feeling adventurous? Or just realized you’re out of something? No worries, we’ve got options!
- Different Fruits: This recipe is super versatile! Try it with sliced apples, peaches, mixed berries, or even rhubarb. Adjust sugar based on fruit sweetness. For instance, apples usually need a bit more.
- Gluten-Free: Swap out the all-purpose flour for a good 1:1 gluten-free baking blend. Make sure your oats are certified gluten-free, FYI.
- Vegan-Friendly: Use a plant-based butter alternative in the topping. There are some great ones out there that work wonderfully. Pair with a non-dairy vanilla ice cream!
- Spice it Up: Add a pinch of nutmeg or a tiny bit of cardamom to the crisp topping for an extra layer of warmth.
- Nutty Crunch: Feel free to add 1/4 cup of chopped pecans or walnuts to the crisp topping for an extra textural kick.
FAQ (Frequently Asked Questions)
Got questions? I’ve got (casual) answers!
- Can I use frozen cherries without thawing them? Absolutely! Just toss them in. They might release a little more liquid, but that’s what the flour is for. You might need to bake for an extra 5-10 minutes.
- What if I don’t have fresh lemon juice? Can I use bottled? Technically, yes, but fresh is always better for that vibrant zing. If bottled is all you have, go for it!
- My crisp topping isn’t getting golden! What gives? Either your oven isn’t hot enough (did you preheat?), or it just needs a few more minutes. Keep an eye on it!
- Can I make this ahead of time? You bet! You can assemble the whole thing, cover it, and refrigerate for up to a day before baking. Or bake it completely, let it cool, and reheat gently in the oven when you’re ready to serve.
- What’s the best way to store leftovers? Cover any leftover crisp tightly with plastic wrap and store it in the fridge for up to 3-4 days. Reheat in the microwave or oven.
- Can I use margarine instead of butter? Well, technically yes, but why hurt your soul like that? Butter just tastes better and gives a superior crisp. If you *must*, use a stick margarine, but don’t say I didn’t warn you about the flavor difference.
- I hate cherries! What other fruit works? Are you kidding?! You don’t know what you’re missing! But fine, use apples, peaches, mixed berries, or even rhubarb.
Final Thoughts
There you have it, folks! Your new go-to dessert that’s easy enough for a weeknight but impressive enough for company. This cherry crisp is the perfect blend of sweet, tart, crunchy, and gooey, especially when it meets that cold vanilla ice cream. Now go forth and conquer that craving! You’re basically a gourmet chef now, BTW. Go impress someone—or just yourself—with your new culinary skills. You’ve earned it!


