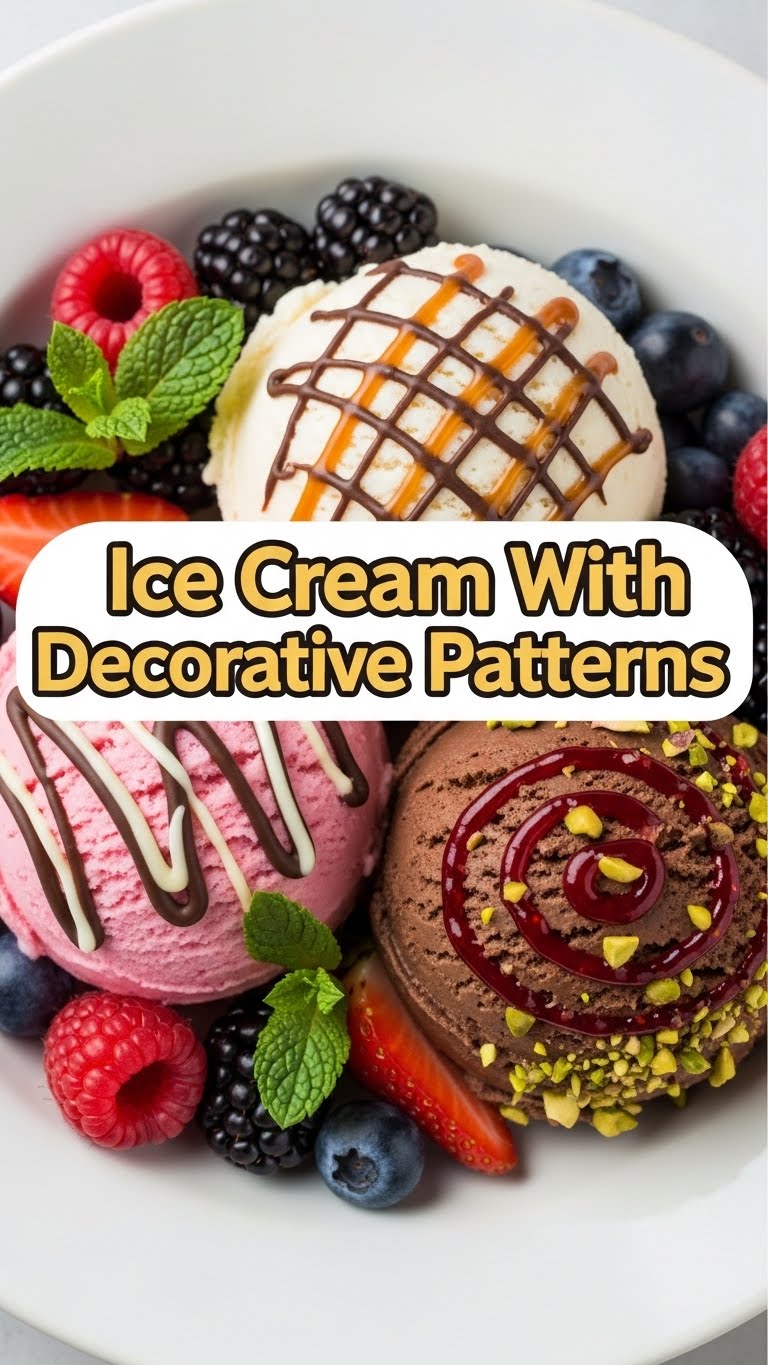
So, you’ve scrolled through Instagram, seen those ridiculously pretty ice creams, and thought, “I could totally do that… if I had a professional chef and a culinary degree.” Guess what, friend? You don’t need either! We’re talking about making ice cream look like a masterpiece without breaking a sweat, or even needing to churn your own. Ready to impress literally everyone (including yourself)?
Why This Recipe is Awesome
Let’s be real, plain ice cream is fine. It does the job. But we’re here for the *experience*, right? This recipe is awesome because it takes zero special equipment, almost no actual cooking skills (if you can scoop, you can do this), and the results look ridiculously fancy. It’s practically idiot-proof – I’ve done it, and my kitchen adventures often end in minor catastrophes. Plus, it’s a total mood booster. Who doesn’t love colorful, swirly ice cream?
Ingredients You’ll Need
Think of this as your artistic palette. Keep it simple, keep it fun!
- 1 Large Tub of Good Quality Vanilla Ice Cream: Or any plain base flavor. This is your canvas, so make sure it’s something you actually like to eat!
- Gel Food Coloring: A few vibrant colors. Gels give you that intense pop without adding too much liquid. Think electric blue, neon pink, sunshine yellow. Go wild!
- Optional Flavor Extracts: A few drops of peppermint, almond, or strawberry extract can add another dimension to your colored swirls. Imagine minty green or almondy purple!
- Loaf Pan or Small Rectangular Container: The mold for your masterpiece. Make sure it’s freezer-safe, obviously.
- Plastic Wrap: Your secret weapon for easy release and pattern creation. Don’t skip this, seriously.
- Spatula or Spoon: For mixing and swirling.
Step-by-Step Instructions
- Soften Up Buttercup: Take your ice cream out of the freezer and let it sit on the counter for about 15-20 minutes. You want it soft enough to stir, but not a melty puddle. Think soft-serve consistency.
- Divide and Conquer: Scoop out your softened ice cream into separate bowls – one bowl for each color you plan to use. Keep a bit of plain ice cream aside if you want white patterns too!
- Color Your World: Add a few drops of gel food coloring to each bowl. If using, add your flavor extracts now too. Mix gently until the color is evenly distributed. Don’t overmix, or the ice cream will get too warm.
- Prep Your Canvas: Line your loaf pan with plastic wrap, leaving plenty of overhang on all sides. This is crucial for lifting out your ice cream later. **Pro-tip: smooth it out to avoid wrinkles that will show on your ice cream.**
- Layer Like a Pro: Now for the fun part! Start spooning dollops of your colored ice creams into the prepared pan, alternating colors. Don’t worry about perfection; randomness is your friend here.
- Swirl It Up: Once all your ice cream is in the pan, grab a knife or a skewer and gently swirl through the layers a few times. Don’t go crazy; you want distinct patterns, not a muddy brown mess. A few light passes are all you need.
- Seal and Freeze: Fold the overhanging plastic wrap over the top of the ice cream, pressing gently to remove any air bubbles. Stick it back in the freezer for at least 4-6 hours, or until completely firm. Patience is a virtue, especially with ice cream!
- Reveal Your Masterpiece: Once solid, simply use the plastic wrap overhang to lift the entire block of ice cream out of the pan. Peel back the plastic wrap, slice, and bask in the glory of your perfectly patterned creation.
Common Mistakes to Avoid
Nobody’s perfect, but we can avoid some facepalm moments, right?
- The Meltdown Mess: Don’t let your ice cream get too soft. If it’s soupy, your colors will just blend into one unappetizing shade. Nobody wants swamp monster ice cream.
- The Over-Swirl Blunder: You’re making patterns, not a smoothie. A couple of gentle swirls are enough. More than that, and your beautiful colors will become a dull, indistinguishable blob.
- The Naked Pan Fiasco: Forgetting the plastic wrap is a rookie mistake. Your ice cream will stick, break, and generally make you regret everything. Always line that pan!
- The Impatient Eater Syndrome: Taking it out of the freezer too soon. It needs to be rock solid to hold its shape and those epic patterns. Wait it out, your taste buds will thank you.
Alternatives & Substitutions
Feeling creative? Let’s twist things up!
- Different Ice Cream Bases: Instead of vanilla, try chocolate, strawberry, or even a coffee ice cream for different base vibes. Just be mindful that darker bases might mute your pattern colors a bit.
- Mix-in Mania: Want texture? Layer in crushed cookies (Oreos!), sprinkles, mini chocolate chips, or chopped nuts between your colored ice cream layers. Just don’t go overboard, or it might get messy.
- Natural Colors (for the brave): If you’re feeling adventurous, you can try natural colorings like beet juice for pink, spirulina powder for green, or turmeric for yellow. **FYI, the colors might not be as vibrant, and some can impart a subtle flavor.**
- Different Containers: A round springform pan can give you a cool, circular pattern, or even individual ramekins for single-serving treats.
FAQ (Frequently Asked Questions)
- “Can I use liquid food coloring instead of gel?”
Technically, yes, but why would you want to? Liquid colors are weaker and add more moisture, which can make your ice cream icy. Gel colors are where the magic happens, giving you super vibrant hues with just a tiny drop. - “How long does the ice cream need to soften?”
It really depends on your freezer and kitchen temperature. Start with 15 minutes, then check. You want it pliable, like soft-serve, not liquid. If it’s too soft, pop it back in the freezer for 5 minutes. - “My patterns look like a 3-year-old made them. Is that okay?”
Absolutely! That’s the beauty of DIY. Embrace the abstract art, dude! It’s supposed to be fun and imperfectly perfect. Plus, it’ll still taste amazing, which is the main goal. - “How long will this patterned ice cream keep in the freezer?”
Just like regular ice cream, it’ll be good for a few weeks if kept properly covered. But honestly, it probably won’t last that long. It’s too pretty to resist! - “Can I add fruit purées for color and flavor?”
Oh, totally! Just make sure your purée isn’t too watery, or it could lead to an icy texture. A thick berry purée or mango purée would be delicious. Add it just like you would food coloring.
Final Thoughts
See? That wasn’t scary at all! You just created an edible work of art, and all you did was soften, color, and swirl. Now go on, impress your friends, your family, your cat, or just yourself. You’ve earned those bragging rights (and a giant scoop of your fabulous patterned ice cream). Enjoy every colorful bite!


