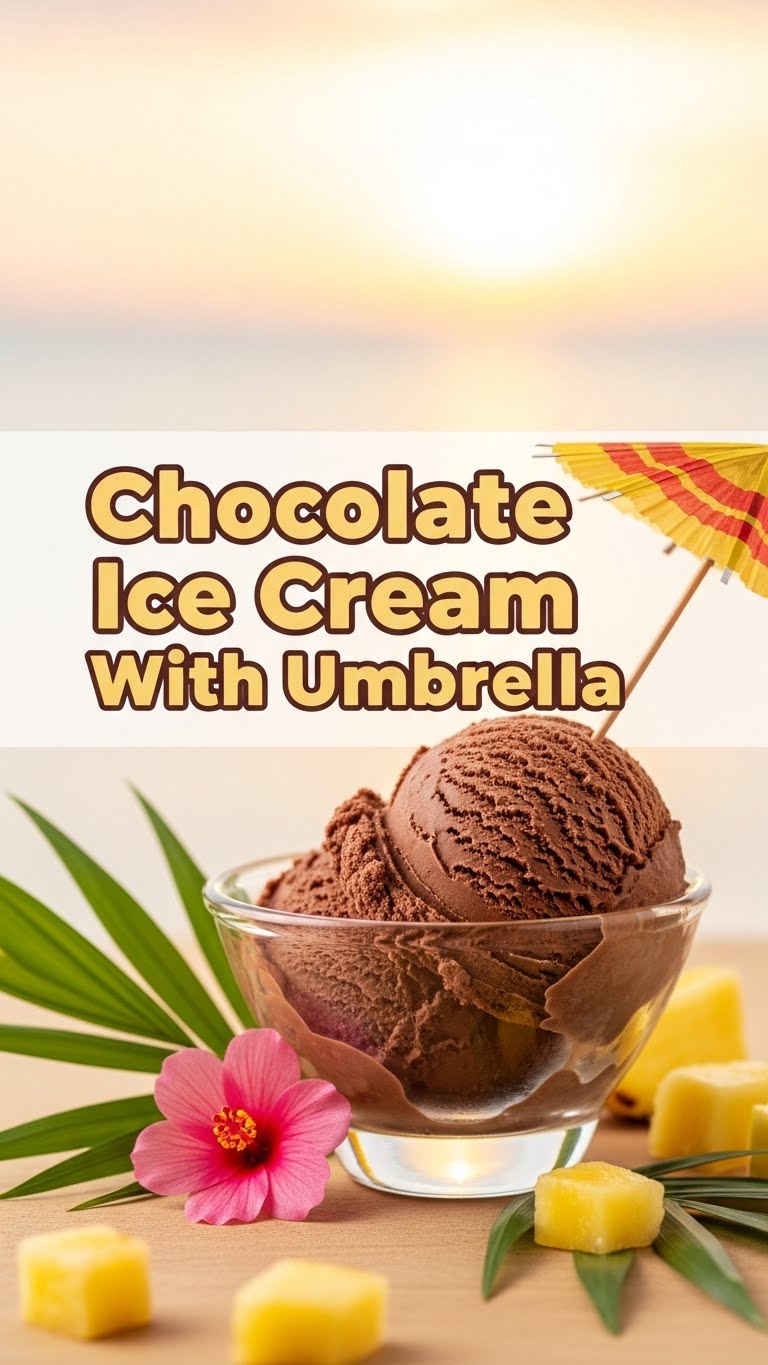
Ever had one of those days where your brain screams “CHOCOLATE!” but your body whispers “…but only if it’s ridiculously easy to get”? Yeah, me too. And let’s be real, sometimes you just need a little bit of frivolous joy, like a tiny umbrella sticking out of your dessert. You know, for moral support. So, if you’re ready to dive into some seriously delicious, ridiculously simple chocolate ice cream that practically makes itself (and comes with a built-in party vibe), you’re in the right place.
Why This Recipe is Awesome
Okay, let’s cut to the chase. This isn’t just *any* chocolate ice cream. This is the **no-churn, no-fuss, absolutely-gonna-make-you-look-like-a-culinary-genius** chocolate ice cream. It’s so straightforward, even your pet goldfish could probably whip it up (if it had opposable thumbs and a fridge, that is). No fancy ice cream machine required, which means more space in your kitchen for, well, more chocolate. Plus, it comes with a tiny umbrella, making it instantly 100% fancier. **Instant tropical vibes, even if it’s raining outside.** Seriously, this recipe is idiot-proof; I didn’t even mess it up, and that’s saying something.
Ingredients You’ll Need
Gather your magic potion ingredients! You don’t need much, which is part of the charm. Remember, quality matters, especially for the star of the show!
- **1 ½ cups (about 9 oz or 250g) good quality Semi-Sweet Chocolate Chips:** Or roughly chopped chocolate bar. Don’t cheap out here, folks. Your taste buds will thank you.
- **2 cups (about 480ml) Heavy Cream (cold):** This is where the magic happens. Make sure it’s cold, like your ex’s heart.
- **1 (14 oz or 397g) can Sweetened Condensed Milk:** The ultimate shortcut to creamy sweetness. Don’t confuse it with evaporated milk – big difference!
- **1 teaspoon Vanilla Extract:** Adds that warm, cozy hug to your chocolate. Pure vanilla, please.
- **Pinch of Salt:** Just a tiny bit to make all that chocolate flavor pop. It’s like the secret weapon of deliciousness.
- **A small handful of chocolate shavings or sprinkles (optional, but highly encouraged):** For that extra razzle-dazzle.
- **Tiny, colourful cocktail umbrellas (MANDATORY):** Because life’s too short for boring ice cream. This is the “with umbrella” part, after all!
Step-by-Step Instructions
Get ready, because this is going to be quicker than deciding what to binge-watch next!
- **Melt the Chocolate:** Grab a microwave-safe bowl and toss in your chocolate chips. Microwave in 30-second intervals, stirring after each, until it’s gloriously smooth and melted. Be patient, don’t scorch it! Let it cool slightly while you move on to the next step. **You want it warm, not piping hot, or it’ll melt your whipped cream later.**
- **Whip It Good:** In a large, chilled bowl (seriously, a cold bowl helps!), pour in your cold heavy cream. Use an electric mixer (or a whisk and some serious arm muscles) to beat the cream until it forms lovely, fluffy stiff peaks. This means when you lift the beaters, the cream stands up straight and proud.
- **Combine the Sweetness:** In a separate medium-sized bowl, whisk together the slightly cooled melted chocolate, the entire can of sweetened condensed milk, vanilla extract, and that tiny pinch of salt. Mix until everything is perfectly combined and glossy.
- **Fold in the Fluff:** Now for the delicate part! Gently fold about a third of your whipped cream into the chocolate mixture. This lightens it up and makes the rest easier to incorporate. Then, carefully fold in the remaining whipped cream until no streaks of white remain. Be gentle; you want to keep all that beautiful air in there for maximum fluffiness.
- **Into the Freezer It Goes:** Pour your dreamy chocolate mixture into a freezer-safe container (a loaf pan, an airtight container, whatever floats your boat). If you’re feeling fancy, sprinkle some extra chocolate shavings or sprinkles on top now.
- **Patience, Grasshopper:** Cover the container tightly with plastic wrap or a lid and pop it into the freezer for at least 6 hours, or ideally, overnight. **This is the hardest part – waiting!**
- **Serve with Flair:** When it’s solid and ready, scoop out generous portions into your favorite bowls or cones. And for the grand finale? **Stick a tiny, colourful umbrella right in there!** Mission accomplished.
Common Mistakes to Avoid
Look, we all make mistakes. But these ones? They’re easily sidestepped, saving you from a chocolatey tragedy.
- **Over-Whipping the Cream:** Whipped cream quickly turns into butter if you go too far. Watch it like a hawk. Stiff peaks, not clumpy.
- **Hot Chocolate, Hot Mess:** Adding hot melted chocolate to your whipped cream is a recipe for disaster (i.e., melted cream). Let it cool down a bit!
- **Skimping on Freeze Time:** Pulling it out too early means soupy ice cream. Nobody wants that. Give it the full chill time, **IMO**, for perfect scoopability.
- **Forgetting the Umbrella:** Is it *really* “Chocolate Ice Cream With Umbrella” if there’s no umbrella? No. The answer is no. It’s the whole point, people!
Alternatives & Substitutions
Feeling adventurous? This recipe is super adaptable. Go wild (within reason, don’t mess with the heavy cream, please).
- **Different Chocolates:** Swap out semi-sweet for dark chocolate for a richer, more intense flavor, or milk chocolate for a sweeter, creamier treat. White chocolate could work too, but I’m a dark chocolate fan, so… your call!
- **Flavor Boosts:** Add a tablespoon of instant espresso powder to the melted chocolate for a mocha kick. A few drops of peppermint extract would make it festive! Or a splash of your favorite liqueur (Kahlua, Bailey’s) for an adult-only indulgence.
- **Mix-Ins:** Before freezing, fold in chopped nuts, mini marshmallows, crushed cookies (Oreos, anyone?), or even a swirl of caramel or peanut butter. The possibilities are endless!
- **Vegan Version:** You can totally do this! Use full-fat canned coconut cream (the thick part only, chilled overnight) instead of heavy cream, and a good quality vegan sweetened condensed milk.
FAQ (Frequently Asked Questions)
Got questions? I’ve got answers! (Mostly.)
Do I *really* not need an ice cream maker?
Nope! That’s the beauty of this no-churn magic. Your freezer does all the hard work, so you don’t have to dust off that rarely-used appliance. Pretty sweet, right?
Can I use low-fat cream or evaporated milk?
Well, technically yes, but why hurt your soul like that? **FYI**, low-fat cream won’t whip properly, and evaporated milk is a whole different beast. Stick to heavy cream for that luscious texture; it’s worth it, trust me.
Why is the umbrella so important? It’s just ice cream!
Is a tie just fabric? Is a fancy cocktail just juice and booze? No! It’s about presentation, pizazz, and pure, unadulterated fun. The umbrella says, “I’m here for a good time!” It’s non-negotiable.
How long will this last in my freezer?
If stored properly in an airtight container, it should last up to 2-3 weeks. In my house, however, it rarely makes it past 2-3 days. Your mileage may vary.
My ice cream is too hard to scoop right out of the freezer. Help!
Don’t panic! Just let it sit out on the counter for 5-10 minutes before scooping. It’ll soften up perfectly. It’s just a little shy, that’s all.
Can I use actual hot fudge instead of melting chocolate chips?
You could, but it might make the mixture too thin and impact the final texture. Melting actual chocolate gives it a better structure and flavor, in my humble opinion. Stick to the chips!
Final Thoughts
There you have it, future ice cream guru! You’ve just unlocked the secret to ridiculously easy, unbelievably delicious chocolate ice cream, complete with the cutest little accessory. You’ve basically just become an artisan ice cream maker, no fancy equipment required. Now go impress someone—or yourself—with your new culinary skills. You’ve earned it! Go on, treat yo’ self. You deserve that tiny umbrella.


