So, you’re craving something ridiculously delicious, impressive-looking, but also, let’s be real, something that doesn’t require you to become a pastry chef overnight, huh? Same, friend, *same*. Good news: I’ve got your back. We’re diving into the glorious world of a Layered Ice Cream Cake with Chocolate Drizzle, and trust me, it’s so easy you’ll wonder why you ever bought one from the store.
Why This Recipe is Awesome
Okay, let’s get down to brass tacks: why this particular ice cream cake? First off, there’s **zero baking involved**. Yeah, you heard me right. No hot oven, no dough to rise, no endless cooling racks. It’s basically dessert architecture with minimal effort. Plus, it’s incredibly versatile. You can literally pick your favorite ice cream flavors, your go-to cookie for the crust, and whatever magical toppings make your heart sing. It’s also pretty much idiot-proof. Seriously, even I, a person who once set off the smoke detector making toast, have managed to nail this. It’s perfect for summer parties, lazy Sundays, or any day ending in “y” when you just need a treat. Consider this your new go-to for effortless entertaining.
Ingredients You’ll Need
Gather ’round, my sweet-toothed companions! Here’s what you’ll need for this masterpiece. Think of it as a shopping list for happiness.
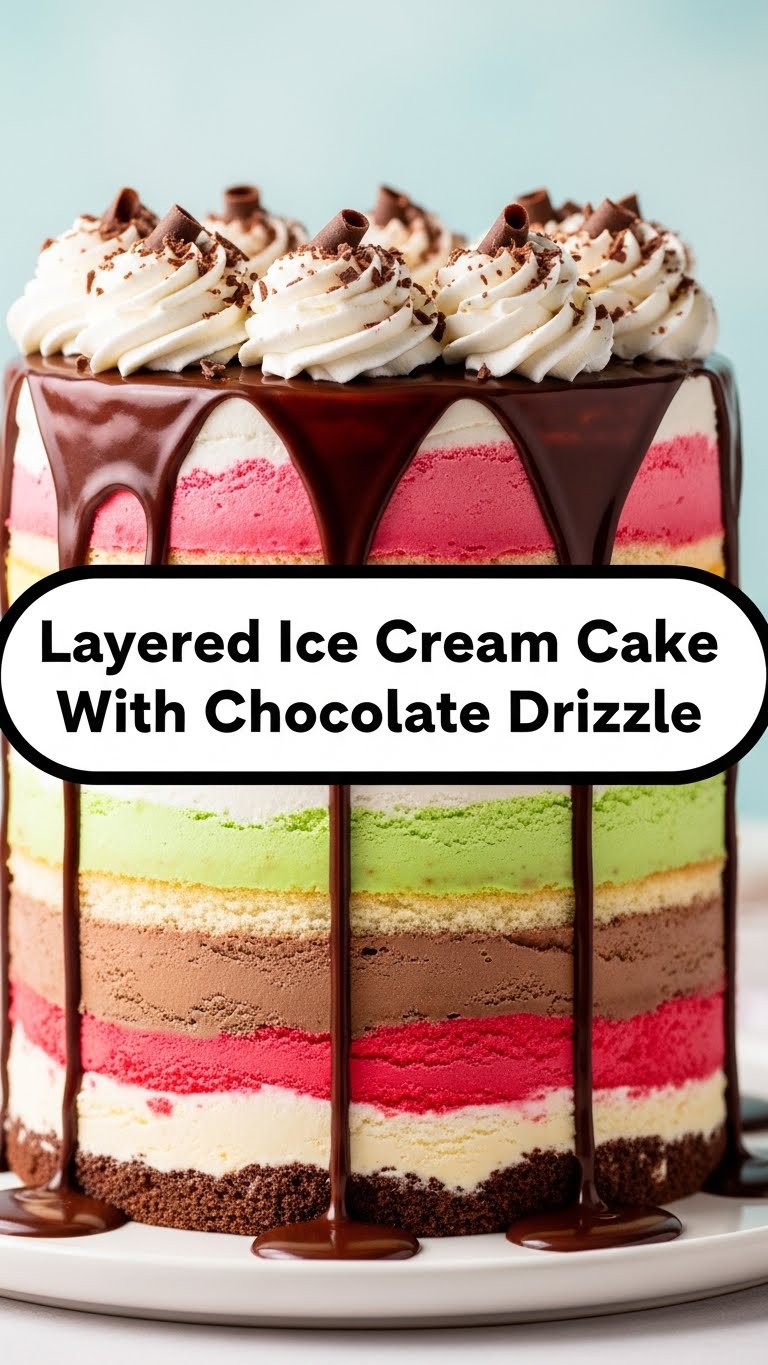
- 3 (1.5-quart) Containers of Your Favorite Ice Cream: Pick complementary flavors! Think chocolate, vanilla, mint chip, strawberry… whatever makes your taste buds happy. Just make sure they’re different enough to make distinct layers.
- 1 Package (approx. 14 oz) Oreo Cookies (or similar): These are for your glorious, crunchy crust. Because who doesn’t love a good cookie base?
- 6 Tablespoons Unsalted Butter: Melted, of course. This is the glue that binds our crumbly dreams together.
- 1 Jar (12 oz) Hot Fudge or Chocolate Syrup: For that irresistible drizzle. Don’t skimp; chocolate is joy.
- 1 Container (8 oz) Whipped Topping (like Cool Whip) or Homemade Whipped Cream: The fluffy, cloud-like top layer.
- Optional Toppings: Sprinkles, chopped nuts, candy bar pieces, fresh berries… your cake, your canvas!
Step-by-Step Instructions
Alright, let’s get this party started. Follow these simple steps, and you’ll be a dessert legend in no time.
- Prep Your Crust: Grab those Oreos (or cookies of choice) and crush them. You can use a food processor for speed or put them in a zip-top bag and smash them with a rolling pin – very therapeutic! Mix the crumbs with the melted butter until they’re evenly coated.
- Build the Base: Press the buttery crumb mixture firmly into the bottom of a 9-inch springform pan. Use the bottom of a glass or your hands to get it nice and compact. Pop this bad boy into the freezer for at least 30 minutes to firm up.
- First Ice Cream Layer: While your crust chills, let your first ice cream flavor soften on the counter for about 10-15 minutes until it’s spreadable but not soupy. Spread it evenly over your chilled crust. Pro tip: Don’t let it get too soft!
- Freeze and Repeat: Get that pan back into the freezer for at least 30-60 minutes, or until that layer is solid again. Repeat this softening, spreading, and freezing process for your second and third ice cream flavors, making sure each layer is firm before adding the next. Patience is a virtue, especially when it comes to layered desserts.
- The Whipped Topping Finale: Once all your ice cream layers are firm, spread your whipped topping evenly over the top. If you’re using homemade whipped cream, make sure it’s stiff enough to hold its shape.
- Chill Out (Again!): Return the cake to the freezer for a minimum of 4-6 hours, or ideally, overnight. This is crucial for the cake to fully set and be easy to slice.
- Drizzle and Serve: When you’re ready to serve, remove the cake from the freezer. Run a knife around the edge of the pan before releasing the springform sides. Drizzle generously with hot fudge or chocolate syrup and add any other fun toppings. Slice with a hot, dry knife for clean cuts. Enjoy your masterpiece!
Common Mistakes to Avoid
We all make mistakes, but with this guide, you won’t have to! Learn from my past kitchen calamities.
- Not Freezing Between Layers: This is probably the number one rookie error. If you don’t let each layer solidify, you’ll end up with a melty, swirly mess instead of distinct layers. Impatience is a dessert killer here!
- Over-Softening the Ice Cream: A little soft is good, soup is bad. If it’s too soft, it won’t spread well and will just melt into the layer below. Aim for “easily spreadable,” not “milkshake consistency.”
- Forgetting the Springform Pan: Sure, you *could* try it in a regular cake pan, but getting it out without structural damage will be a Herculean task. Save yourself the heartache; use a springform.
- Eating it Before it’s Fully Set: I know, I know, the temptation is real. But seriously, **give it that final long freeze**. It makes all the difference for easy slicing and a beautiful presentation.
Alternatives & Substitutions
Feeling creative? This recipe is super flexible! Here are some ideas to shake things up:
- Crust Crazy: Instead of Oreos, try Graham crackers, vanilla wafers, shortbread cookies, or even crushed pretzels for a salty-sweet kick. You can also use a pre-made graham cracker crust if you’re *really* feeling lazy (no judgment here!).
- Ice Cream Explorer: Mix it up with sorbet for a lighter, fruitier option, or try gelato for an extra creamy texture. Dairy-free ice creams work wonderfully too!
- Drizzle Delights: Swap out the chocolate for caramel sauce, peanut butter sauce, or even a berry coulis. White chocolate drizzle is also a winner!
- Topping Extravaganza: Beyond sprinkles, think chopped candy bars, mini marshmallows, toasted coconut, fresh fruit, or even a layer of fudge or caramel *between* your ice cream layers. Game changer, FYI.
FAQ (Frequently Asked Questions)
Got questions? I’ve got answers. No question is too silly when it comes to ice cream cake!
Q: How long does this cake last in the freezer?
A: Wrapped tightly, it’ll happily hang out in your freezer for up to a week. Perfect for making ahead!
Q: Can I use low-fat ice cream?
A: You *can*, but why hurt your soul like that? Kidding! Technically yes, but richer, full-fat ice cream will give you a better texture and flavor. Your call, though.
Q: My ice cream is rock hard and won’t spread! Help!
A: Patience, young grasshopper. Just let it sit on the counter for 5-10 minutes. Resist the urge to microwave it unless you want a melted puddle.
Q: Do I really need a springform pan? What if I don’t have one?
A: It’s highly recommended for easy removal. If you don’t have one, you can use a regular cake pan lined with plastic wrap, leaving an overhang on the sides. You’ll use the overhang to lift the cake out once frozen, but it’s trickier!
Q: Can I use homemade whipped cream instead of store-bought?
A: Heck yes! Homemade is always a delicious upgrade. Just make sure it’s whipped to stiff peaks so it holds its shape on top of the cake.
Q: How do I get clean slices? Mine always look messy!
A: Ah, the age-old dilemma! Run your sharp knife under hot water for a few seconds, then wipe it dry. Slice, then repeat for each cut. **This is key for pristine slices!**
Q: What’s the best way to store leftovers?
A: Cover any leftover slices or the whole cake tightly with plastic wrap and then foil. This prevents freezer burn and keeps it tasting fresh.
Final Thoughts
See? I told you it was easy peasy, chocolate-creamy-icy squeezy! You’ve just created a show-stopping dessert with minimal fuss, proving you don’t need a culinary degree to whip up something spectacular. Now go impress someone—or yourself—with your new culinary superpowers. You’ve earned it! Don’t forget to snap a pic and tag me (in spirit, obviously).


