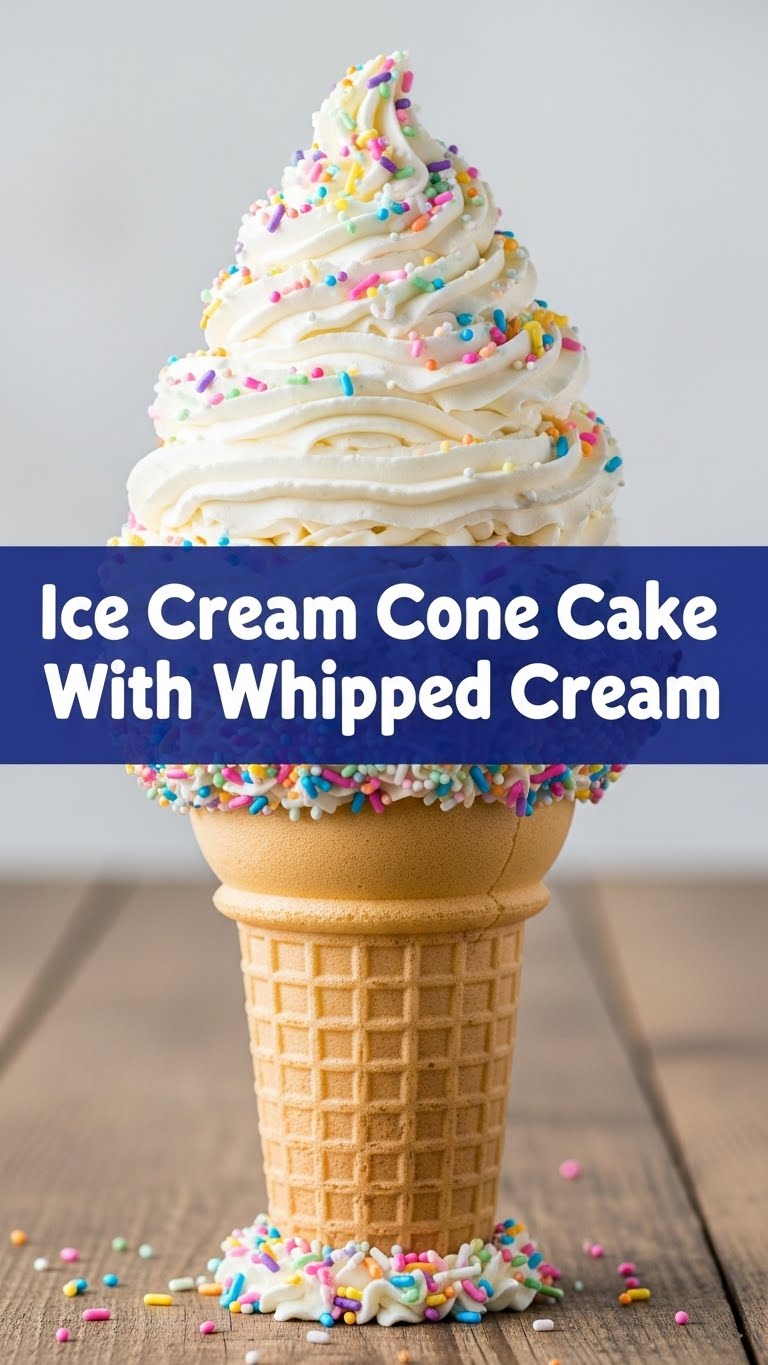
So you’re craving something tasty but too lazy to spend forever in the kitchen, huh? Same. But what if I told you there’s a magical dessert that looks fancy, tastes incredible, and barely requires you to break a sweat? Enter the Ice Cream Cone Cake. It’s basically a party in a cone, without the sticky mess of actual ice cream melting everywhere. Genius, right?
Why This Recipe is Awesome
Okay, let’s be real. This isn’t just *awesome*, it’s a *life-changer*. First off, it’s idiot-proof. Seriously, if I can make it without setting off the smoke alarm, you’re golden. Secondly, it’s a total crowd-pleaser. Kids (and adults who are still kids at heart) go absolutely wild for these. Plus, they’re super portable! Think about it: individual cake servings in their own little edible bowls. No plates needed. You’re basically a genius for making these. You’re welcome.
Ingredients You’ll Need
- Boxed cake mix (your fave flavor, because why complicate things?) – one box is plenty!
- Eggs, oil, water (whatever your cake mix box demands, obey it) – the unsung heroes of moist cake.
- Flat-bottomed ice cream cones (the sugar or wafer kind, not pointed ones unless you enjoy a challenge) – about 12-18, depending on cone size.
- Heavy whipping cream (the magic fluffy stuff) – 2 cups, chilled, obviously.
- Powdered sugar (for that perfect sweet cloud) – 1/2 cup, adjust to your sweet tooth.
- Vanilla extract (a splash of pure happiness) – 1 teaspoon.
- Sprinkles, chocolate syrup, cherries (for decoration, because presentation matters, darling) – go wild!
Step-by-Step Instructions
- Preheat & Prep: Preheat your oven to whatever temperature your cake mix box commands. Line a muffin tin with foil or use an upside-down muffin tin to hold your cones. This keeps them steady, preventing a cake-tastrophe.
- Mix that Batter: Follow the directions on your cake mix box to prepare the batter. Don’t overmix, unless you like tough cake. Nobody likes tough cake.
- Fill ‘Em Up: Carefully spoon or pour the cake batter into each ice cream cone. Fill them about two-thirds full. Remember, cake rises! Overfilling means messy overflow.
- Bake Away: Carefully transfer the cones to your preheated oven. Bake for about 20-25 minutes, or until a toothpick inserted into the center of a cake comes out clean.
- Cool Down: Let these beauties cool completely on a wire rack. Seriously, totally cool. Warm cake + whipped cream = melty sadness.
- Whip It Real Good: While the cakes cool, get started on your whipped cream. In a chilled bowl with chilled beaters (pro tip!), combine the heavy whipping cream, powdered sugar, and vanilla extract. Beat on high speed until stiff peaks form. Don’t walk away, it happens faster than you think!
- Decorate & Devour: Once the cone cakes are cool, pipe or spoon a generous dollop of whipped cream on top. Add sprinkles, a cherry, or a drizzle of chocolate. Serve immediately and bask in the glory!
Common Mistakes to Avoid
- Overfilling the cones: It’s tempting to cram in more batter, but trust me, you’ll end up with a volcanic eruption of cake in your oven. Not fun to clean.
- Using pointed cones: Unless you’re a wizard at balancing, these will topple over and cry batter tears. Stick to flat bottoms, IMO.
- Skipping the cooling step: We talked about this! Warm cake will melt your beautiful whipped cream into a soupy mess. Patience, young grasshopper.
- Over-whipping the cream: Whipped cream turns into butter if you beat it too long. While homemade butter is cool, it’s not what we’re going for here.
- Not using actual heavy whipping cream: “Whip It!” spray can isn’t the same. It just isn’t.
Alternatives & Substitutions
- Cake Mix Flavor: Feeling wild? Swap out vanilla for chocolate, red velvet, lemon, or even funfetti! The world is your oyster (or cake cone).
- Homemade Cake: If you’re feeling ambitious and have extra time (and less laziness), go for a homemade cake recipe! Just make sure it’s a sturdy one.
- Frosting: No time for whipping? A can of store-bought frosting works in a pinch. FYI, it’s usually sweeter, so adjust your expectations.
- Toppings: Get creative! Mini chocolate chips, crushed cookies, fresh berries, caramel sauce, chopped nuts – anything goes! Make it *your* masterpiece.
FAQ (Frequently Asked Questions)
- Can I make these ahead of time? You bet! Bake the cones a day in advance and store them uncovered at room temp. Add the whipped cream right before serving for peak deliciousness.
- My cones got soggy, what happened? Ah, the dreaded soggy cone! This usually happens if the cakes weren’t cooled completely before adding the whipped cream, or if they sat too long after assembly. Eat them quickly!
- Can I use light cream for the whipped cream? Well, technically yes, but why hurt your soul like that? Light cream won’t whip up as stiff or fluffy. Stick to heavy whipping cream for the best results.
- What if I don’t have a muffin tin? Get creative! You can ball up foil to create holders, or even stand them upright in a deep baking dish if they fit snugly. Just make sure they don’t tip.
- Can I put them in the freezer? You can freeze the *baked cakes* without the whipped cream. Wrap them individually. Thaw at room temp, then add fresh whipped cream. Don’t freeze with the whipped cream on, it gets weird.
- Are these gluten-free friendly? Absolutely! Just grab a gluten-free cake mix and follow its instructions. Easy peasy.
Final Thoughts
See? I told you this was easy! You just whipped up (pun intended) something truly adorable and delicious. Now go impress someone—or yourself—with your new culinary skills. You’ve earned it! Seriously, kick back, enjoy a cone, and maybe even take a selfie. You’re a baking rockstar. And remember, life’s too short for boring desserts. Cheers!


