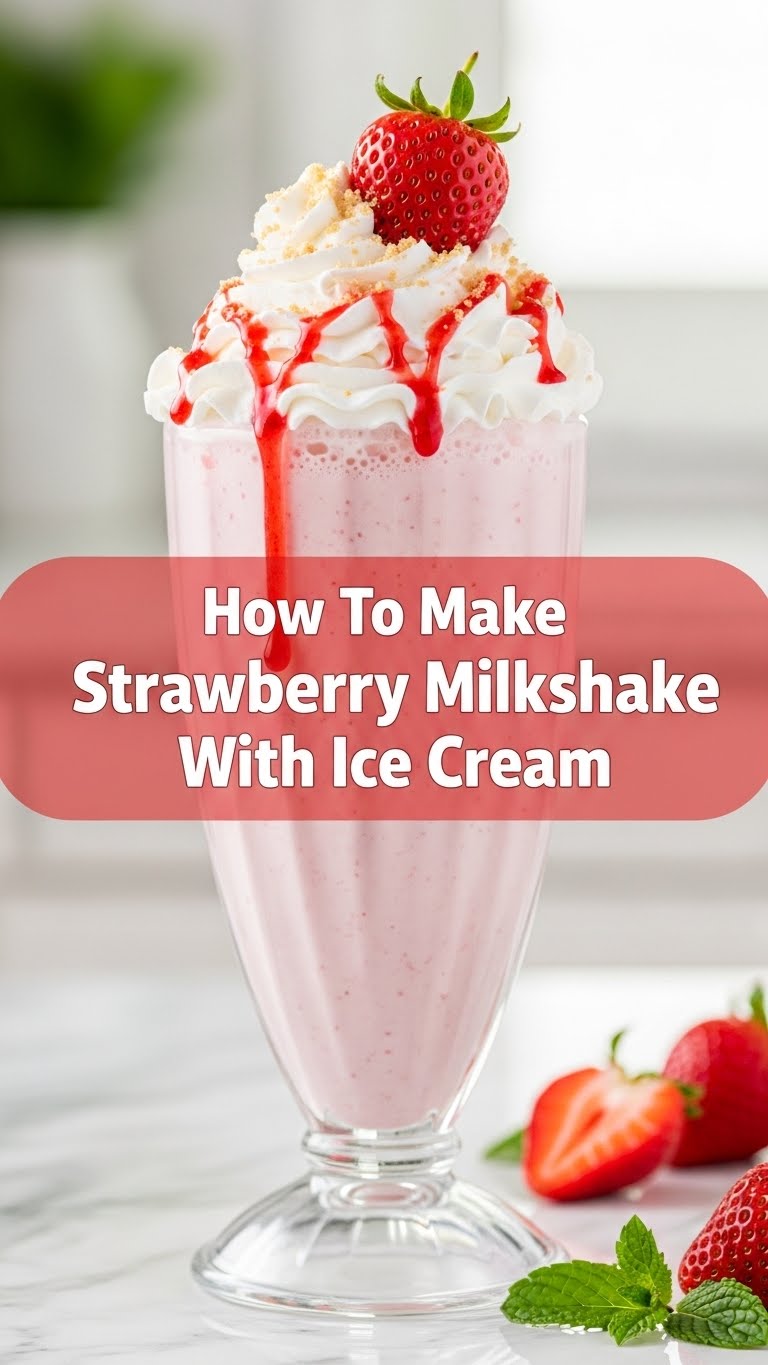
So you’re craving something sweet, chill, and utterly delicious, but the thought of actual *effort* makes you want to crawl back into bed? Been there, done that, bought the T-shirt. You’re in luck, my friend, because today we’re tackling the majestic Strawberry Milkshake with Ice Cream – a treat so easy, it practically makes itself. Seriously, you’ll be sipping on creamy, dreamy bliss in minutes. Let’s do this!
Why This Recipe is Awesome
Okay, let’s be real: this isn’t just a recipe; it’s a life hack for happiness. Why is it so great, you ask? Well, for starters, it requires minimal brain power, which is perfect for those “too hot to think” days or when your energy levels are lower than a snake’s belly. Secondly, it tastes like a hug in a glass – sweet, comforting, and ridiculously refreshing. And finally, it’s practically impossible to mess up. I’m talking **idiot-proof level 100**. Even *I* didn’t mess it up, and my kitchen adventures sometimes involve accidental smoke alarms.
Ingredients You’ll Need
Get ready for the simplest shopping list of your life. We’re keeping it basic, because why complicate perfection?
- Strawberries: About 1 cup. Fresh or frozen? Your call, boss. Frozen makes it extra thick and frosty, like a delicious secret agent.
- Vanilla Ice Cream: 2-3 generous scoops. And I mean *good* vanilla ice cream. None of that “frozen dairy dessert” nonsense. We’re better than that. This is the star of the show, FYI.
- Milk: ½ cup. Whole milk for max creaminess is my personal fav, but almond, oat, or whatever dairy-free delight you prefer works too. We’re not judging your milk choices here.
- Sugar (Optional): 1-2 teaspoons, or to taste. Only if your strawberries are a bit tart or you have an insatiable sweet tooth (no shame in that game).
- Whipped Cream & Extra Strawberry (Optional): For garnish, because presentation matters, even if it’s just for you. Treat yo’self!
Step-by-Step Instructions
- Gather Your Troops: Get all your ingredients out. A clean blender is key here. Nobody wants last night’s leftover smoothie flavor mingling with their strawberry bliss.
- Unleash the Fruit: If using fresh strawberries, give them a quick rinse and hull them (remove the green leafy bit). If frozen, you’re good to go! Toss them into the blender.
- Scoop the Good Stuff: Add your glorious scoops of vanilla ice cream to the blender. Don’t be shy; this is where the magic happens.
- Pour the Liquid Gold: Carefully pour in your milk. If you’re using sugar, now’s the time to add it.
- Blend Away! Secure the lid on your blender (seriously, don’t skip this step unless you enjoy a strawberry shower). Start blending on a low setting, then increase to high until everything is perfectly smooth and creamy. If it’s too thick, add a tiny splash more milk. If it’s too thin, a small extra scoop of ice cream will thicken it right up.
- Taste Test (The Best Part): Take a quick sip. Does it need more sweetness? More strawberry? Adjust as needed and give it another quick whiz.
- Serve It Up: Pour your magnificent creation into a tall glass. If you’re feeling fancy (and why not?), top with a swirl of whipped cream and a fresh strawberry.
- Enjoy Immediately: This isn’t a “save for later” kind of treat. Milkshakes wait for no one!
Common Mistakes to Avoid
While this recipe is famously forgiving, there are a few rookie errors to sidestep for ultimate milkshake glory:
- Forgetting the Ice Cream: I mean, it’s in the name! Without it, you’re basically just making strawberry milk, which is fine, but not the creamy dream we’re aiming for.
- Too Much Milk, Too Soon: Start with the recommended amount. You can always add more, but you can’t really take it away. A watery milkshake is a sad milkshake.
- Over-blending: Blending for too long can actually melt the ice cream, resulting in a thinner consistency. Blend until smooth, then stop!
- Using Icky Strawberries: The quality of your strawberries really shines through. Don’t use sad, bruised berries unless you want a sad, bruised milkshake.
Alternatives & Substitutions
Feeling adventurous? Or just missing an ingredient? No stress, we can totally improvise!
- Different Berries: Swap strawberries for raspberries, blueberries, or a mix of berries for a “berry blast” milkshake. So good!
- Flavored Ice Cream: While vanilla is classic, try strawberry ice cream for an extra punch of berry flavor, or even a little chocolate ice cream for a chocolate-covered strawberry vibe. IMO, it’s a game-changer.
- Sweeteners: Instead of sugar, a drizzle of maple syrup, honey, or agave nectar works beautifully.
- Thickeners: Want it *really* thick? Add half a banana (frozen is best!) or a spoonful of Greek yogurt. It adds a lovely tang too.
FAQ (Frequently Asked Questions)
- Can I use skim milk? You *can*, but it’ll be like a whisper of a milkshake – more watery than wondrous. Whole milk or a creamy plant-based milk gives you that luscious texture we’re after. Why hurt your soul like that?
- Do I have to use fresh strawberries? Nope! Frozen strawberries are actually fantastic for milkshakes because they help keep it super cold and thick without needing extra ice (which can water down the flavor).
- My milkshake is too thin! What do I do? Easy fix! Add another scoop (or two!) of vanilla ice cream and blend again. Or toss in a few ice cubes if you don’t mind a slightly icier texture.
- Can I make this ahead of time? Not really. Milkshakes are like good gossip – best enjoyed fresh. They tend to separate and lose their frosty charm if left sitting for too long.
- What if I don’t have a blender? Uh oh. This one really needs a blender for that smooth, creamy consistency. A food processor might work in a pinch, but a blender is truly your best friend here.
Final Thoughts
And there you have it, folks! Your very own, incredibly easy, and utterly delightful strawberry milkshake. See? I told you it wouldn’t be hard. Now go impress someone – or, more importantly, yourself – with your new culinary skills. You’ve earned this frosty, pink moment of pure joy. Happy sipping!

