So, you’ve got a couple of bananas chilling on your counter, maybe getting a *little* too spotty for your morning oatmeal, and you’re thinking, “What fresh deliciousness can I conjure with minimal effort?” My friend, that’s opportunity knocking! Especially when you’re craving something ridiculously yummy, but your energy levels are currently in ‘sloth’ mode. Guess what? I’ve got your back. We’re making a banana milkshake so good, you’ll wonder why you ever bothered with spoons.
Why This Recipe is Awesome
Let’s be real: this isn’t rocket science. It’s more like a really delicious, creamy, banana-vanilla-flavored science experiment where the only variable is how fast you can chug it down. **Zero culinary degrees required.** Seriously, if you can press a button on a blender, you can master this. It’s perfect for those sudden sweet cravings, a quick breakfast on the go (don’t judge!), or when you just need a hug in a glass. Plus, it uses up those bananas before they become sad, brown mush. Win-win-win!
Ingredients You’ll Need
- **Bananas (2 medium, ripe to overripe):** These are your star players. The spottier they are, the sweeter and more flavorful your shake will be. Don’t be shy; embrace the spots! For an extra thick, frosty shake, **chop and freeze them beforehand**.
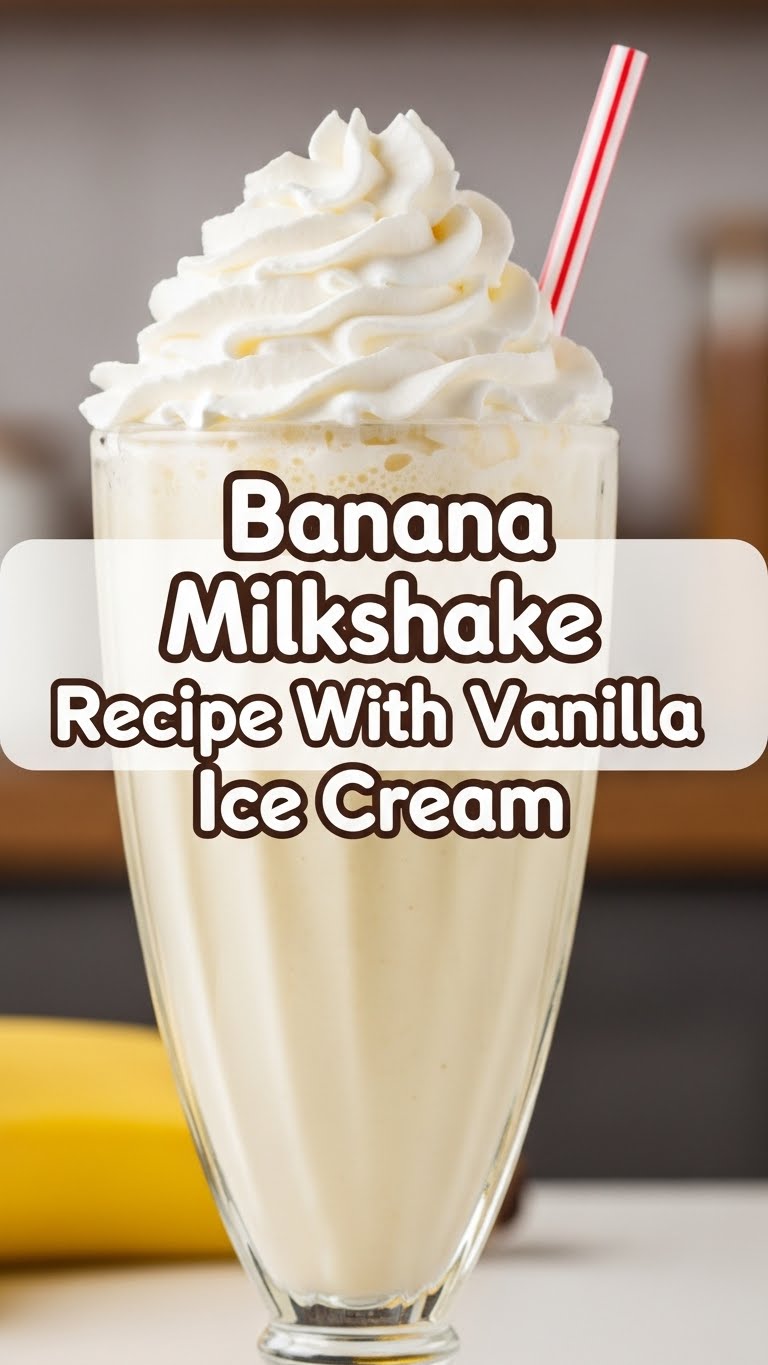
- **Vanilla Ice Cream (2-3 scoops):** Crucial for that creamy, dreamy texture and irresistible vanilla kick. Go for a good quality one; your taste buds deserve it.
- **Milk (1/2 cup – 1 cup):** Any kind works! Whole milk makes it extra decadent, but almond, soy, or oat milk are fantastic too. Adjust the amount based on how thick or thin you like your shake.
- **A Drizzle of Honey or Maple Syrup (optional):** If your bananas aren’t super ripe or you just have a serious sweet tooth, a little extra sweetness never hurt anyone.
- **A Pinch of Cinnamon or Nutmeg (optional, but highly recommended):** Just a whisper takes it from “good” to “oh my word, what is this magic?!”
Step-by-Step Instructions
- **Peel those bananas** like they owe you money. If they’re not frozen, break ’em into chunks and toss them into your blender. If they *are* frozen, congrats, you’re a genius! Just add them in.
- **Scoop the vanilla ice cream** into the blender like you’re digging for hidden treasure. Don’t be stingy here; this is where the magic happens.
- **Pour in about half a cup of milk.** You can always add more later if it’s too thick, but starting with less gives you more control over the consistency.
- **Add your optional extras:** a drizzle of honey, a dash of cinnamon – whatever floats your boat.
- **Secure the lid tightly** (unless you want a banana milkshake explosion all over your kitchen, which, trust me, is not as fun as it sounds).
- **Blend it up!** Start on a low setting and gradually increase to high. Blend until it’s smooth and creamy, with no banana lumps left behind. **This should only take about 30-60 seconds.**
- **Taste test!** This is the best part. Is it sweet enough? Creamy enough? If it’s too thick, add a splash more milk. Too thin? Throw in another small scoop of ice cream or a few more frozen banana chunks. Blend again briefly if needed.
- **Pour into your favorite glass,** maybe add a straw, and enjoy your masterpiece. You earned this!
Common Mistakes to Avoid
- **Going light on the ice cream:** Folks, this isn’t a diet shake. Embrace the creaminess. Skimping on the ice cream just gives you sad, thin banana milk.
- **Using underripe bananas:** Remember what I said about those spots? Green bananas equal bland, starchy shakes. Don’t do it to yourself.
- **Over-blending:** Nobody wants banana soup. Blend until smooth, then **stop**. Blending for too long can actually warm up your shake and make it less frosty.
- **Forgetting the lid:** Yes, I warned you, but it happens to the best of us. A milkshake ceiling is a messy ceiling.
Alternatives & Substitutions
This recipe is super forgiving, which is why I love it! Here are a few ideas to shake things up:
- **Dairy-Free Delight:** Swap regular milk for almond, soy, or oat milk, and use your favorite dairy-free vanilla ice cream. Tastes just as fantastic, IMO.
- **Add-ins Galore:** Feeling adventurous? Throw in a tablespoon of peanut butter for a banana-peanut butter dream, a handful of spinach (you won’t even taste it!), or some cocoa powder for a chocolatey twist.
- **Frozen Fruit Power:** Don’t have frozen bananas? You can totally use fresh ones and then add a few ice cubes while blending for that icy kick. Or, go wild and add a few frozen berries along with your banana for a mixed fruit explosion.
- **Spice it Up:** A tiny sprinkle of cardamom or even a drop of vanilla extract (if your ice cream isn’t strong enough) can elevate the flavor.
FAQ (Frequently Asked Questions)
**Do my bananas *have* to be ripe?** Girl, yes! Underripe bananas make a sad, bland, and less sweet milkshake. Let ’em get spotty; that’s when they’re sweet and ready to party.
**Can I make this ahead of time?** You *can*, but honestly, milkshakes are best enjoyed immediately. If you make it ahead, it tends to separate and lose its frosty texture. Just whip it up fresh; it takes like two minutes anyway!
**What if I don’t have a strong blender?** No problem! Just make sure your banana chunks are smaller, especially if they’re frozen. You might need to pulse it a bit more and scrape down the sides.
**Can I add protein powder?** Absolutely! This is a great way to sneak in some extra nutrients. Add a scoop of your favorite vanilla or unflavored protein powder with the other ingredients.
**How do I make it thicker/thinner?** For thicker: add more ice cream or frozen banana chunks. For thinner: add more milk, a tablespoon at a time, until you hit your sweet spot.
Final Thoughts
So there you have it – the easiest, creamiest, most delicious banana milkshake with vanilla ice cream you’ll ever make. This isn’t just a recipe; it’s a mood booster, a quick fix, and proof that sometimes, the simplest things are the best things. Now go impress someone – or, more importantly, yourself – with your new culinary skills. You’ve earned this frosty, banana-y delight!


